Disclosure: Some of the links in this post are affiliate links. This means if you click on the link and purchase an item, Sees Food, Will Travel will earn a commission at no extra cost to you. See terms and conditions for details.
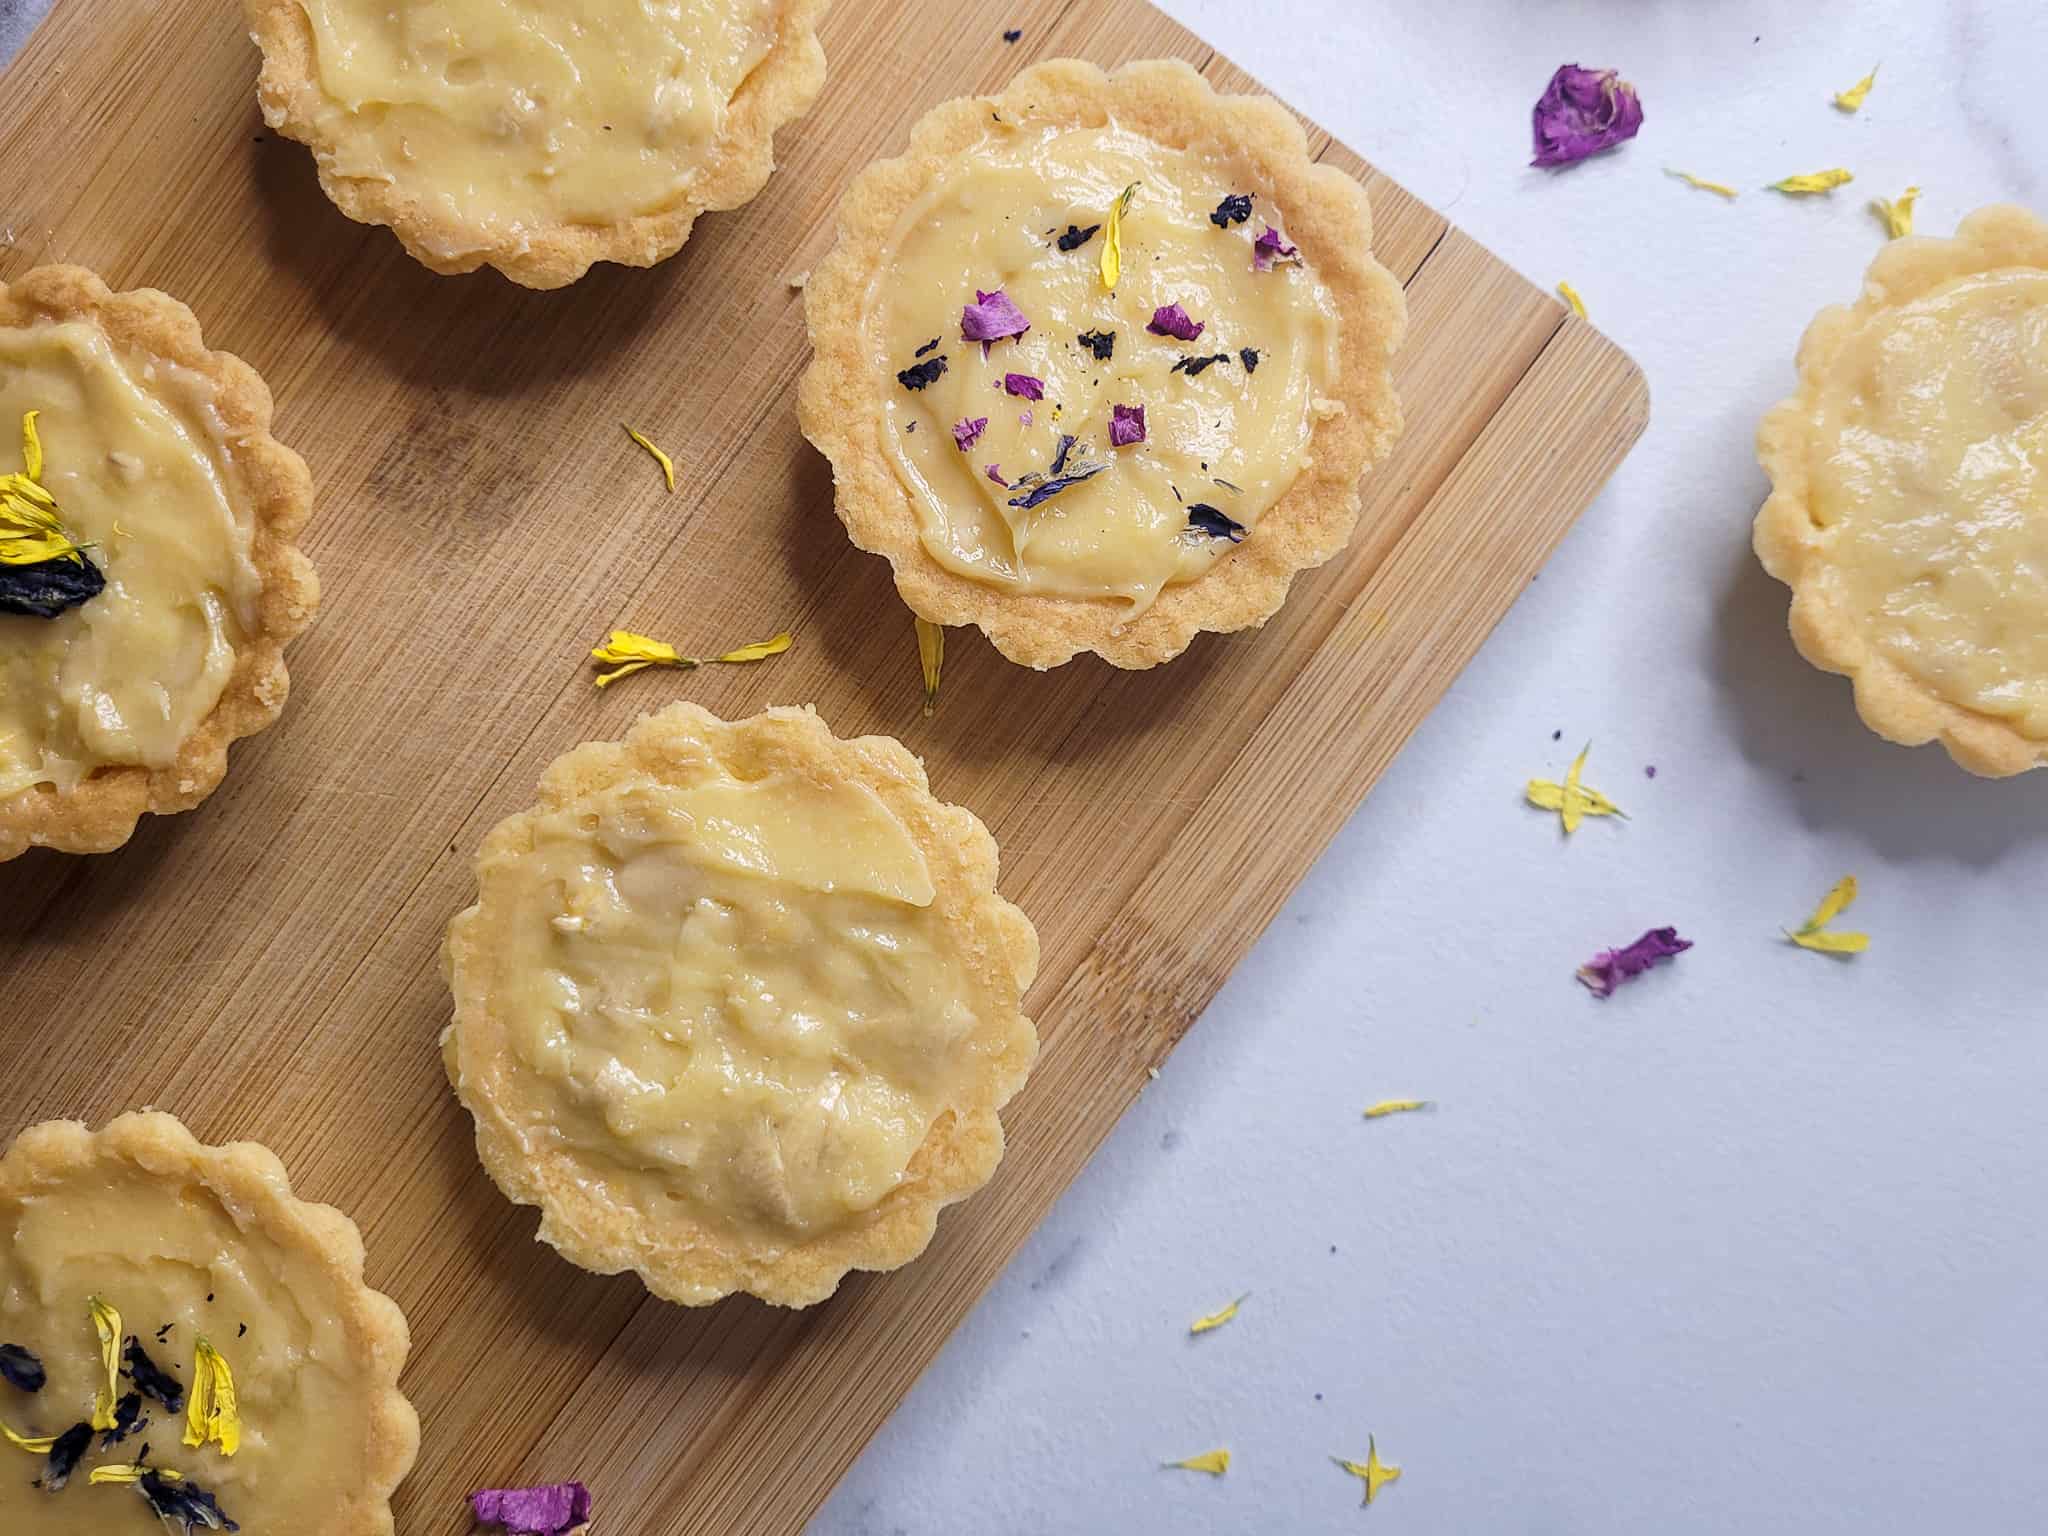
I find myself diving deeper into baking as a means of solace and peace. These Filipino cashew yema tarts are part of my earliest childhood memories - something that brings me comfort and I hope it will do the same for you.
Update Disclosure: This post has been updated for one or more of the following reasons: easier reading, updated photos, clearer instructions, and just plain ol' improvements to the recipe (as noted).
I remember finishing a cashew boat tart and promptly diving back into a box of gifted sweets. These things are treats of escape in and of themselves.
Jump to:
What is Filipino Yema?
Filipino yema is a soft, chewy, milky candy shaped like a pyramid and wrapped in colored cellophane. Its surface hardens just enough to give the candy its shape. But as soon as you bite into it, it melts in your mouth. If you're into texture and tons of sweet flavor, this candy is for you.
Long ago, yema was made with sugar, milk, and egg yolks. Over time, people became more enamored with the taste of sugared milk added to the candy recipe. So condensed milk became a staple ingredient. These ingredients are boiled together until they reach a thickened consistency.
Which Brings Us to Yema Tarts
The tarts in this recipe is filled with yema. There are also cashew nuts added to the filling for a nutty flavor and added texture. It's sticky, sweet, savory, and crunchy all at the same time!
Special Equipment Needed
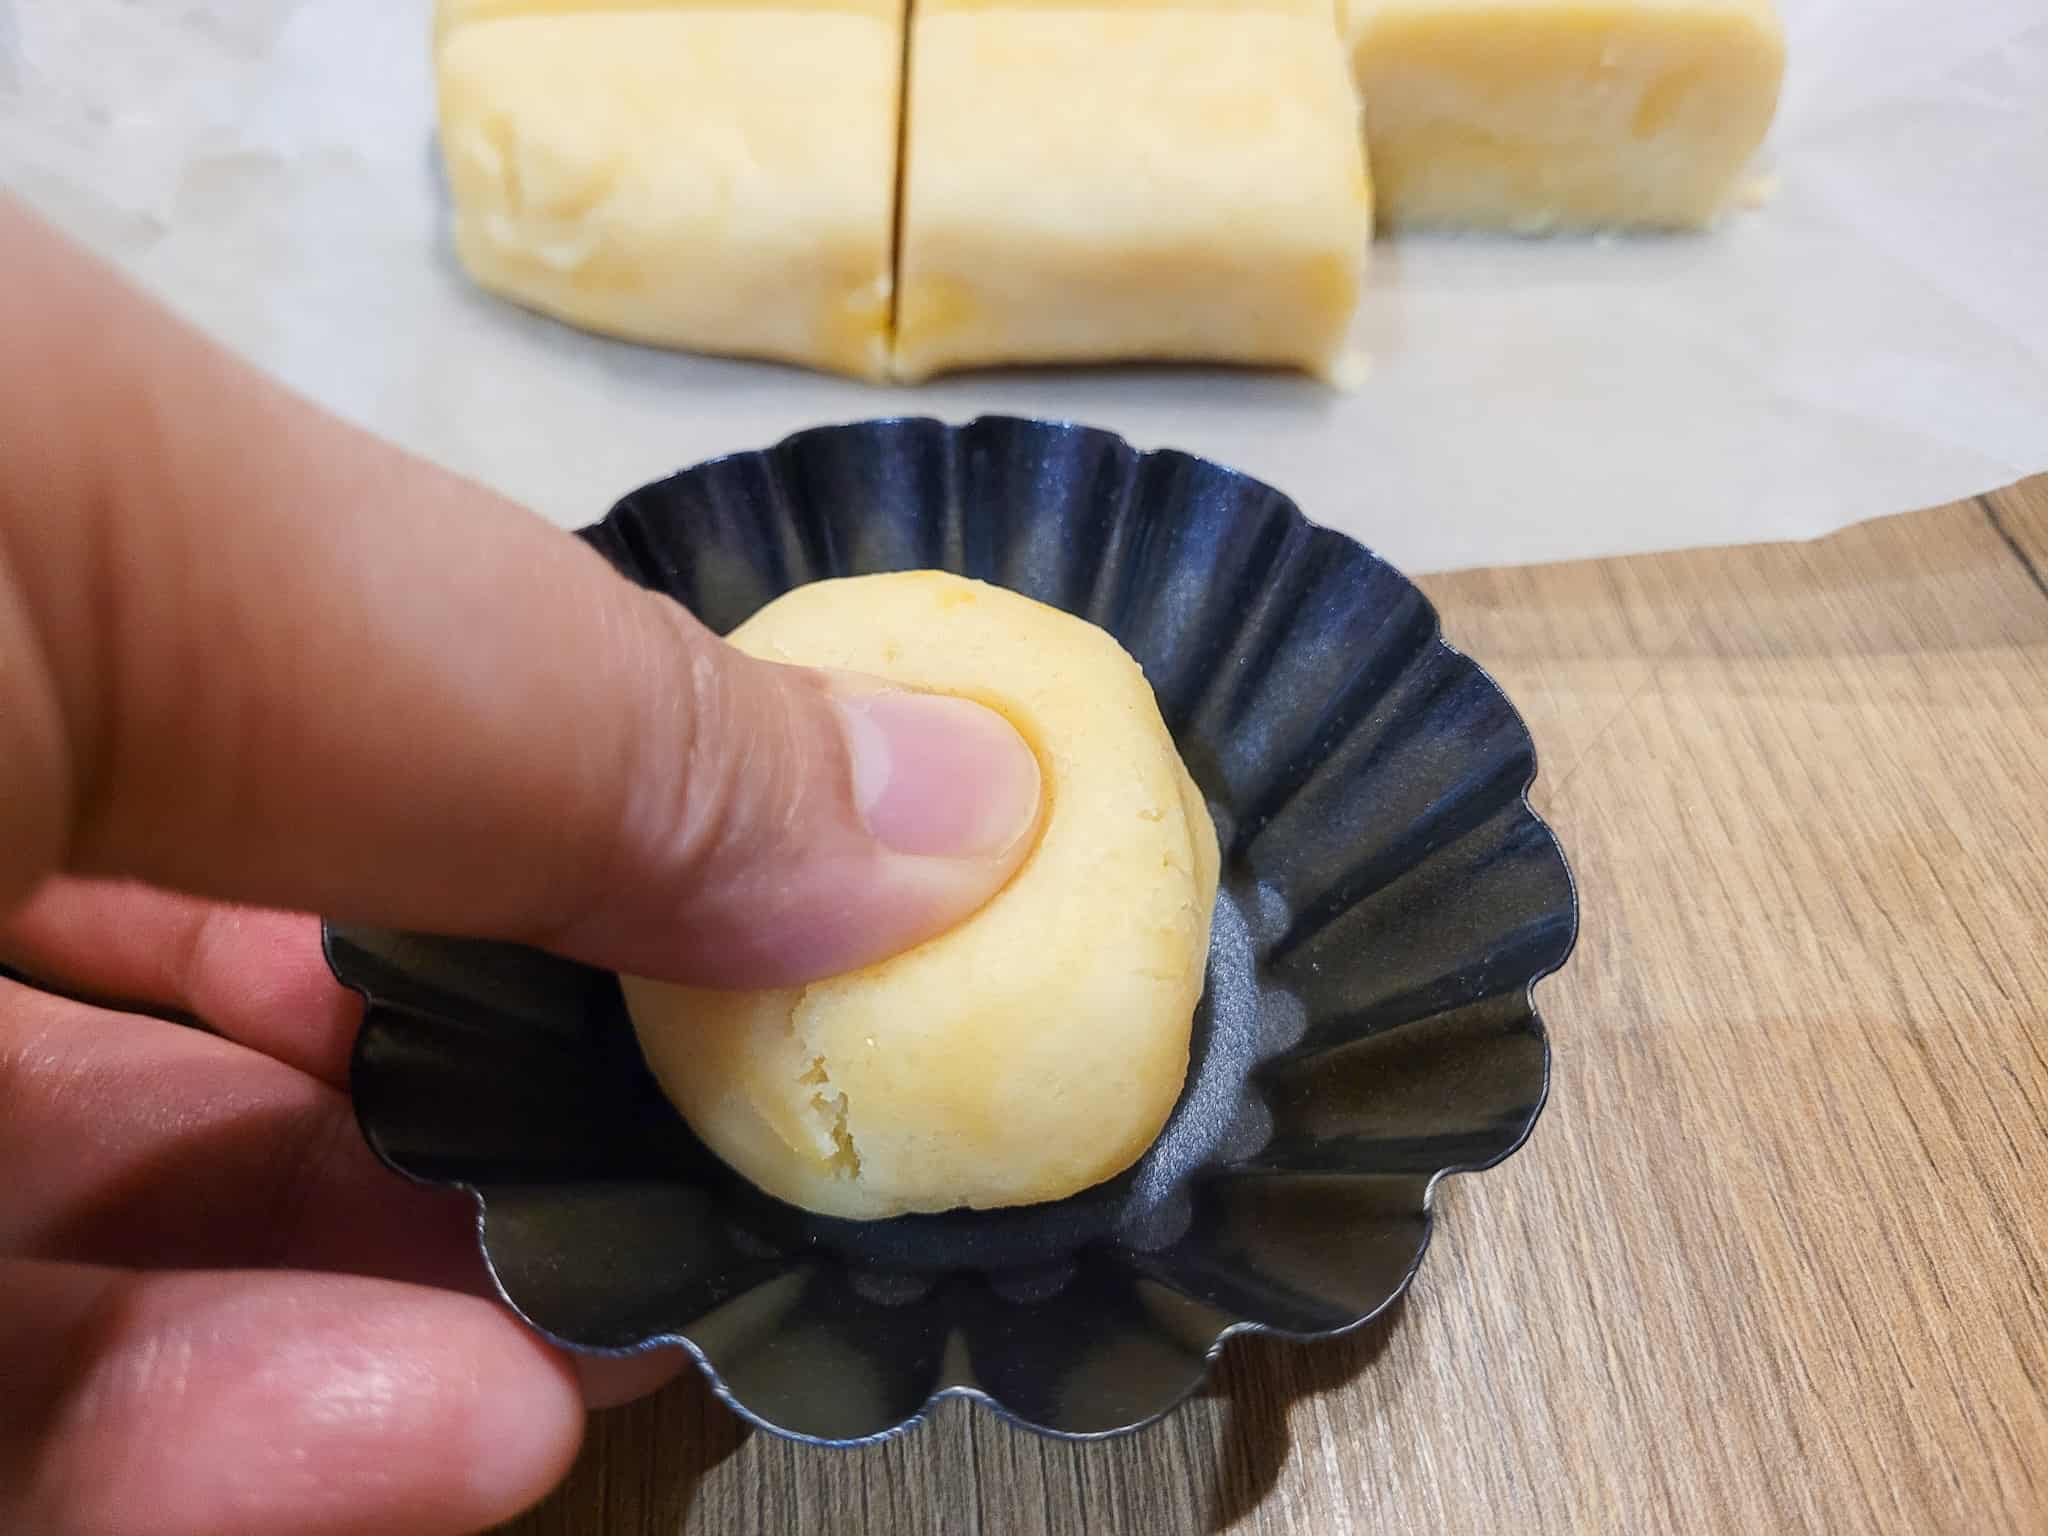
- Mini Tart Molds: Since we are making tarts, you will need some molds for this recipe. I used about twelve pieces of the mold in the image below to make these tarts. Since this recipe makes twenty-four tarts, I baked twelve crusts first, let them cool, then slid them off said molds before making the next twelve.
Ingredients for Cashew Yema Tarts
You will need the following for this recipe:
- Eggs
- Unsalted Butter
- Granulated Sugar
- Salt
- All-Purpose Flour
- Condensed Milk
- Lemon Zest
- Cashews
- Heavy Cream
Substitutes
- Cashews: You can use other types of nuts for this recipe. Just note that they will impart their flavor to the yema filling.
- Heavy Cream: You can use milk instead of heavy cream for this recipe, but you may have to boil the filling for a longer time to get a thick consistency.
Recipe Tips
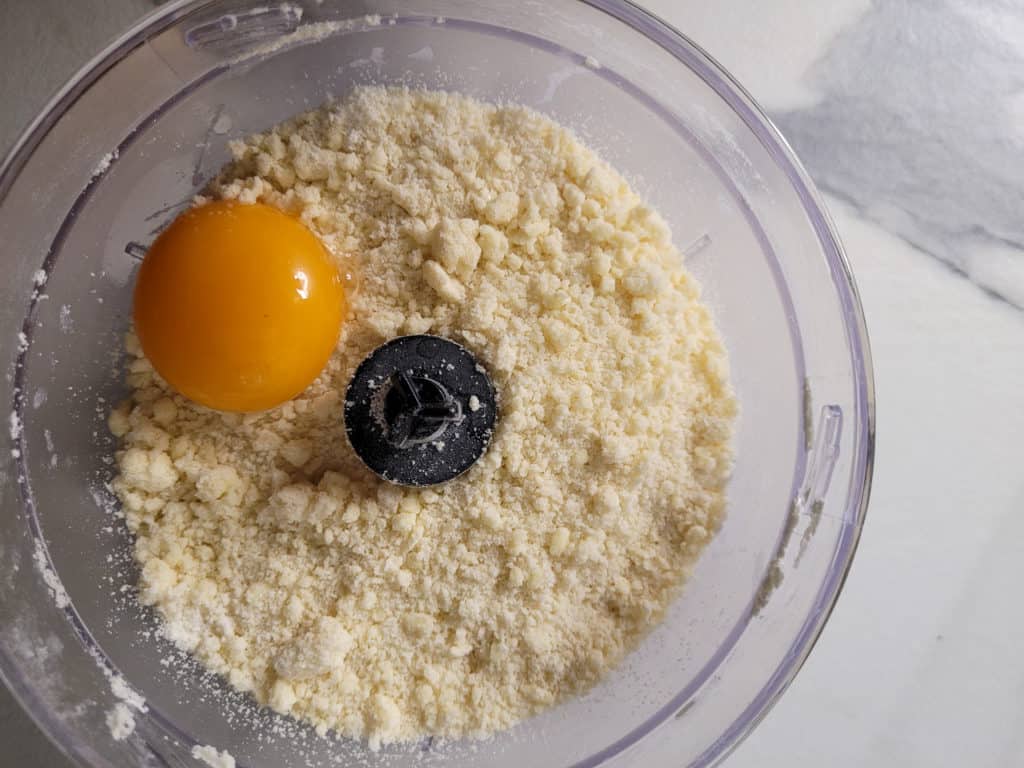
- Pâte Sucrée: This fancy word is what you are making for your tart crust. When you pulse the dry ingredients together, watch for a sandy texture. That is when you know to stop. Then add the egg yolk, pulse again and stop when it just begins to come together (see picture below).

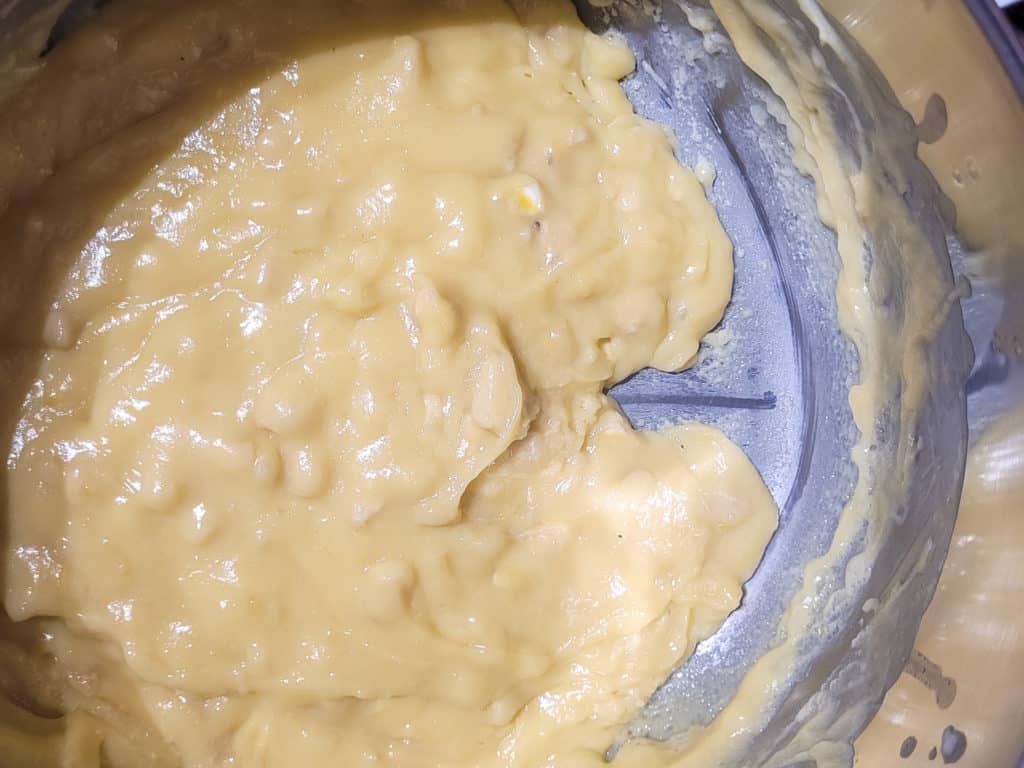
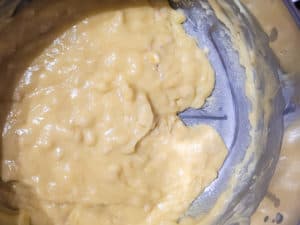
- Making the Filling: Keep mixing the filling as it thickens in the pot so it doesn't burn and the consistency remains the same throughout. When the filling starts to pull away from the bottom of the pot, that is when you can remove it from the heat.
How to Make Filipino Cashew Tart
Hate to say it, but the recipe is a little involved. You are making everything from scratch so you get bragging points for making these!
Here is a summary of how to make cashew yema tarts:
- Make your crust dough.
- Mold and bake your crust.
- Boil the filling ingredients in a pot.
- Keep boiling until it is thick.
- Fill your tart crusts.
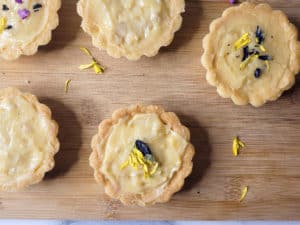
- Let it sit for a few hours so the tops develop a smooth, nonsticky surface.
How to Serve
Traditionally, clear cellophane is used to wrap these tarts, but you can use parchment paper cut into appropriate sizes. The simplest way to store these tarts is to put them in a big plastic container with a tight cover once the filling is no longer tacky. You can keep these tarts at room temperature for up to a week, if they last that long!
Looking for something more challenging? Try making this mocha roll cake. It's worth the effort! Or if you prefer something much easier and quicker, try this coconut macaroon recipe or ice candy recipe.
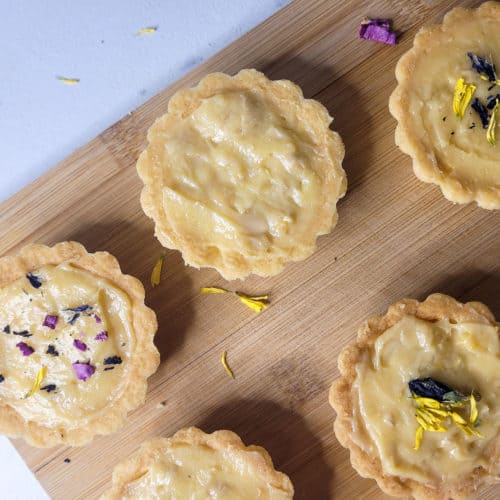
Cashew Yema Tart Recipe
Disclosure
The equipment and ingredients sections contain affiliate links to products I love to use as well as items that I personally believe make this recipe the best version of itself.
Ingredients
Tart Crust
- 2 egg yolks
- 225 grams unsalted butter, cut into chunks
- 130 grams granulated sugar
- ¼ teaspoon salt
- 320 grams all-purpose flour
Filling
- 3 egg yolks
- 1 can condensed milk (~400 grams)
- ½ teaspoon lemon zest
- ½ cup chopped cashews
- ¼ cup heavy cream
Instructions
Make Tart Crust
- In food processor, add flour, sugar, salt, butter and pulse together until sandy.
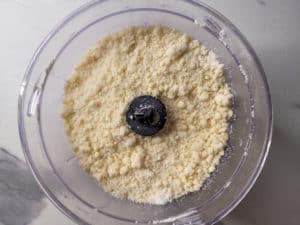
- Add in egg yolks and pulse until dough comes together, then stop.
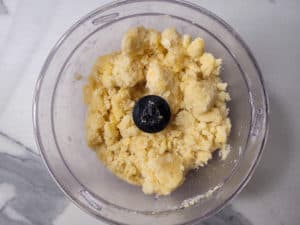
- Clump dough together and place on a cling wrap or parchment paper on a flat surface. Flatten to a rectangle and put in the fridge to chill for at least an hour.
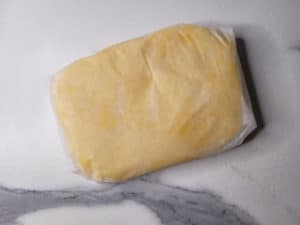
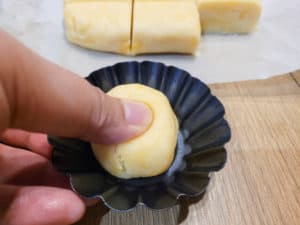
- Preheat the oven to 180°C (350°F). Take a piece of dough and press it in a nonstick tart mold to press around the tart tin until dough forms shape. Remove excess overhang.
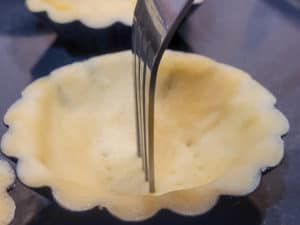
- Poke holes at the bottom of the crust with a fork. Bake the tart crusts in preheated oven until lightly golden brown.
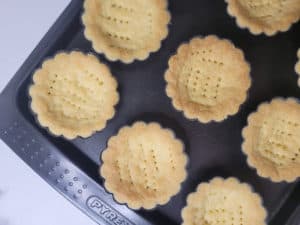
- Remove crusts from the oven to cool completely. Once cool, remove the shells from tart tins.
Make Filling
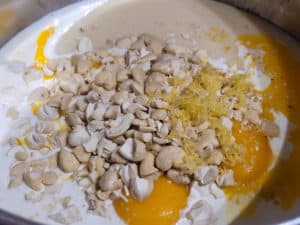
- In a saucepan on low medium heat, add condensed milk, egg yolks, milk, lemon zest, and chopped nuts. Stir as mix starts to bubble and simmer.
- Continue stirring as it boils to a thick paste and turn off the heat when the filling starts to pull away from the sides and the bottom of the pot. It should resemble a very loose bread dough. Pour out the filling in a clean bowl to stop the cooking process and allow to cool to room temperature.
- Fill the cooled tarts with the cooked yema filling using a small spoon and flatten the tarts with the back of your spoon or offset spatula. Optional: top with some chopped nuts
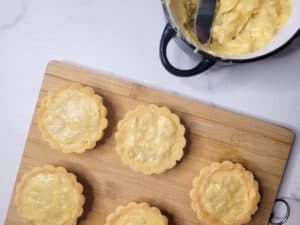
- Allow the tarts to cool in room temperature until the surface is no longer sticky and has a smooth top. It may take a few hours or one day.
Nutrition
Have You Tried This Recipe?
Simply rate the recipe by clicking on the ⭐️s on the recipe card. Have something to say? Please leave me a comment down below telling me what you think of this recipe.
Bonus: Let me and other readers know what you did to make this recipe your own - 💫 let's inspire each other!
Also, follow me on Instagram [@seesfoodwilltravel] and send me a DM with a picture of what you made. I would love to share and celebrate YOUR creation with our budding community 💞
Check out Sees Food, Will Travel on Pinterest and Facebook for more delicious updates.



Leave a Reply