I find it a little funny that these fluffy rolls filled with creamy brown sugar are simply called Spanish bread (also known as Senorita bread), despite being a Filipino creation. The Spanish occupation in the Philippines is a well-known fact. For starters, you can point out numerous borrowed Spanish words in Tagalog, the Filipino national language. But it's like a Filipino baker ran out of names for their recipes, and then pointed to the bread rolls declaring, "We'll just call that one Spanish bread!"
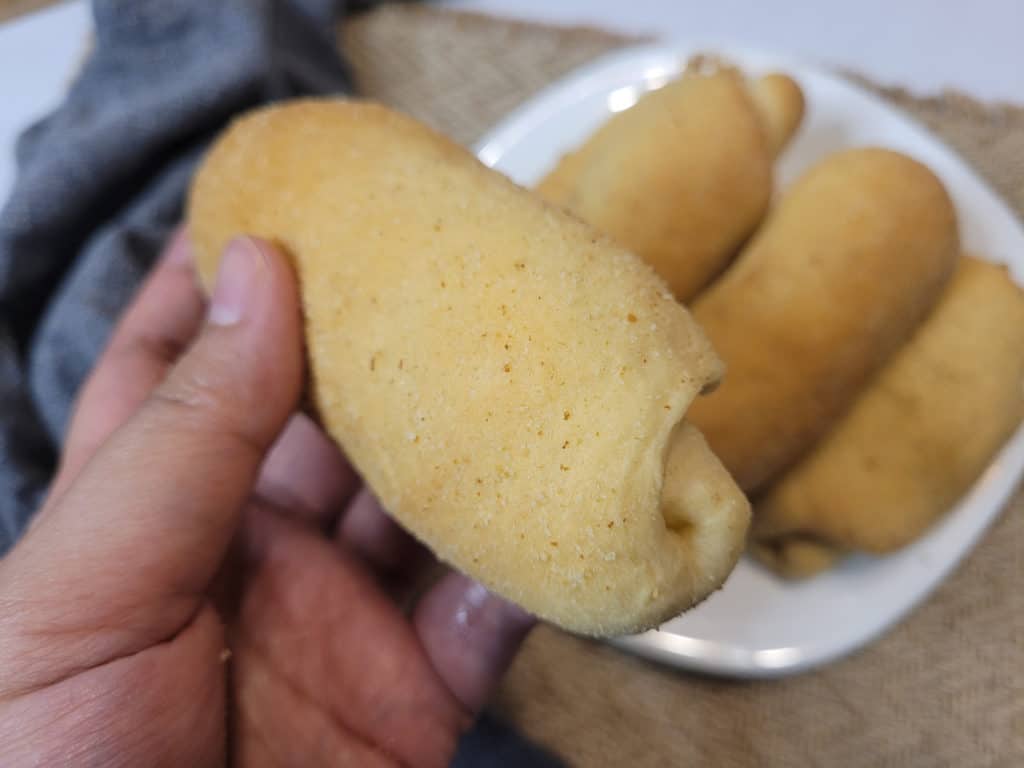
I'm sure there is much more to the story, and if you have something to share, please comment below! Regardless, Filipino Spanish bread is an underrated baked good recipe. It's rolled up like a thin cinnamon roll and filled with a milky, buttery stuffing. This roll makes a delicious snack or quick breakfast.
As a child growing up in the Philippines, I lost count of how many times I saw adults dunking a single Spanish bread roll into a piping hot mug of instant coffee. This morning routine has ingrained itself as one of my earliest childhood memories.
Filipino Baked Goods
This is the first-ever post in a series of Filipino baked goods and pastries on my blog. I wanted to feature such recipes to show the diversity of Filipino food. The Philippines is an exotic place, but a lot of the cuisine, especially the bread and pastries, retain a profound European influence. This influence comes from Spain and, from what I've read, Portugal too.
Do Filipinos Even Like Bread?
Between rice and bread, we Filipinos prefer rice for our meals. But do not be mistaken, we love our leavened bread for those in-between merienda (snack) times. There are many panaderia (bakeries) in the Philippines, and bread is still a popular snack or even dessert, but never as a meal. That's why you will not see me preparing sandwiches for lunch. I grew up thinking of anything related to bread, such as sandwiches, as only a snack.
Bakeries in the Philippines
If you ever get a chance to visit the Philippines, make sure to visit a local bakery. Regional bakeries also have their own specialties of baked goods such as pandesal, ensaymada, and yema tarts. Los Banos, Laguna, the town where I was born, boasts a famous buko (young coconut) pie! Do not overlook baked goods in the Philippines.
What is Senorita Bread or Spanish Bread?
Just to be clear, Spanish bread isn't Spanish at all. It's a Filipino recipe made from combining local ingredients and techniques acquired during the Spanish colonization of the islands. This bread also goes by Senorita bread, but I have only ever known it as Spanish bread. I would like to know which regions in the Philippines call it Senorita instead of Spanish bread - let me know!
The bread is similar to another famous local bread roll called pandesal. But instead of a dinner roll shape, Spanish bread is flattened, then filled with a mixture of brown sugar, butter, condensed milk, flour, and breadcrumbs. Finally, it's rolled like an elongated cinnamon roll, and baked. The finishing touch is a dusting of breadcrumbs on top.
How to Make Filipino Spanish Bread
The required ingredients for this recipe are simple and easy to find. However, making Spanish bread takes a while because of the time spent rising the dough. There are two dough rising times, one after mixing the dry and wet ingredients and another rising before putting the rolls in the oven.
Set Up the Yeast
Add warmed milk, some sugar, and yeast to a bowl and let it sit for ten minutes. If you are using instant yeast, you can skip this step. Just add the dry and wet dough ingredients together, then mix until combined.
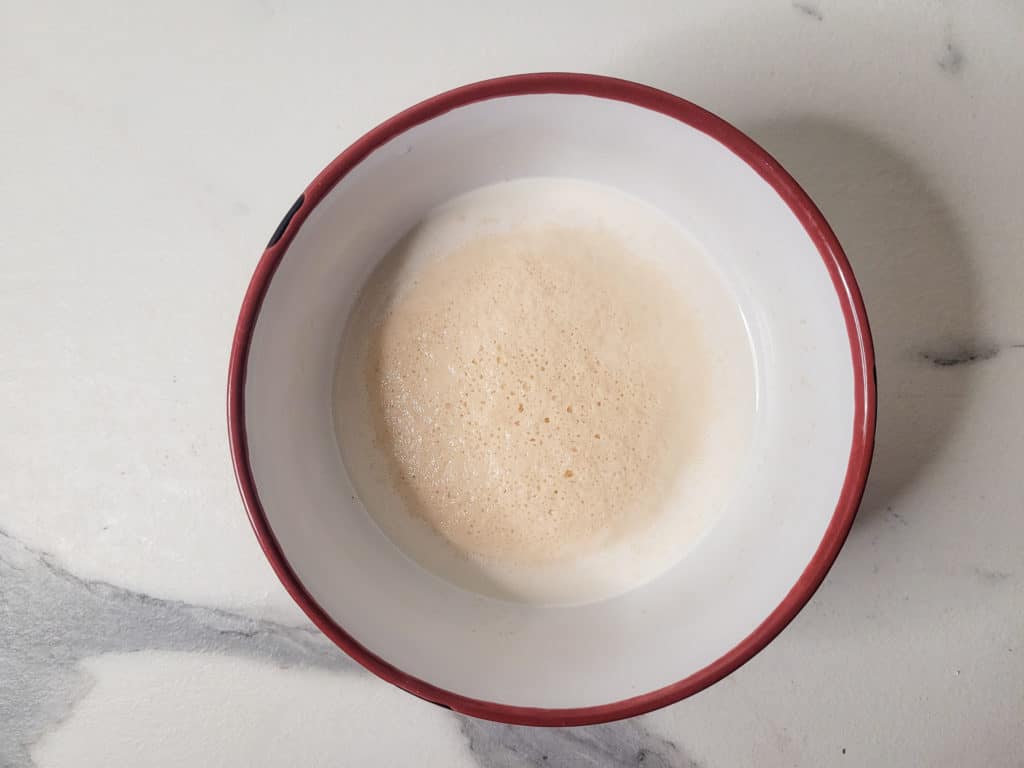
In another bowl, combine and mix flour, salt, and some sugar. After the yeast has activated, whisk in egg yolk and butter. Add the mixture to the bowl of dry ingredients. Mix with a spoon or spatula until you get a shaggy dough. Pour it out onto a surface and knead. Knead the dough for ten minutes consistently and then form a smooth ball. If you are using a dough hook, this step will probably take you half the time.
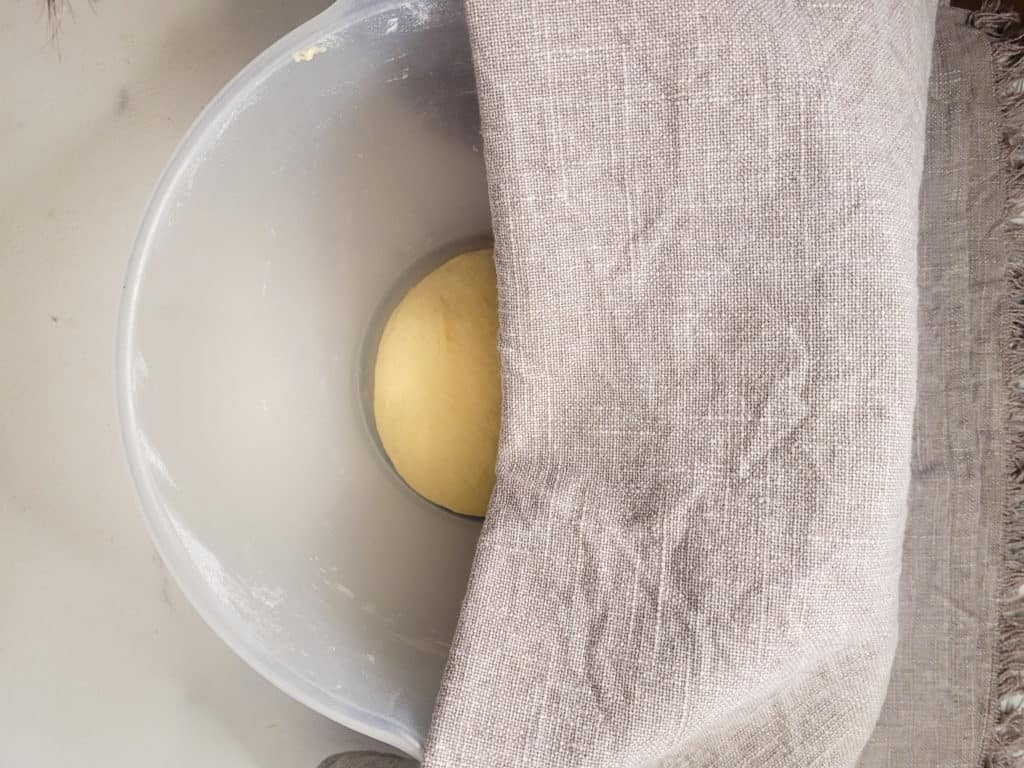
Put the dough in a bowl and let it rise for an hour or until it has doubled in size.
Make the Filling
Meanwhile, make the filling with softened butter, brown sugar, breadcrumbs, flour, and condensed milk. Mix the butter and sugar first.
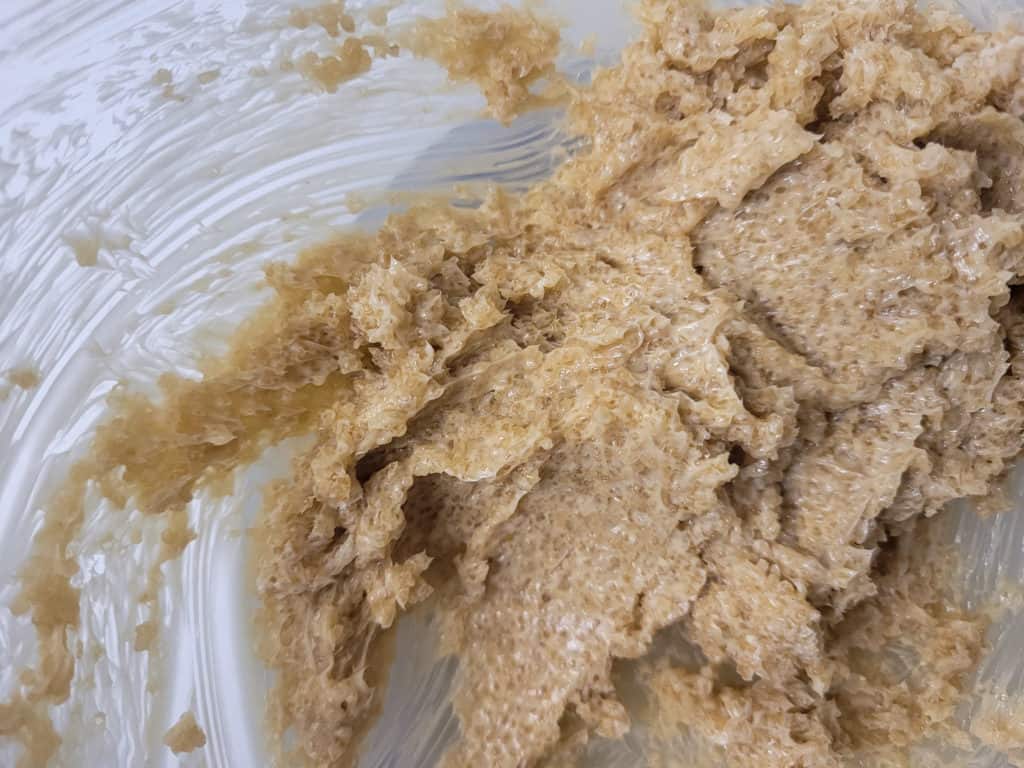
Add the flour, breadcrumbs, and condensed milk. You should end up with a thick paste.
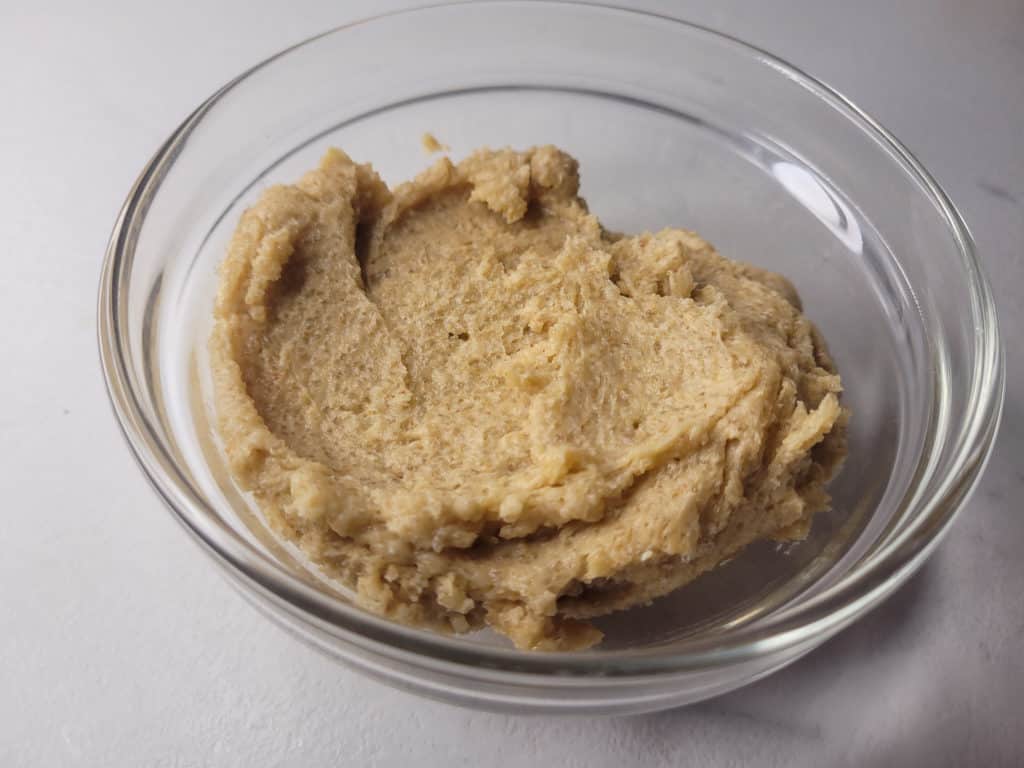
Assemble the Bread
Before assembling these Filipino Spanish bread rolls, I recommend setting up your workstation so that you can establish a flow in the recipe process. Clear some space on a countertop and create an area for your dough, breadcrumbs, and filling. Set up a lined baking sheet on the side, so you can quickly move the bread rolls to the oven after their second proof.
Split the risen dough into sixteen equal pieces. Shape the pieces into round buns so they are easier to flatten. Work with one dough ball at a time while keeping the other pieces covered to keep from drying out.
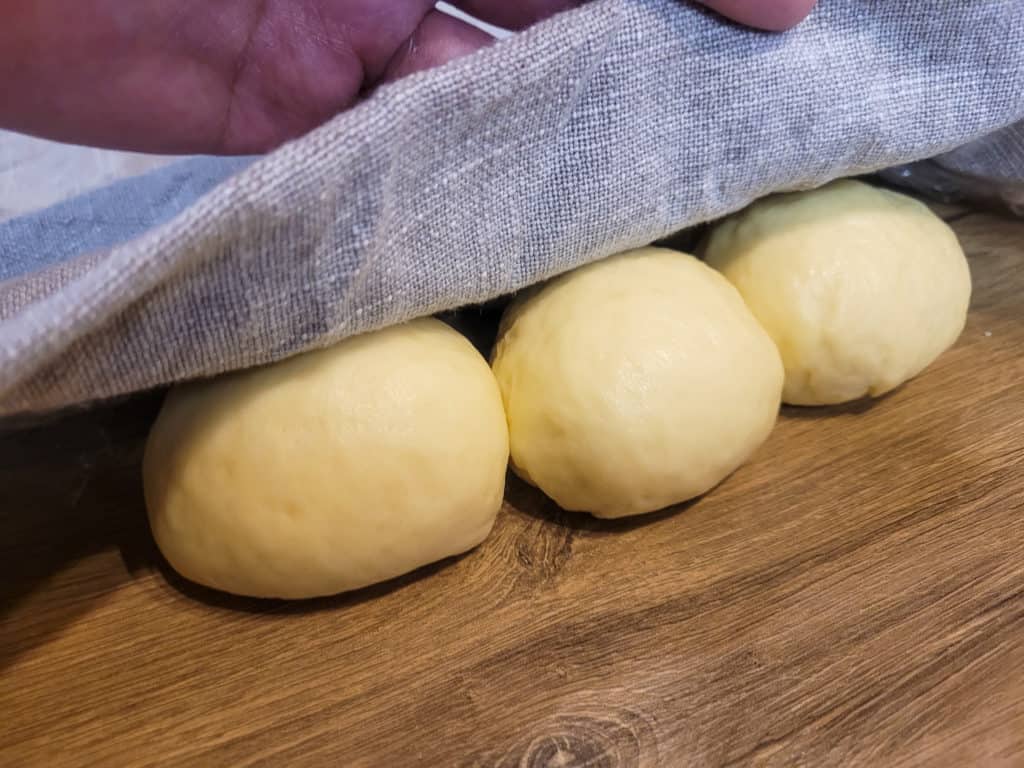
Flatten the dough with your palm, then roll it out to an elongated, triangular shape. Add the filling in the middle.
Tip One of the most common issues in baking Spanish bread rolls is that the filling leaks while baking. Make sure to leave about a half-inch to an inch space between the filling and outer edges. Doing this will help avoid a leak and keep all the creamy filling inside. You may want to also use less filling than I do. Experiment and see what works for you.
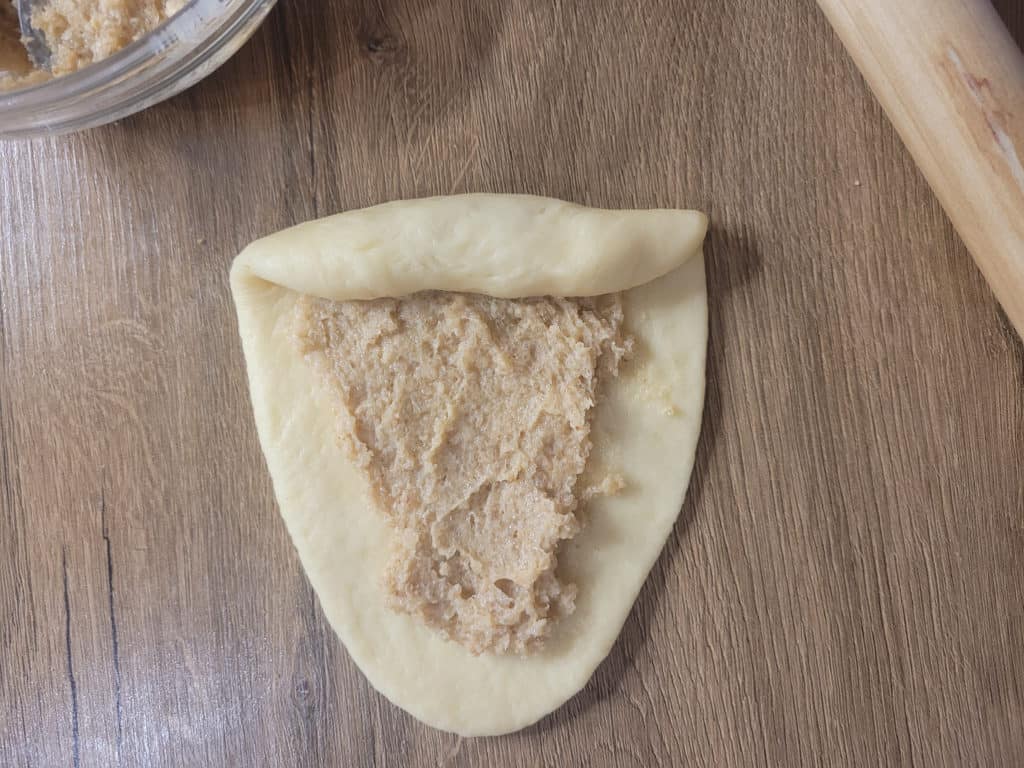
Roll it up to the third point, starting from an edge between two points. Close it by pinching the outer flap onto the dough. Roll it in the breadcrumbs. Using your palm, roll out the dough even further to your desired length. Then place the roll seam side down onto the baking sheet. This step will help keep your bread from unraveling during baking.
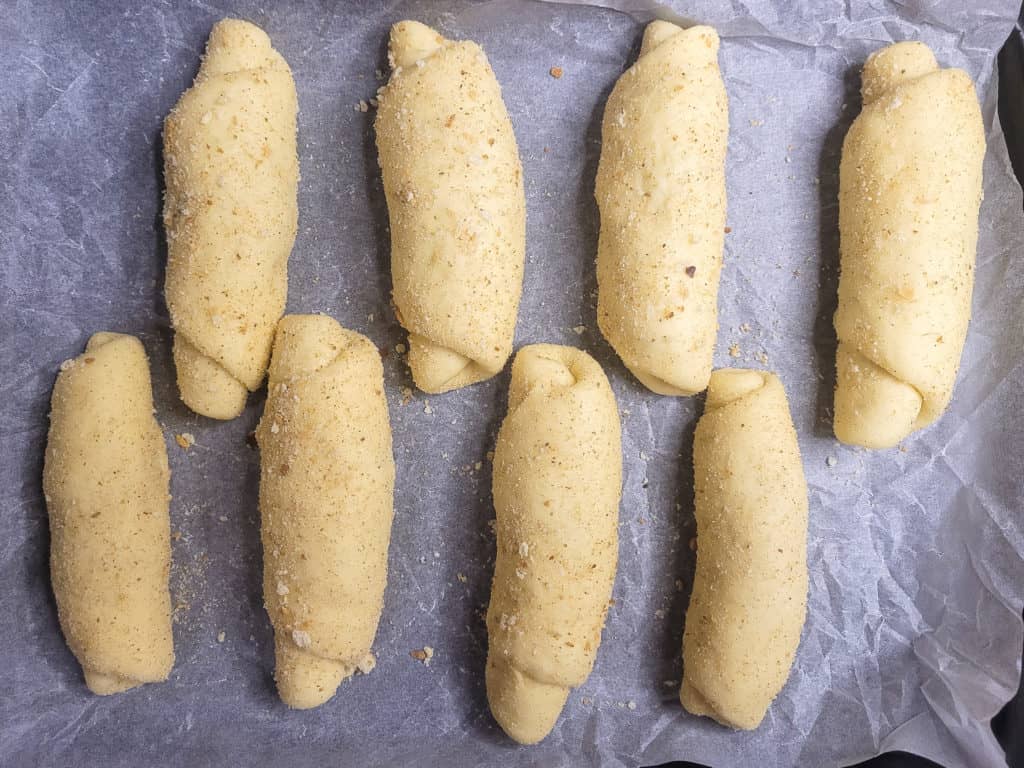
Cover the unbaked Spanish bread and let it rise for a second time for thirty minutes. Once they are puffy, you can bake them uncovered in the oven.
How to Bake Spanish Bread
This is one of those times where I highly recommend you closely watch the bread cook in the oven. It can quickly burn, and you will end up with hard bread! Bake in the oven at 150°C (300°F) for fifteen to eighteen minutes. It only took my oven fifteen minutes to fully bake them.
Storing Unbaked Rolls
I made Filipino Spanish bread per the recipe and then put some in the freezer before the second rise. When I was ready to bake more, I took the rolls out to let them thaw. Once they thawed, I did the second proofing before baking. They are as fresh as if they were made the same day! I suggest making some coffee when you eat these. They make a quick and sweet breakfast to help start your day!
Have You Tried This Recipe?
Simply rate the recipe by clicking on the ⭐️s on the recipe card. Have something to say? Please leave me a comment down below telling me what you think of this recipe.
Bonus: Let me and other readers know what you did to make this recipe your own - 💫 let's inspire each other!
Also, follow me on Instagram [@seesfoodwilltravel] and send me a DM with a picture of what you made. I would love to share and celebrate YOUR creation with our budding community 💞
Check out Sees Food, Will Travel on Pinterest and Facebook for more delicious updates.
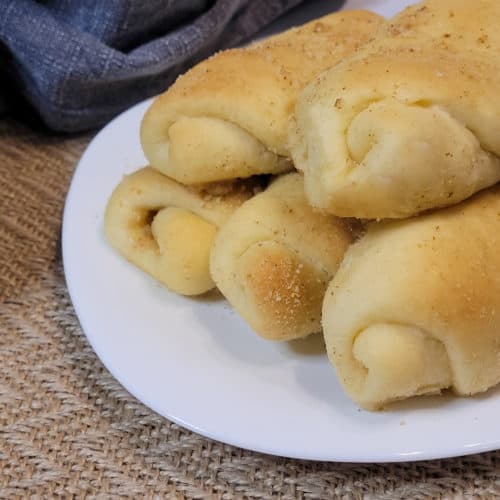
Filipino Spanish (Senorita) Bread
Disclosure
The equipment and ingredients sections contain affiliate links to products I love to use as well as items that I personally believe make this recipe the best version of itself.
Ingredients
Bread Dough
- 4 tablespoon granulated sugar 1 tablespoon for yeast mix; 3 tablespoon for dough
- 2 tsp active dry yeast if using instant, combine all ingredients together
- 200 ml warm milk
- 80 grams unsalted butter, melted
- 2 egg yolks
- 400 grams all-purpose flour may need to use more or less depending on flour
- 1 teaspoon salt
Filling
- 115 grams unsalted butter, softened
- 130 grams brown sugar, unpacked
- 30 grams breadcrumbs
- 30 grams all-purpose flour
- 75 grams condensed milk
- 1-2 cups breadcrumbs for rolling onto the bread
Instructions
Make Dough
- In a bowl, mix warm milk, yeast, and 1 tablespoon sugar. Cover and let sit for 5 - 10 minutes until bubbly and foamy.
- In a separate bowl, mix flour, salt, 3 tablespoon sugar and set aside.
- Once the yeast is activated, whisk in egg yolks and melted butter. Then pour the mixture into the bowl of dry ingredients.
- Mix until you get a shaggy dough and make a ball. If your dough is too wet, add more flour until you can make a ball. Then pour the flour mix onto a flat surface and knead for 10 minutes or if you are using dough hooks, 5 minutes. The dough is ready when you can roll it into a smooth ball.
- Place in a bowl and cover to let it rise for 1 hour or until doubled in size. This may take more or less time depending on your local environment.
Make Filling
- While the dough is rising, make your filling by mixing brown sugar and softened butter first. Then add breadcrumbs, all-purpose flour, and condensed milk. Mix together until you get a thick paste. Set aside.
Assemble
- Set your oven to 150°C (300°F). Once the dough has risen, remove from the bowl and cut into 16 equal pieces. Form each piece into a ball and set aside and cover.
- Make one roll at a time by first flattening one piece with the palm of your hand. Then pull at two edges to make two corners and tug down on a third edge to create an elongated triangular shape.
- Spread some filling onto the center of the dough then roll it starting from the side with two edges. Close the roll by pinching the seams. Gently roll the dough with your hand to make it longer if needed.
Baking
- Cover the filled rolls and allow them to proof for thirty minutes. Once they are puffy, bake them in the oven for 15 to 18 minutes. The bread is done when it is slightly brown and still soft on top.


Nancy says
Do you make your bread crumbs are make them? If so what brand do you buy,
Thank you in advance for the help.
Joanne says
Hi Nancy - thanks for waiting on my response (been busy moving)!
I used a generic brand of bread crumbs. What I did do differently was pulse the measured crumbs for a few seconds more in a food processor to make the crumb more fine!
Lex says
Thank you for the recipe!! I used this and my girlfriend’s amazing help to make them.
Joanne says
Hi Lex, thanks and I'm glad you liked the recipe 🤗 I love hearing from people who cook together - so sweet!