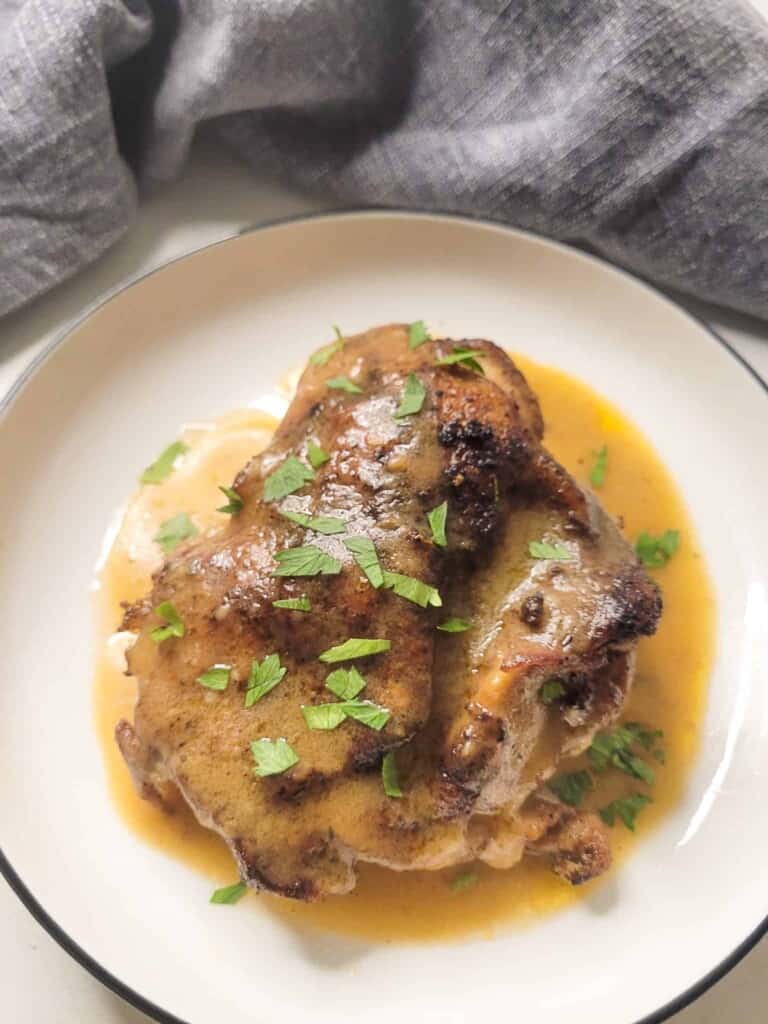
I love a good roasted chicken. But I don't like dealing with bones and not the type to try to roast an entire chicken. But that is why deboned chicken thighs exist! I am grateful for this juicy chicken meat easily cooked on a cast iron pan with few ingredients. I make this simple recipe every other week.
Update Disclosure: This post has been updated for one or more of the following reasons: easier reading, updated photos, clearer instructions, and just plain ol' improvements to the recipe (as noted).
Jump to:
The leftover juices in the cast iron make a delicious gravy to slather on rice, mashed cauliflowers, or potatoes! I like to consider this recipe a two-for-one deal because I don't have to worry about finding sauce for the chicken.
Why You'll Like This Dish
Do I have a list for you!
- It's succulent: The dish uses chicken thighs with skin which makes a juicy meat full of flavor and fat!
- Few Ingredients: You need only few things to season the chicken and it's easy enough to be flexible for whatever else you have sitting in your kitchen.
- That Gravy: When it comes to this dish, it's all about the sauce. Gravy goodness soaking in the chicken and a starch like rice and potatoes makes for one comforting meal.
Ingredients
A short list of ingredients means you're that much close to a great meal!
- Deboned Chicken Thighs with Skin
- Chili Powder
- Salt
- Crushed Black Pepper
- Butter
- Flour
Substitutes
- Meat: You can use a different type or cut of meat. But I recommend using a fatty cut so that it renders and transfers to the gravy.
- Chili Powder: This is easy to replace with anything else that suits your fancy. I like using chili powder because it's already a combination of many spices. If you have a spice blend that you think is perfect for this recipe, go for it!
Recipe Tips
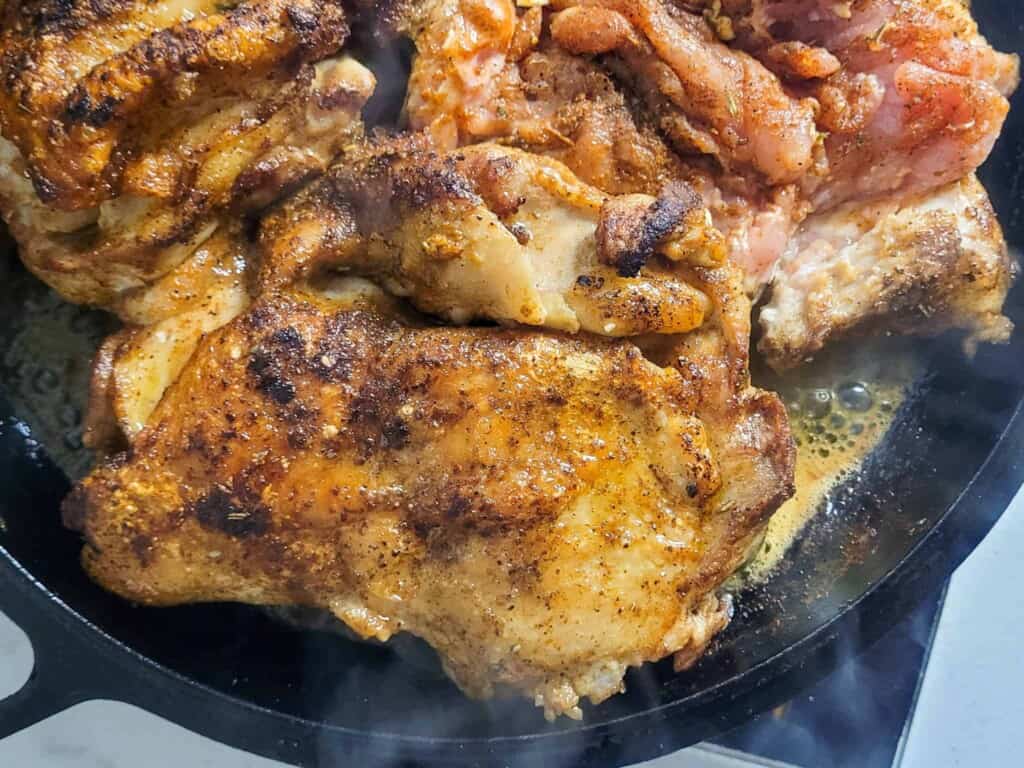
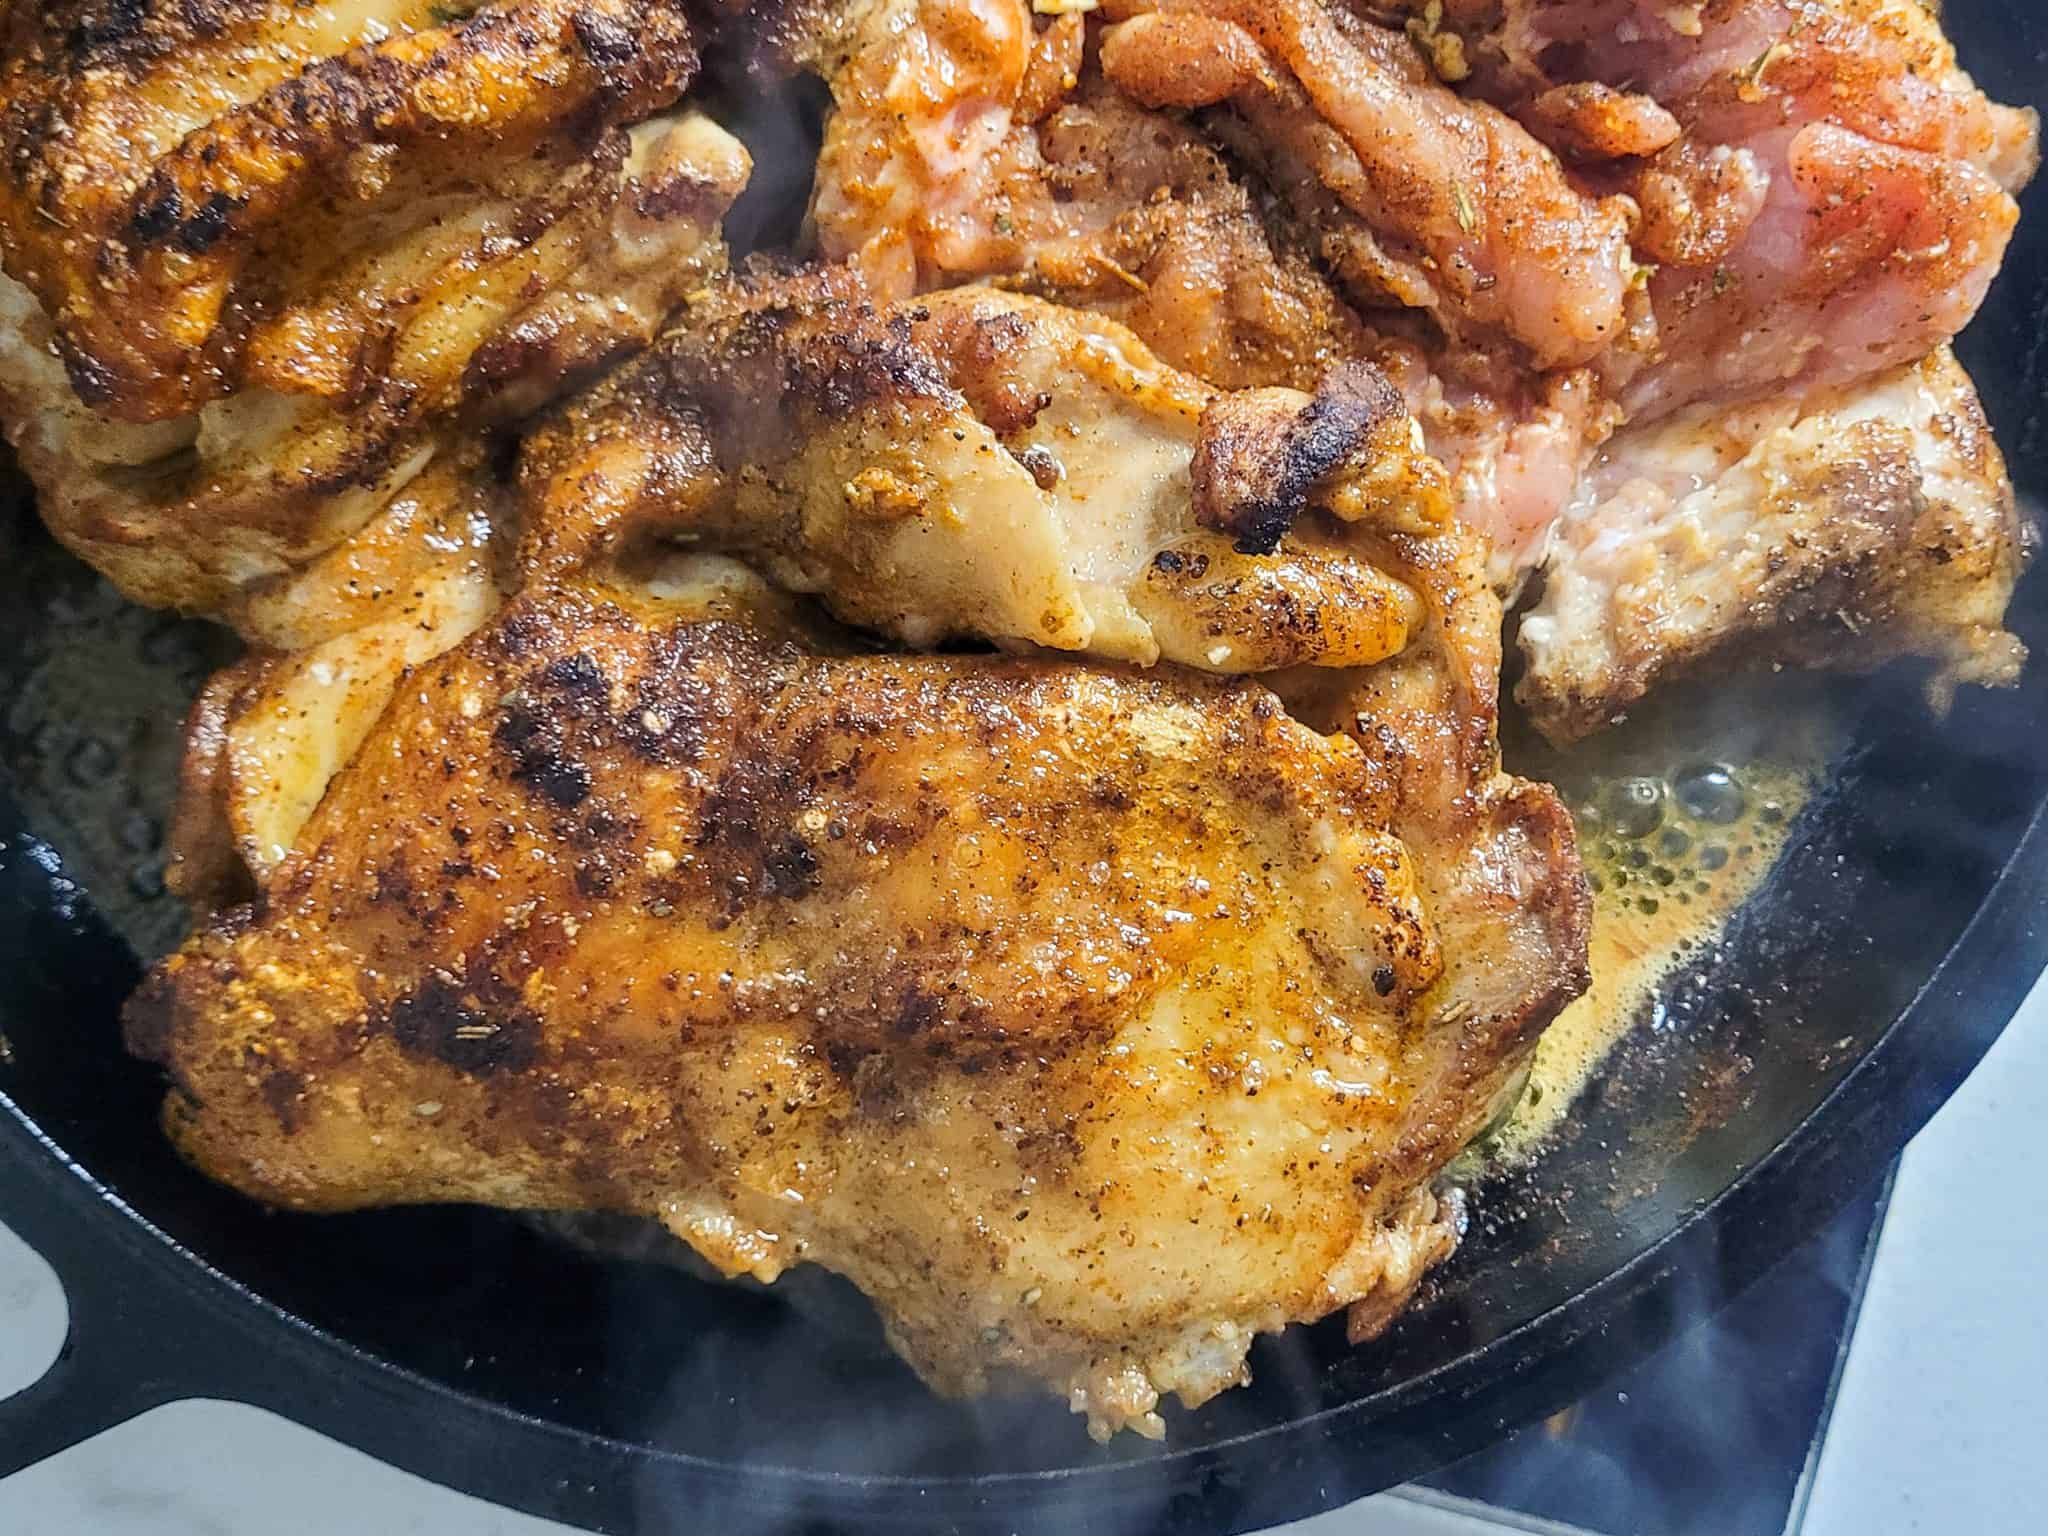
- Frying Chicken: When you cook the chicken, fry it skin side down first and wait until you can easily pull it off the pan. Then flip it over and fry it meat side down waiting until it easily comes off from that side.
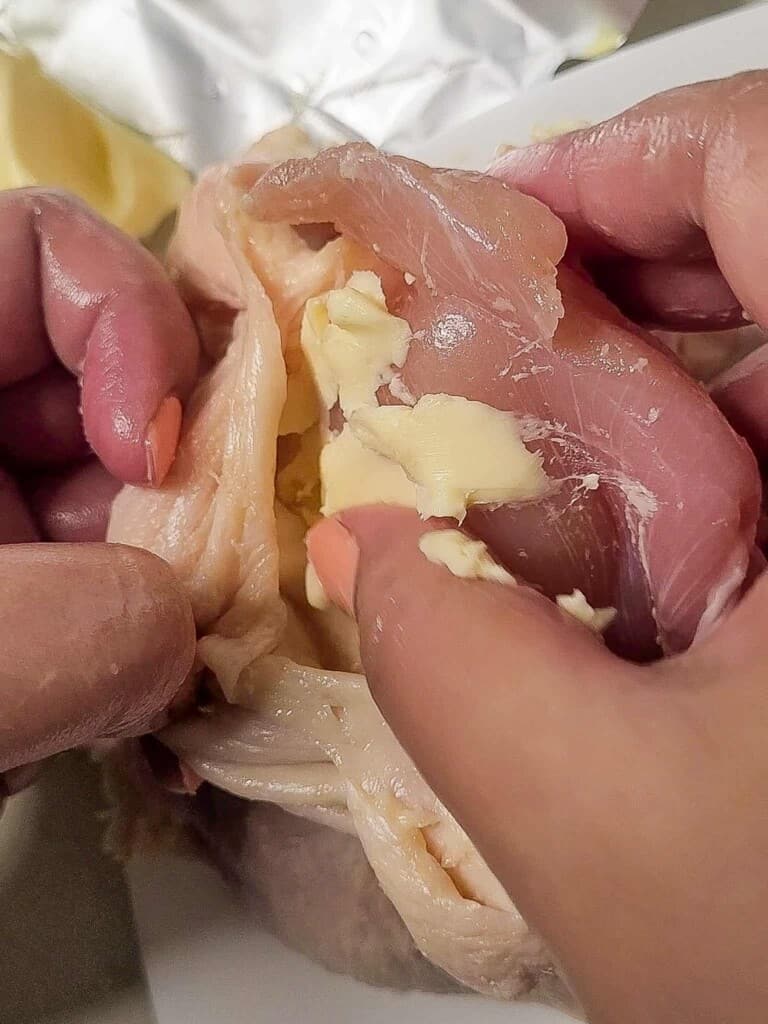
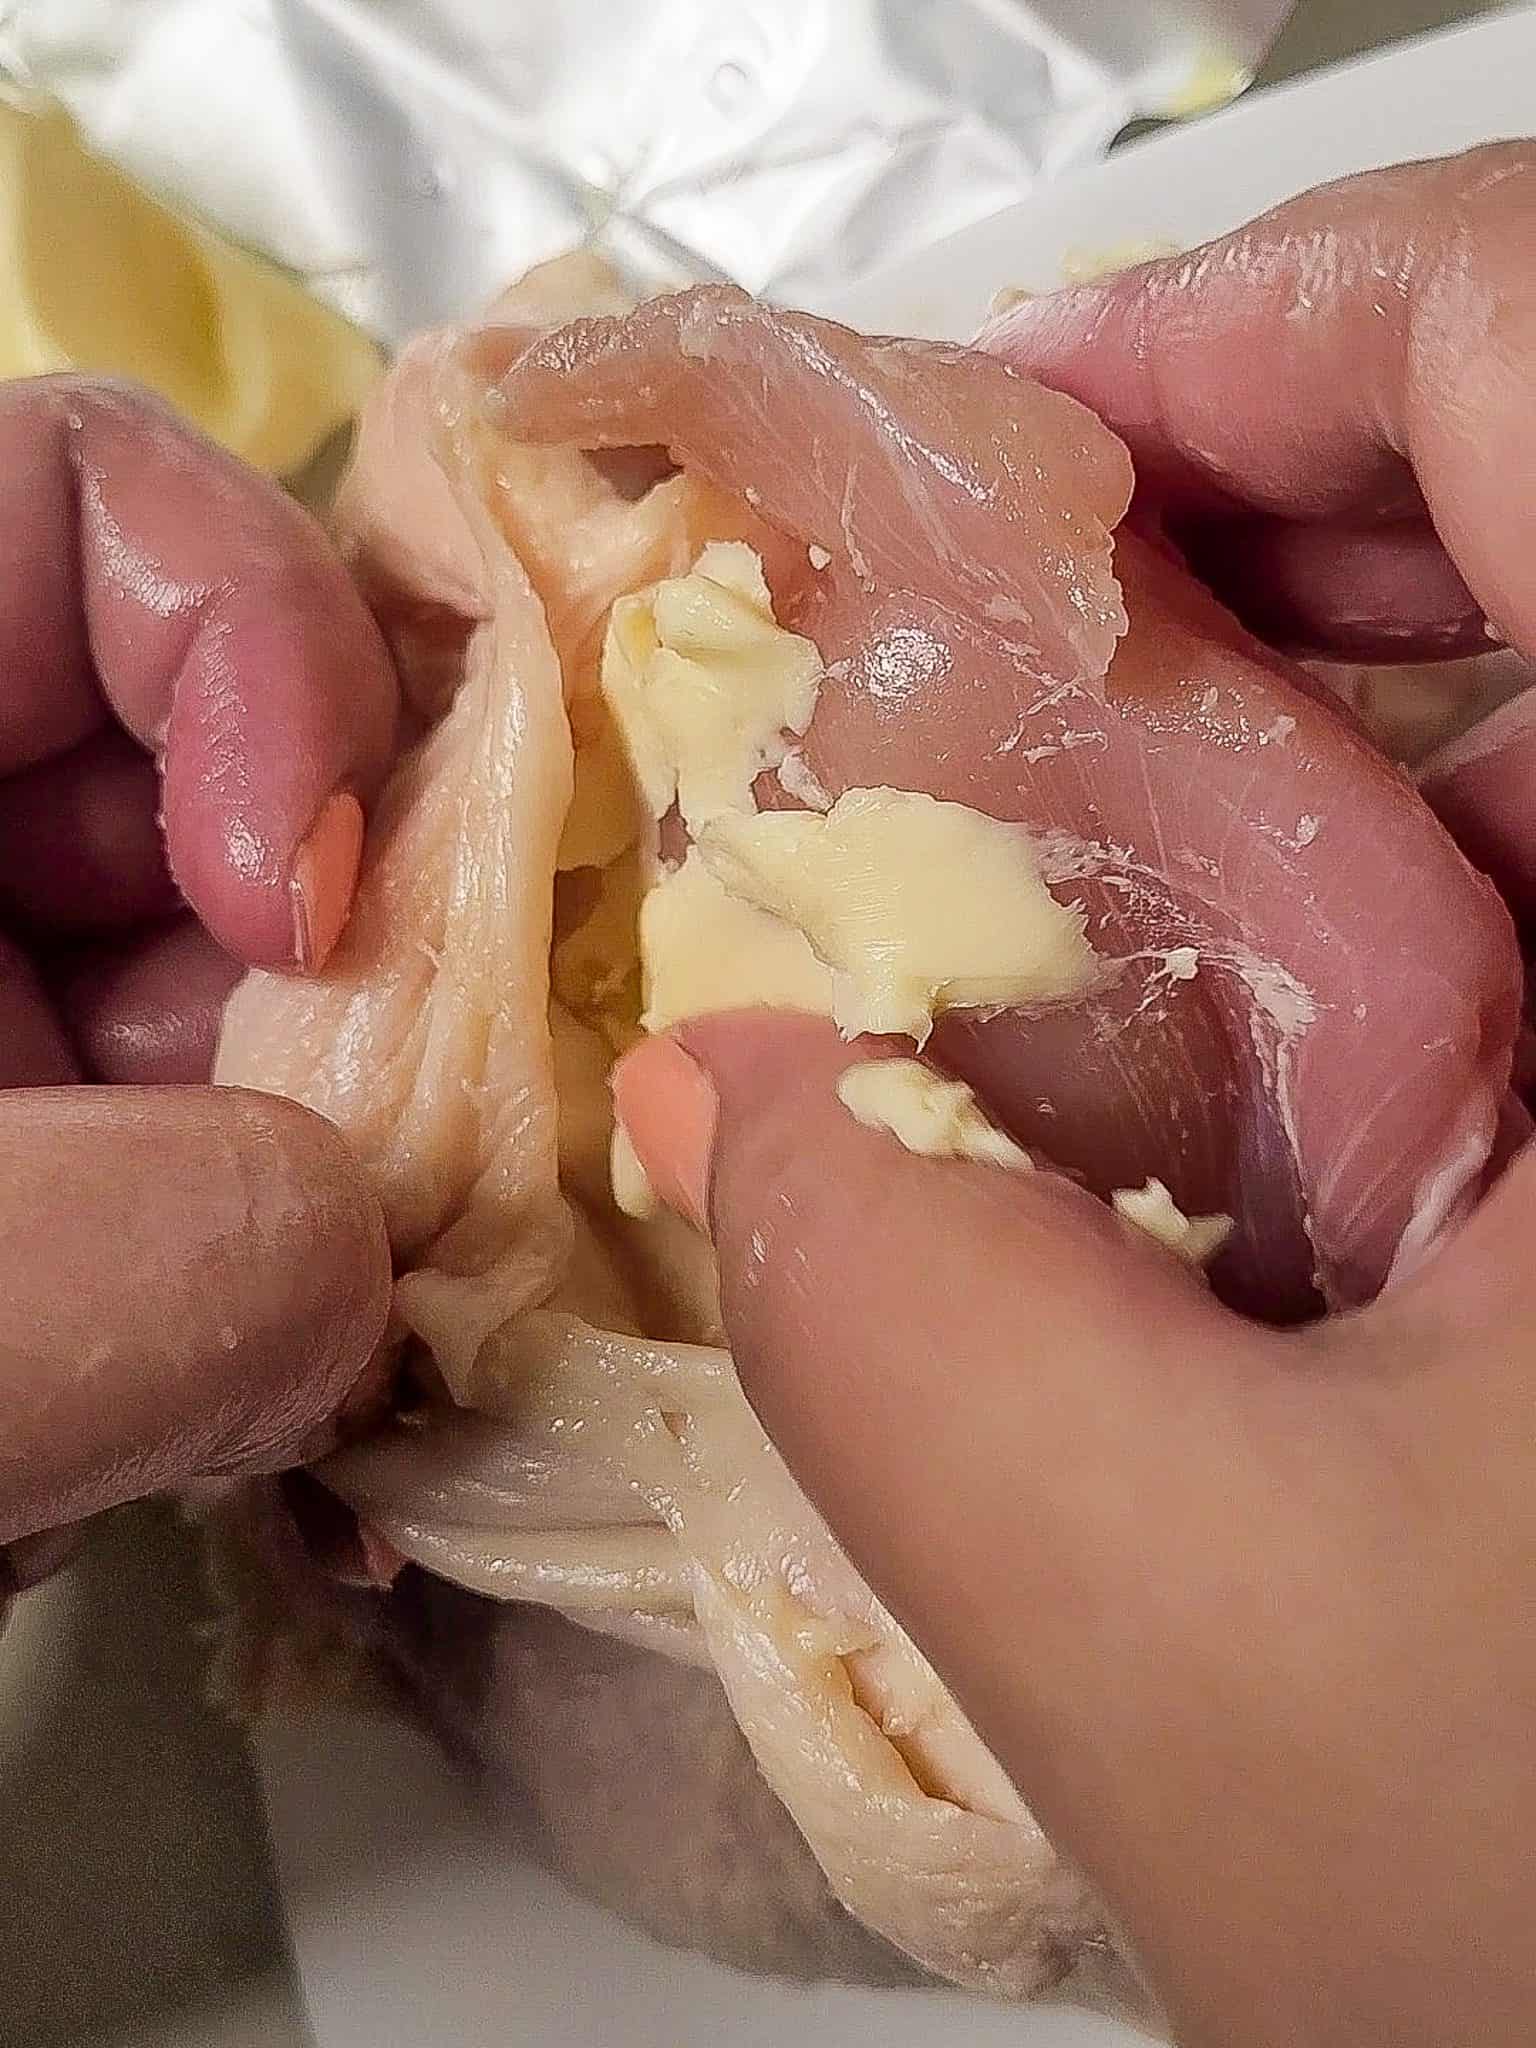
- Soften Butter: Using softened butter when adding it under the chicken skin will make spreading it around easier.
- Roasting: You might notice the chicken skin developing really dark spots even when the chicken is not ready. Cover the chicken thighs loosely with aluminum foil to avoid burned areas on the skin.
How to Make Cast Iron Chicken Thighs & Gravy
Before getting into the specific steps, preheat the oven to 200°C (~400°F) when it is ready.
Then do these next steps:
- Prepare the Chicken Thighs:
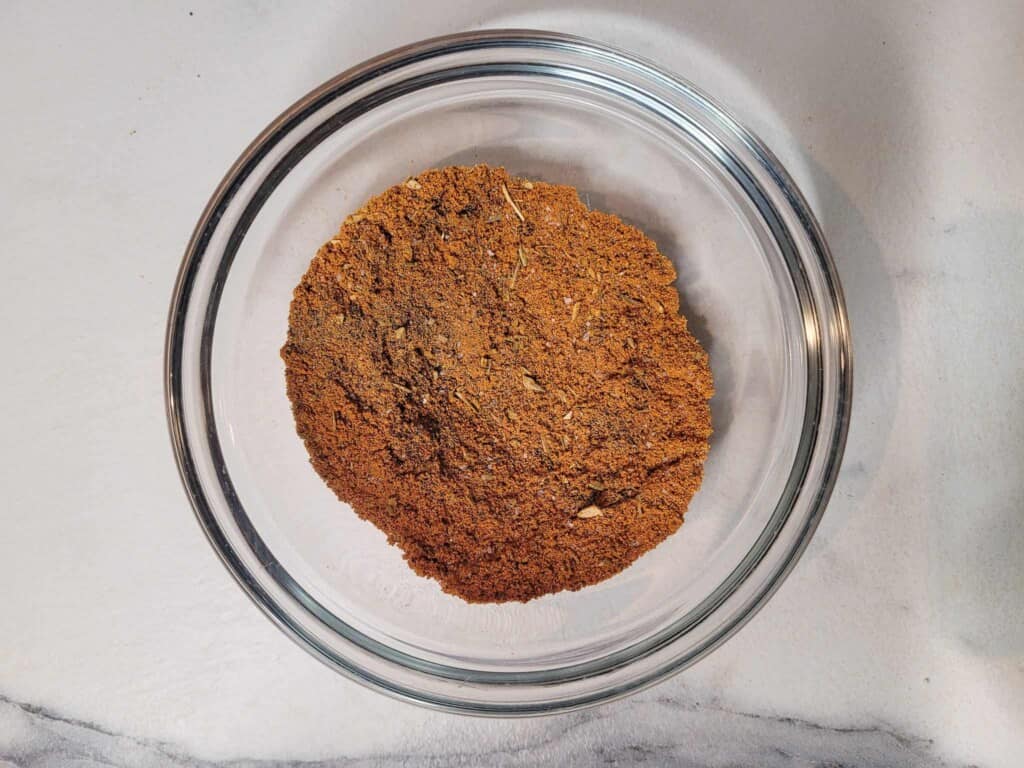
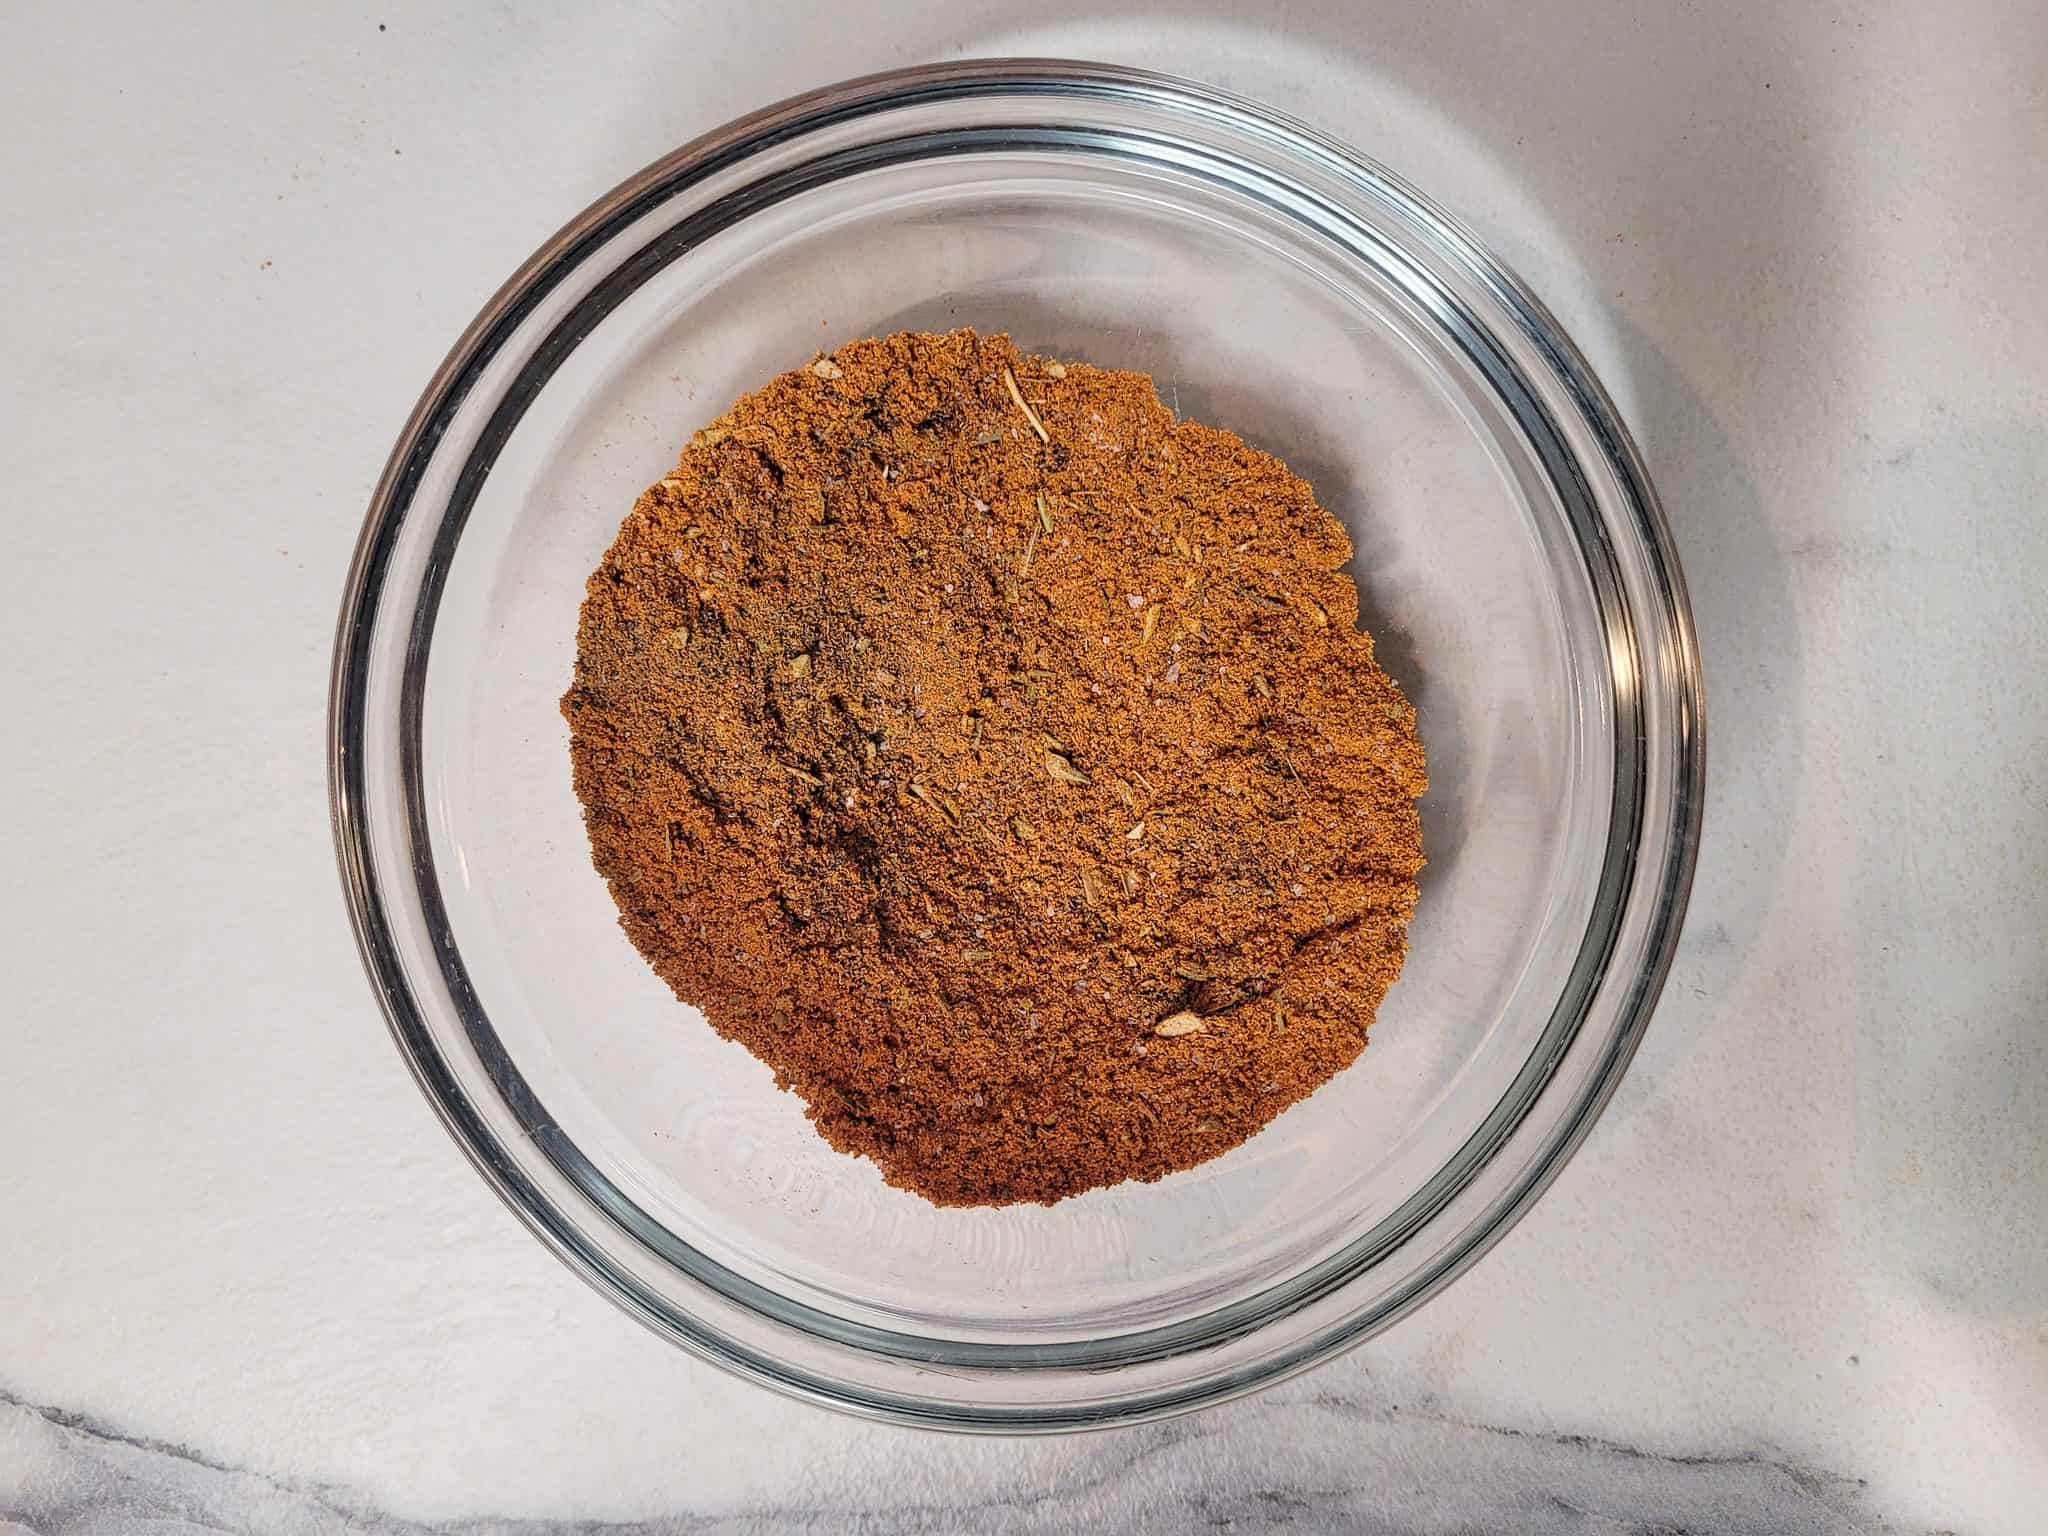
- Mix the chili powder, salt, and pepper in a bowl.
- Butter the Chicken:
- Gently pull the skin above the meat and make space for the butter with your fingers. Make sure the skin doesn't rip, and you have enough pockets to separate the meat and the skin but enough for the butter to be tucked inside.
- Season the Chicken:
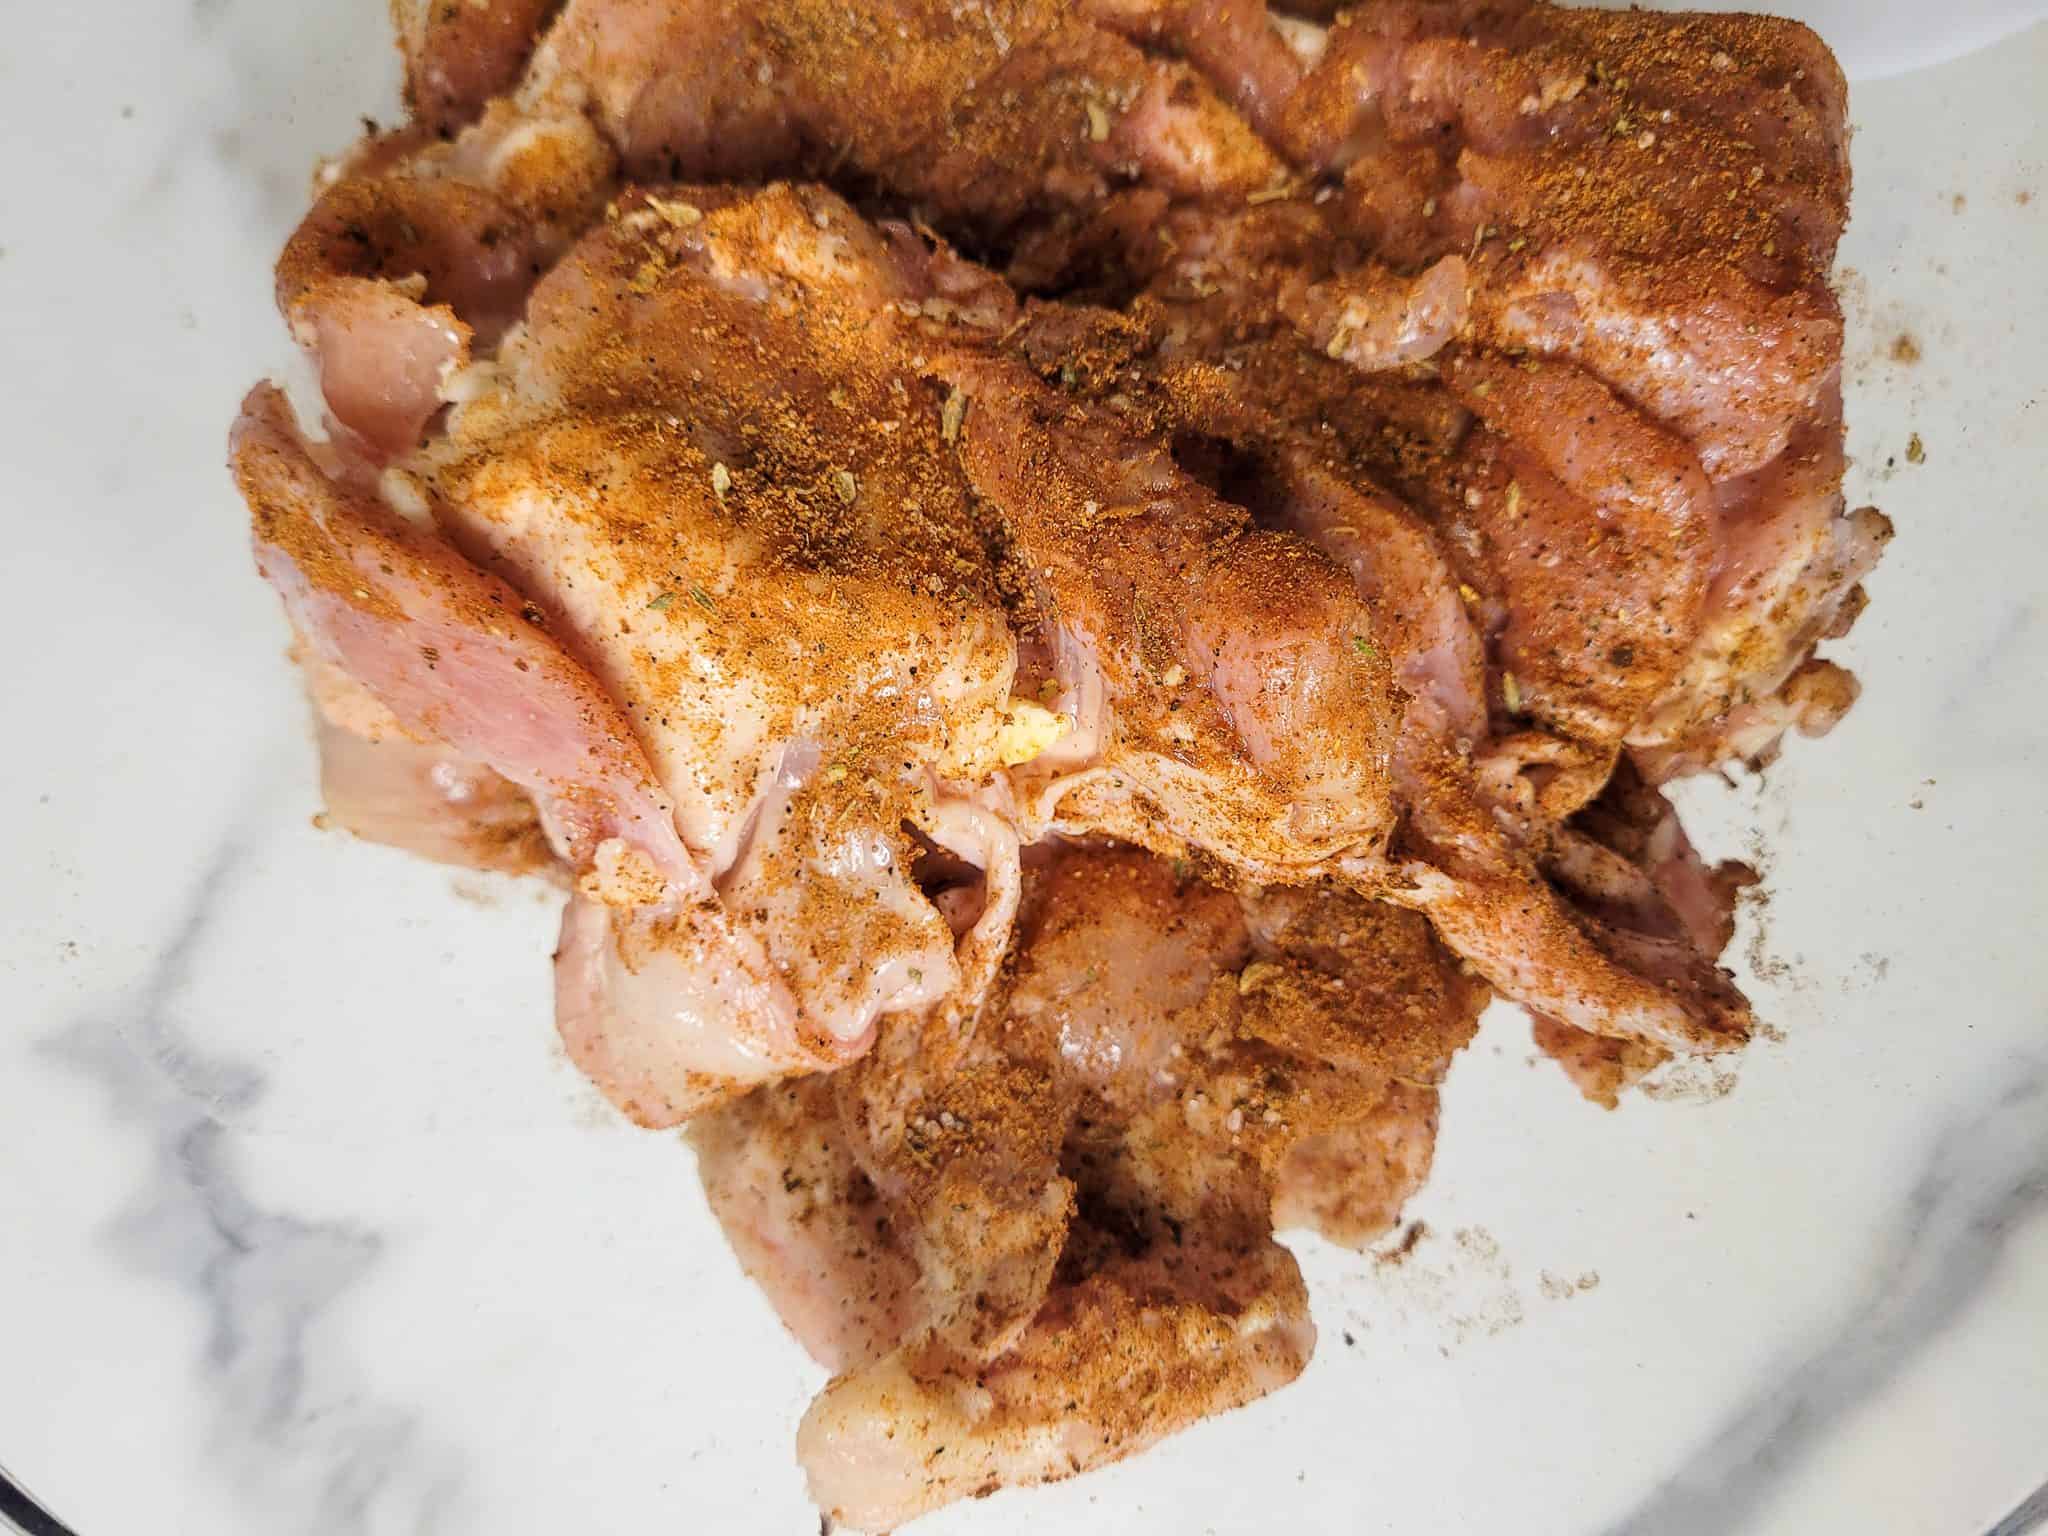
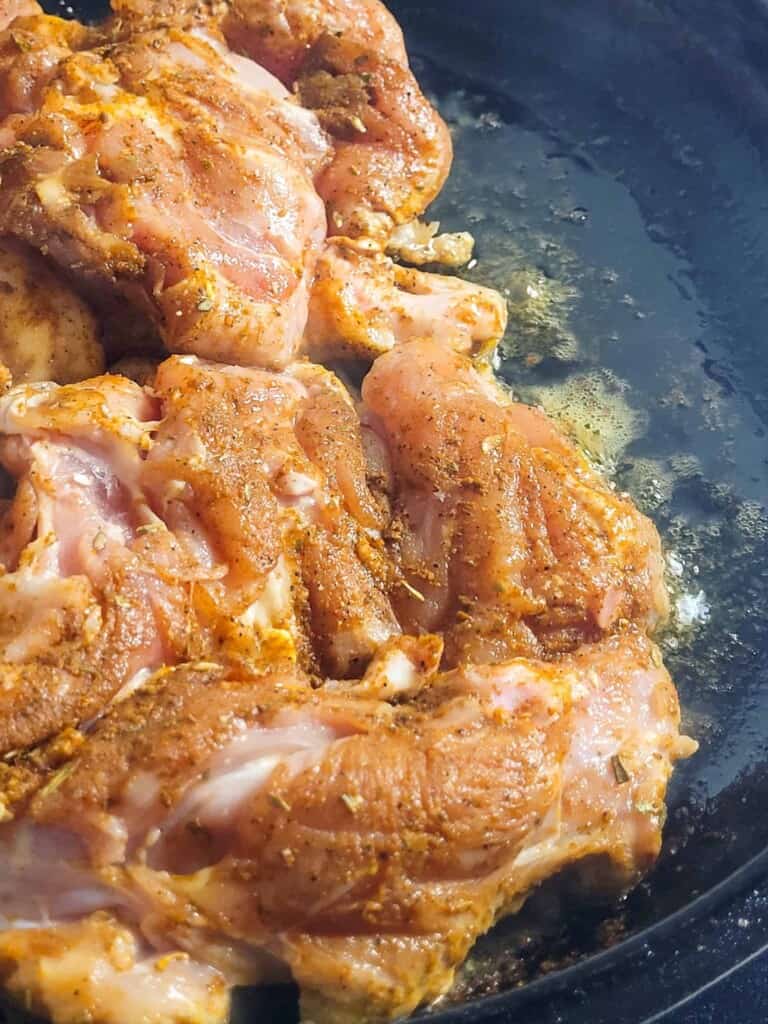
- Rub some spice over the chicken thigh pieces and place them in a bowl. Cover and let the dry rub sit on the chicken in the fridge for at least twenty minutes.
- Cook Your Chicken:
- Heat your cast iron pan and add oil once it's heated. Remove the chicken from the fridge and once the cast iron is hot, place the chicken thighs skin side down.
- Pan-fry the chicken thighs until they are ready to be flipped over. You will know when they are prepared because the skin will no longer stick to the bottom of the cast iron pan.
- Roast the Chicken:
- Roast the chicken thighs for about twenty minutes or until the inner temperature reads 75°C (165°F).
- Roast the chicken thighs for about twenty minutes or until the inner temperature reads 75°C (165°F).
- Make the Gravy:
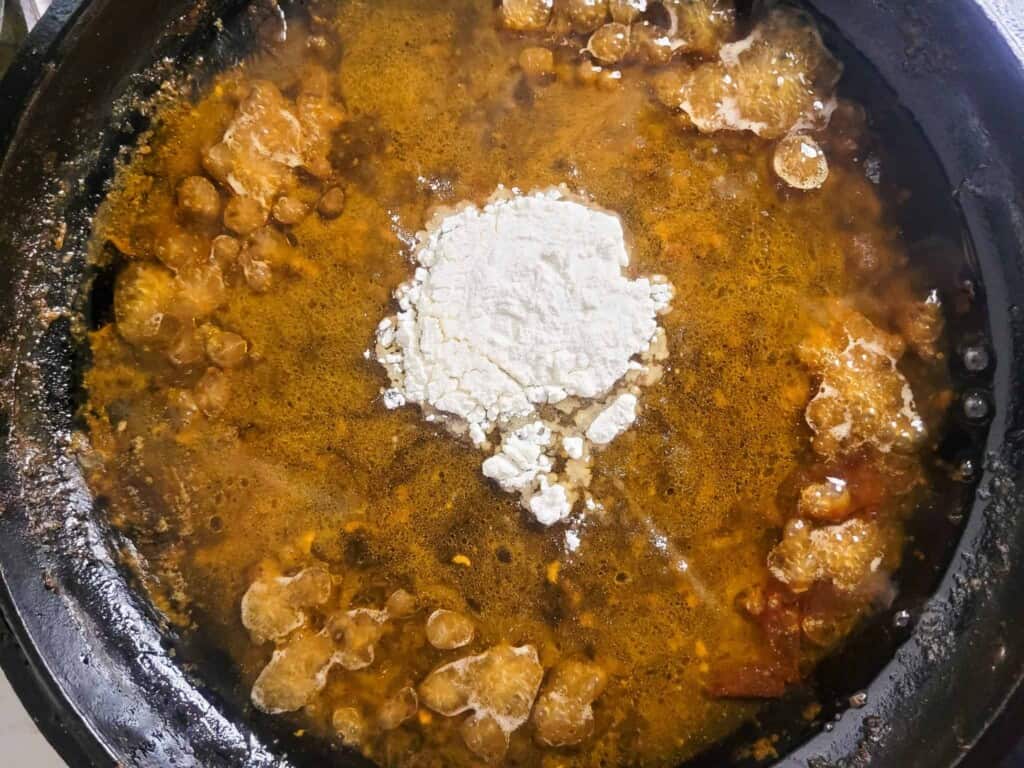
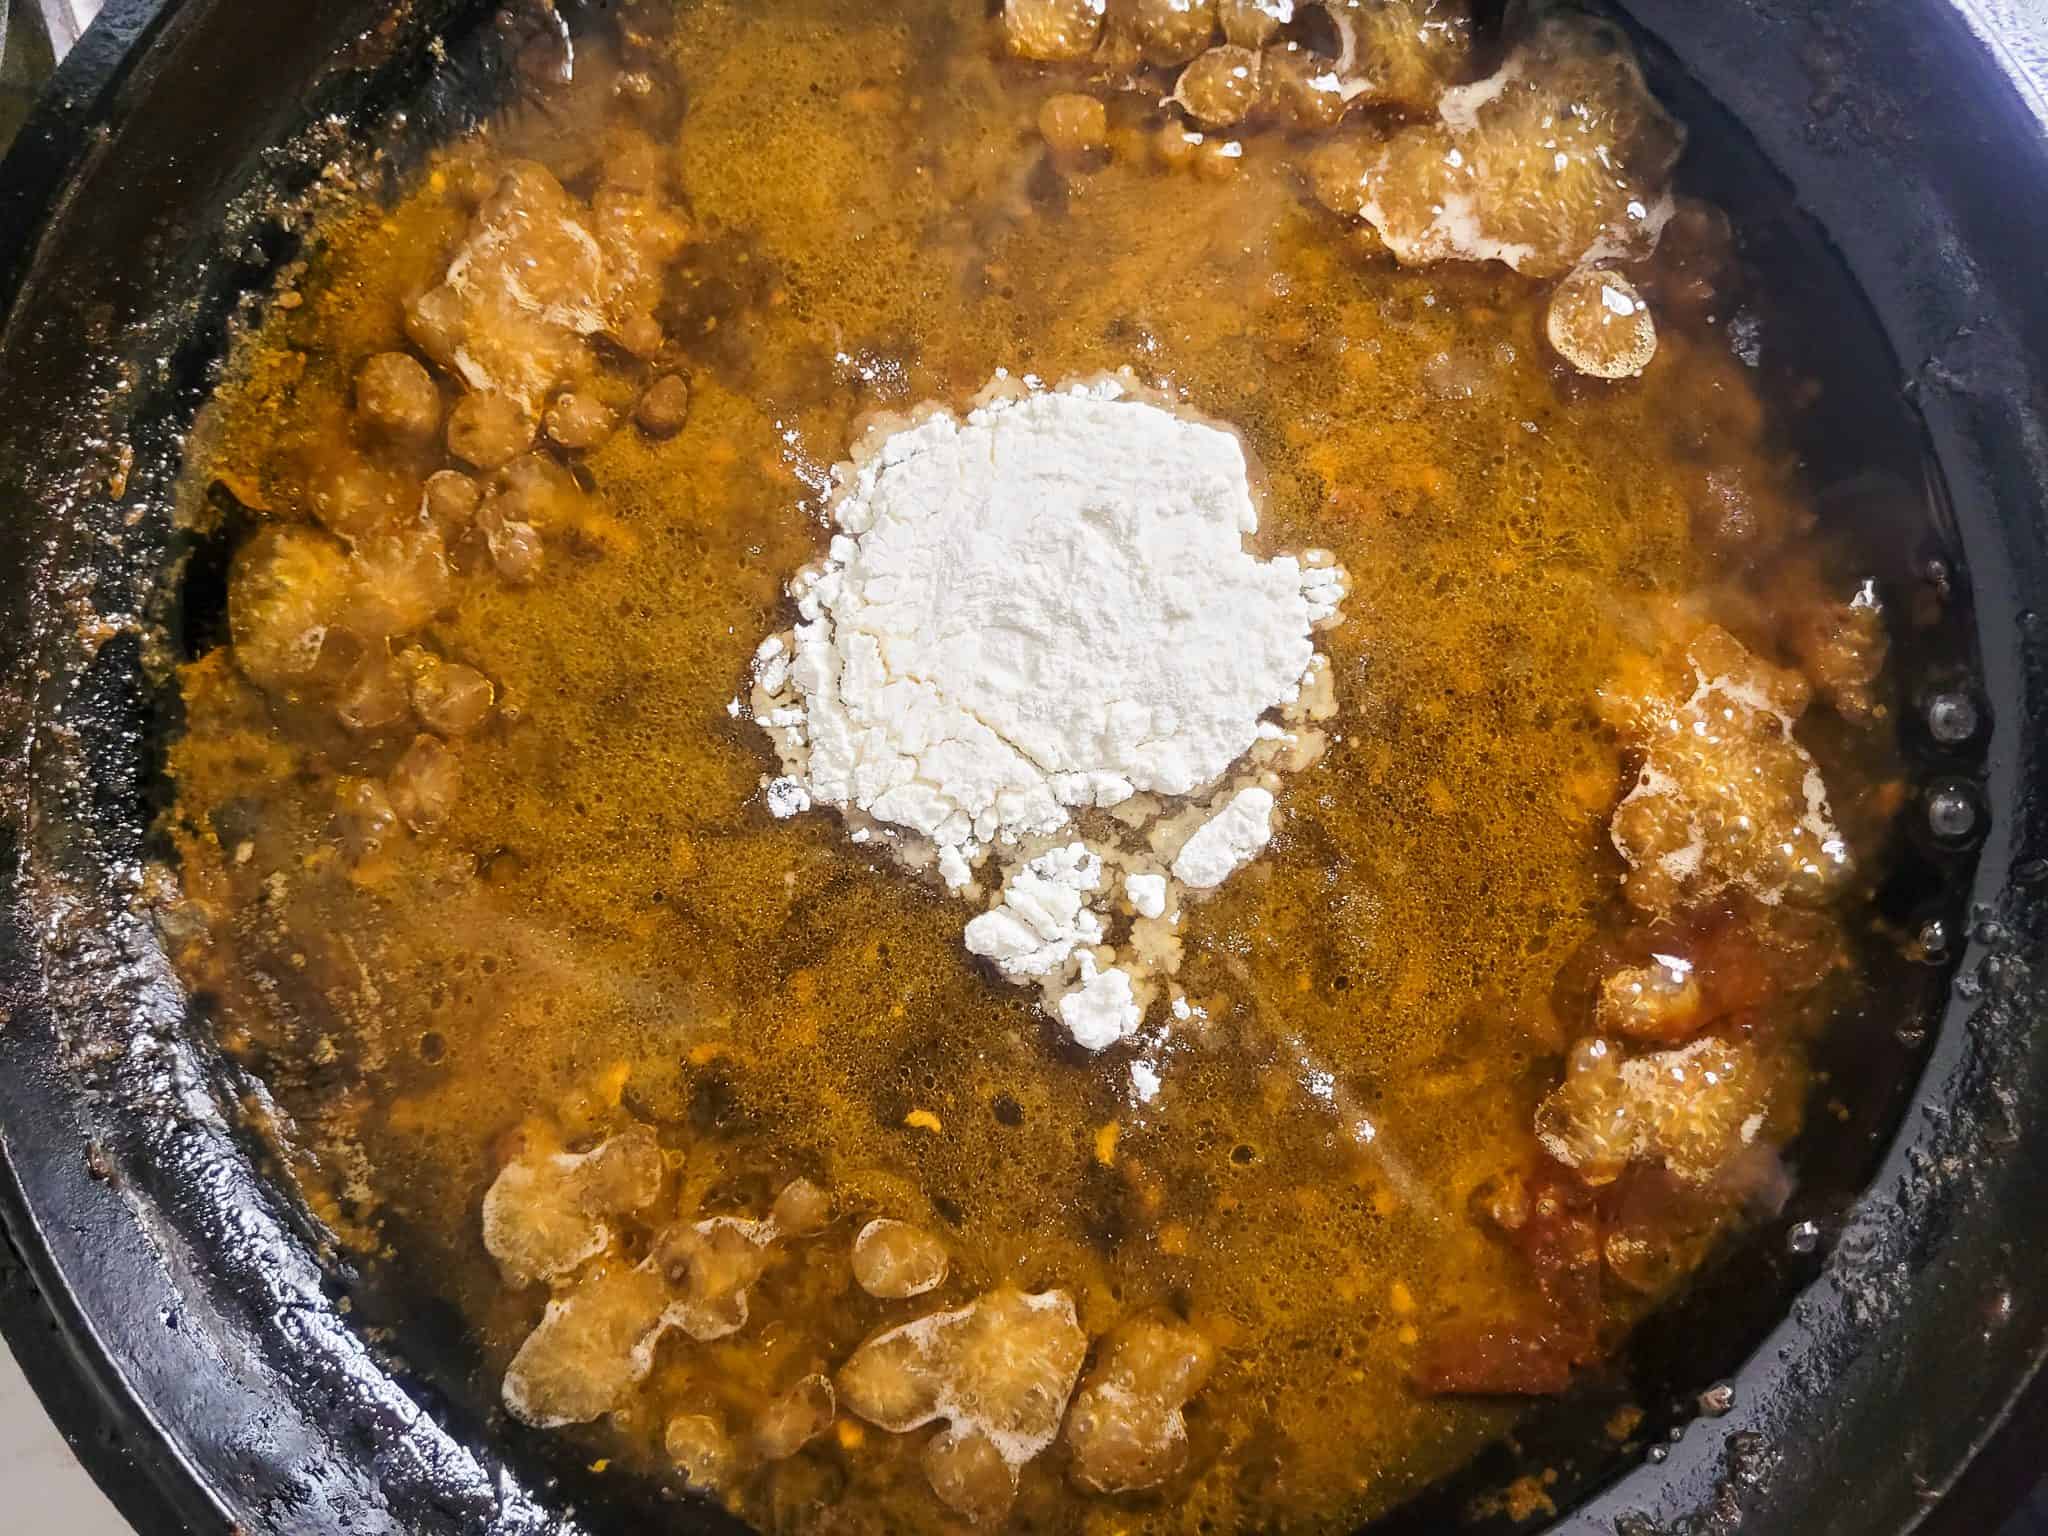
- Remove the chicken thighs from the cast iron pan, and set them aside. Then place the pan back on the stove on low to medium heat. Take the measured flour and add it to the rendered fat and butter.
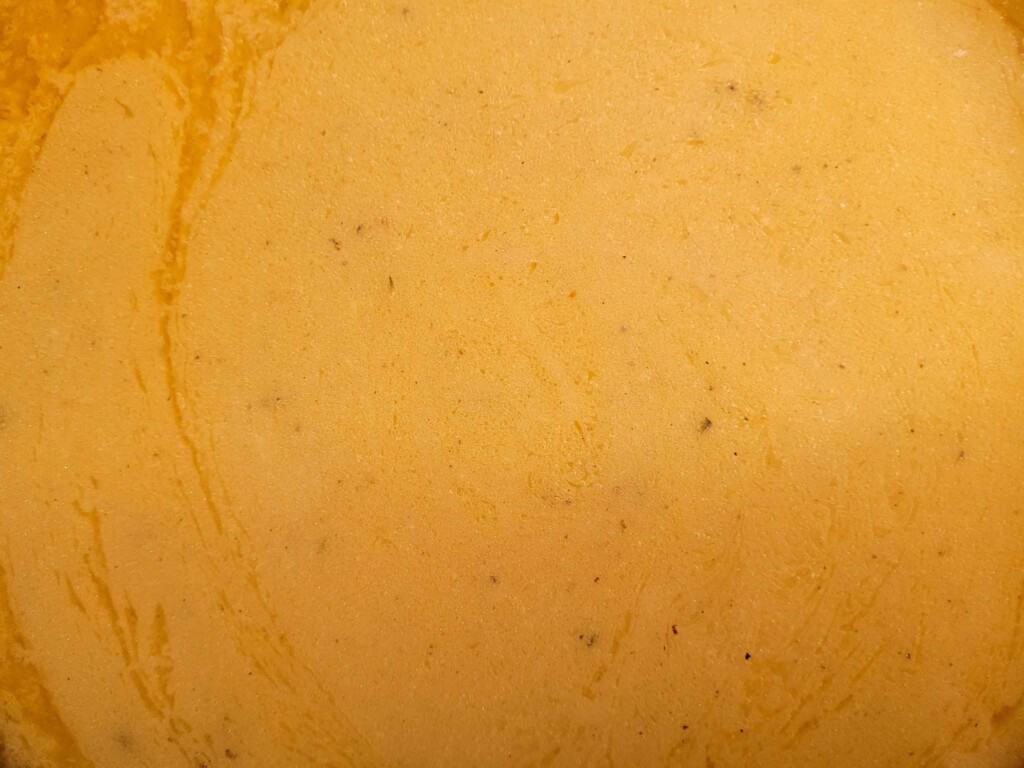
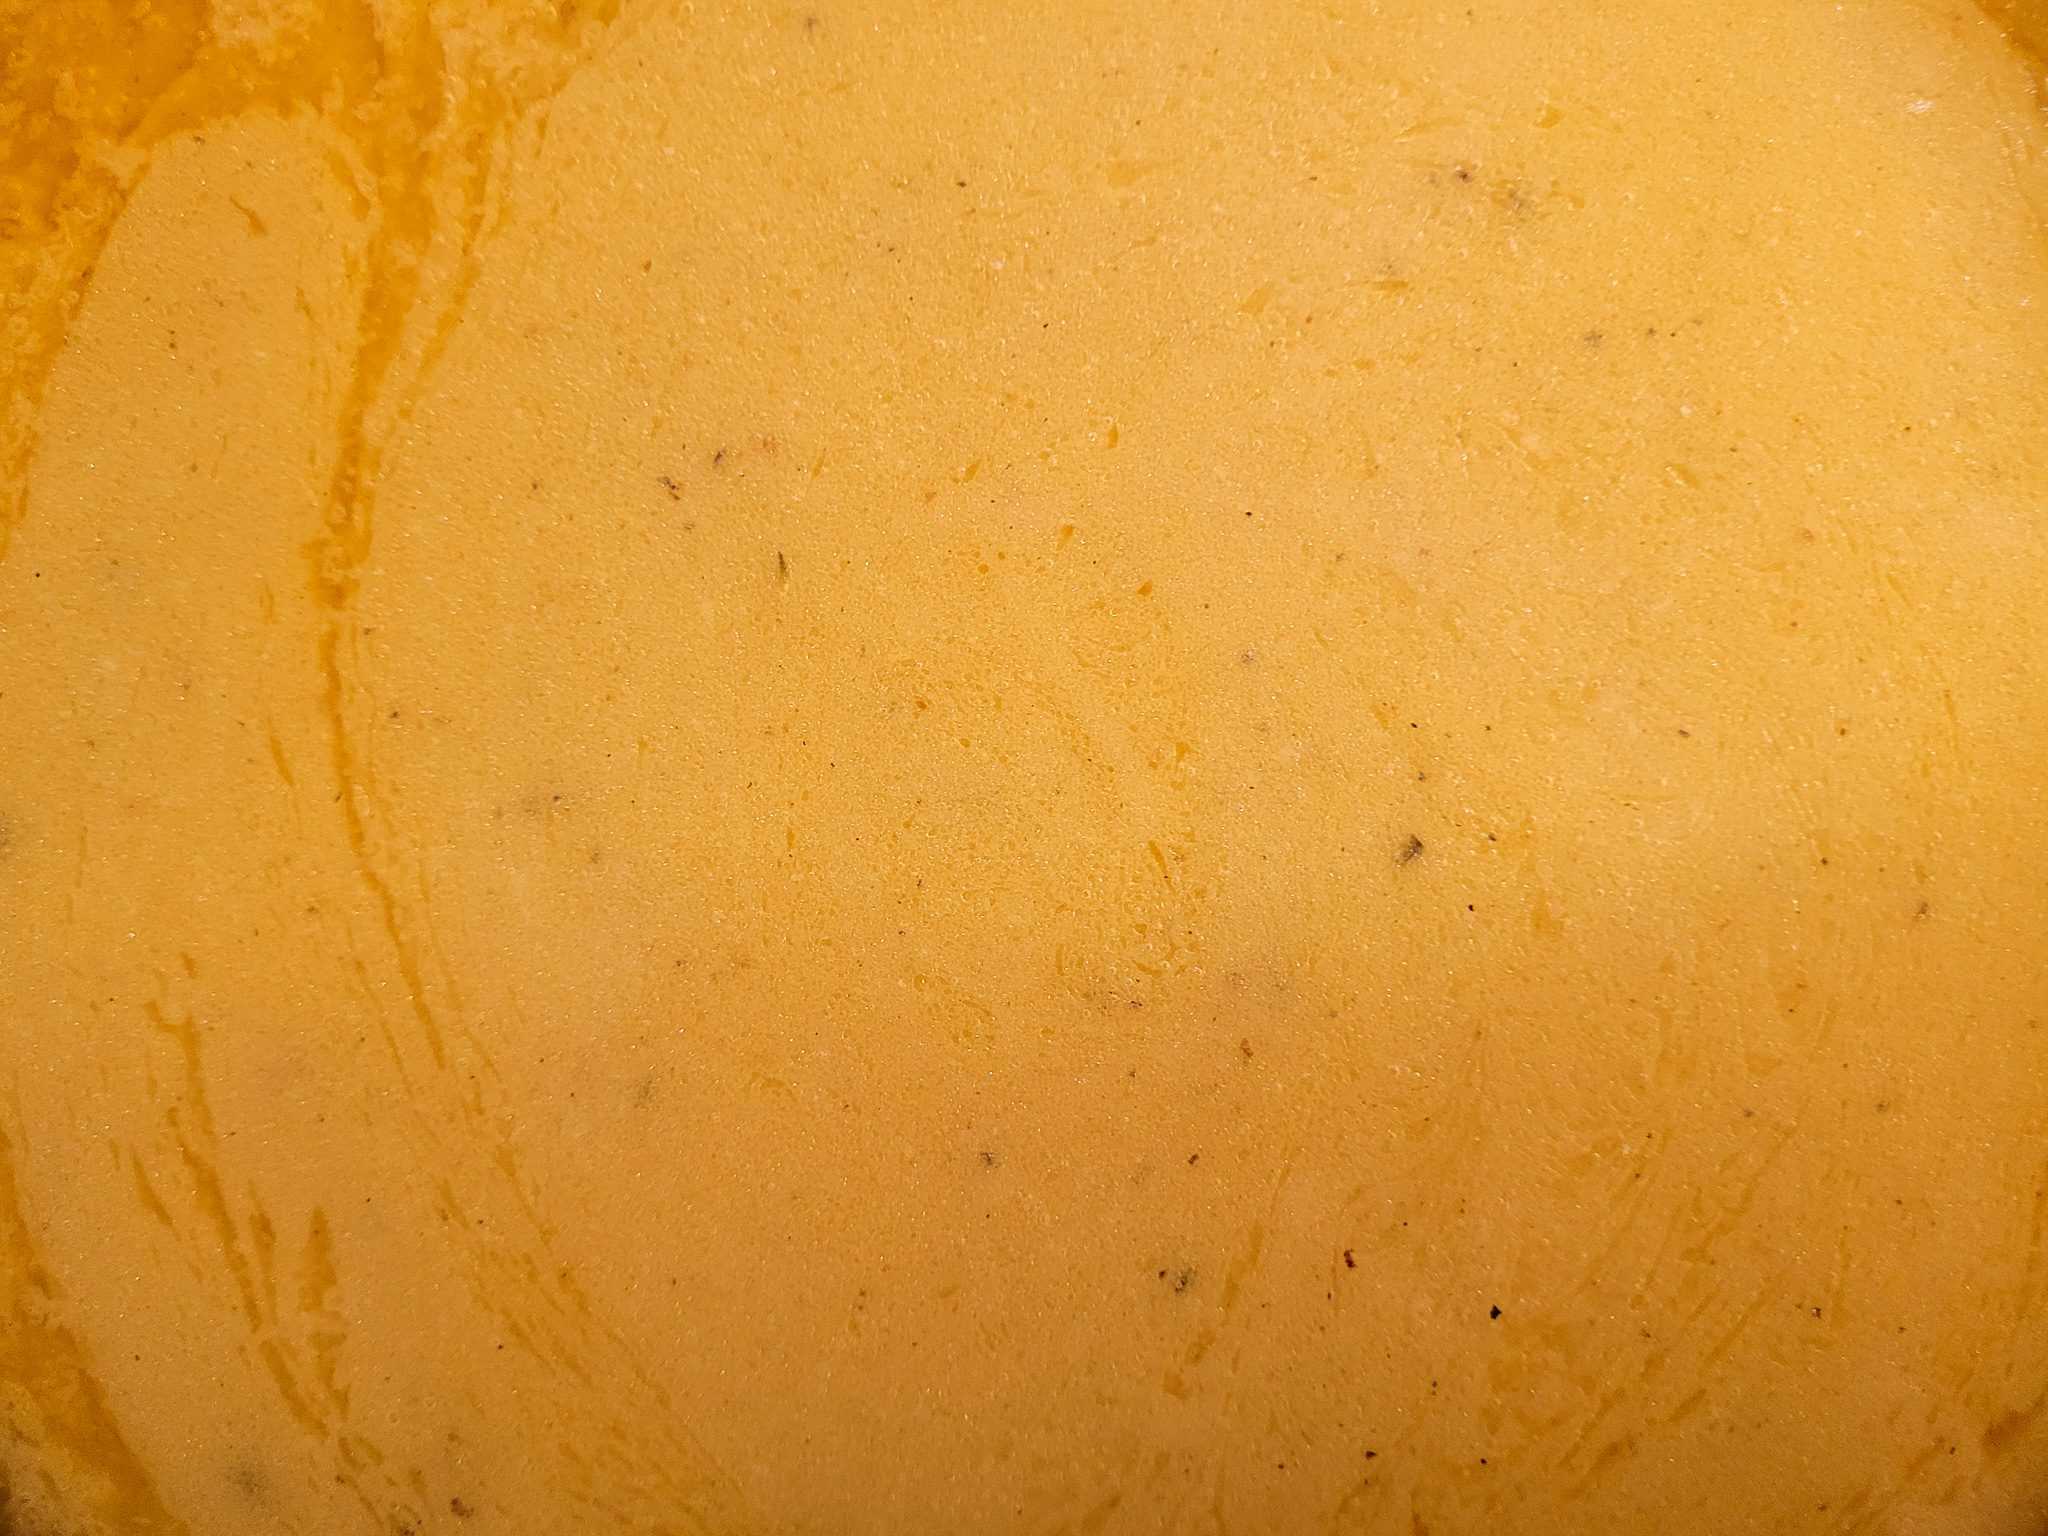
- Vigorously mix the flour to the rendering until lumps have disappeared. Keep mixing until smooth and thick.
How to Serve
I typically eat these chicken thighs and gravy on top of white rice or steamed vegetables. The chicken skin is crispy, while the meat is tender. The gravy flavor takes the front and center of every plate I have made, so I like to keep the sides plain and simple.
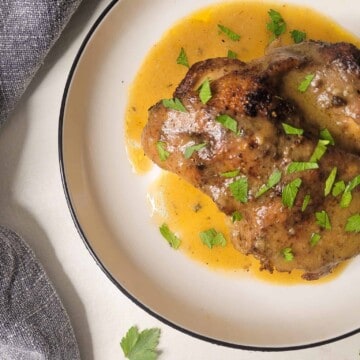
Cast Iron Chicken Thighs Recipe
Disclosure
The equipment and ingredients sections contain affiliate links to products I love to use as well as items that I personally believe make this recipe the best version of itself.
Ingredients
- 1 kg chicken thighs, with skin
- 2 tablespoon chili powder
- 1 tablespoon salt
- ½ tablespoon black pepper powder
- 60 grams butter
- 1-2 tablespoon flour for gravy
Instructions
Cook Chicken Thigh
- Preheat the oven to 200°C (400°F). In a small bowl, combine chili powder, salt, and pepper.
- Pat the chicken dry and use fingers to make small pockets between the chicken meat and skin. Gently tuck the pieces under the skin of the chicken.
- Sprinkle and then rub the chili seasoning on both sides of each chicken thigh and stack the thighs in a bowl. Cover and put in the fridge for about 20 minutes.

- Place a cast iron skillet on the stove on medium to high heat. Add a tiny bit of oil in the skillet.
- Pan fry the chicken skin side down until it no longer sticks to the pan. Turn the chicken thigh over and continue cooking for one minute. Transfer the cast iron to the preheated oven and bake for 20 mins or until the chicken's inner temperature reaches 75°C (165°F).
Make Gravy
- Place the cast iron back on the stove and remove the chicken thighs. Turn the heat back on to a low setting. Add the flour to the drippings and whisk to eliminate lumps.
- Cook until the gravy is thick and smooth. Turn off the heat when it reaches a gravy consistency you like.
Nutrition
Have You Tried This Recipe?
Simply rate the recipe by clicking on the ⭐️s on the recipe card. Have something to say? Please leave me a comment down below telling me what you think of this recipe.
Bonus: Let me and other readers know what you did to make this recipe your own - 💫 let's inspire each other!
Also, follow me on Instagram [@seesfoodwilltravel] and send me a DM with a picture of what you made. I would love to share and celebrate YOUR creation with our budding community 💞
Check out Sees Food, Will Travel on Pinterest and Facebook for more delicious updates.


Leave a Reply