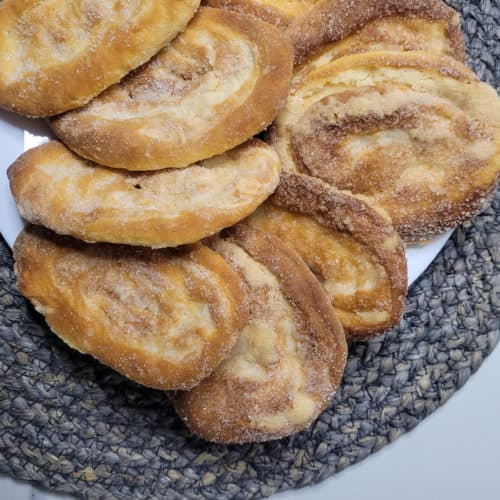
Otap is one of several popular pastries in the Philippines. This effortful homemade otap recipe is a great idea for those who like to show their love through food. They are reminiscent of French palmiers. As a child, I remember eating these mindlessly, taking bite after bite, and quickly devouring its little bits. My favorite part is collecting the remaining sugary crumbs and sliding them into my mouth using the wrapper! Go here to see the step-by-step instructions with tips.
What is Otap
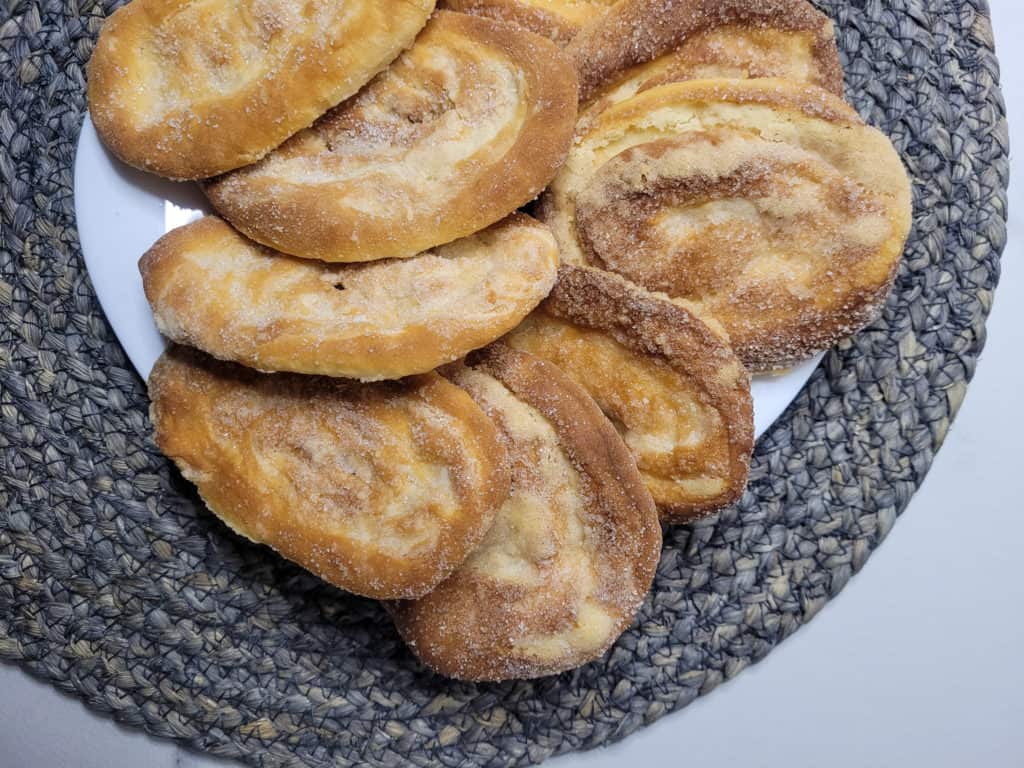
Otap or utap in Cebu is a famous cookie (sometimes considered a biscuit) wrapped in white parchment paper and usually sold packed in boxes. It is a popular type of pasalubong (travel gift) among Filipinos who travel domestically for vacation. Just like pandesal or Kababayan bread, you wouldn't buy Otap as an individual item. In Cebu, a popular destination for local vacationers, a heaving box filled with otap is on the shortlist for gifts to bring back home.
Otap is similar to the French pastry, palmiers. One of the key differences between otap and palmiers is the ingredients used in laminating the puff pastry base. Otap uses vegetable shortening and yeast, whereas most typical puff pastry only includes butter between its layers. Also,the shape of French palmiers resembles a heart, but the otap shape is oval after the dough gets rolled and cut into pieces like cinnamon rolls that get flattened with a rolling pin.
Otap Ingredients
Otap ingredients include milk, yeast, sugar, salt, egg yolk, vegetable shortening, butter, and flour. Then, butter, vegetable shortening, and flour are combined to spread across the dough. The mentioned ingredients are rich and indulgent, so I suggest making these when a party is coming up, and you want to send people home with some treats to drink with their coffee the next day!
Otap Recipe Step-by-Step
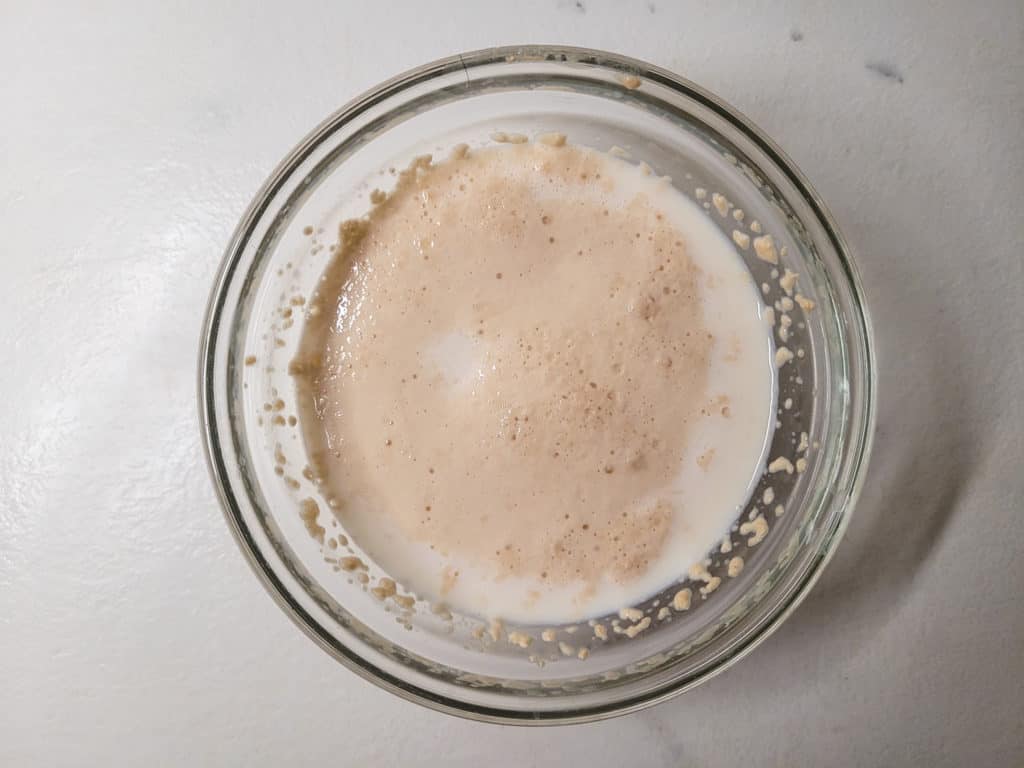
There are three main steps to making this pastry. The first step is making the activator with milk, sugar, and dry yeast. Mix them together in a bowl until light and bubbly.
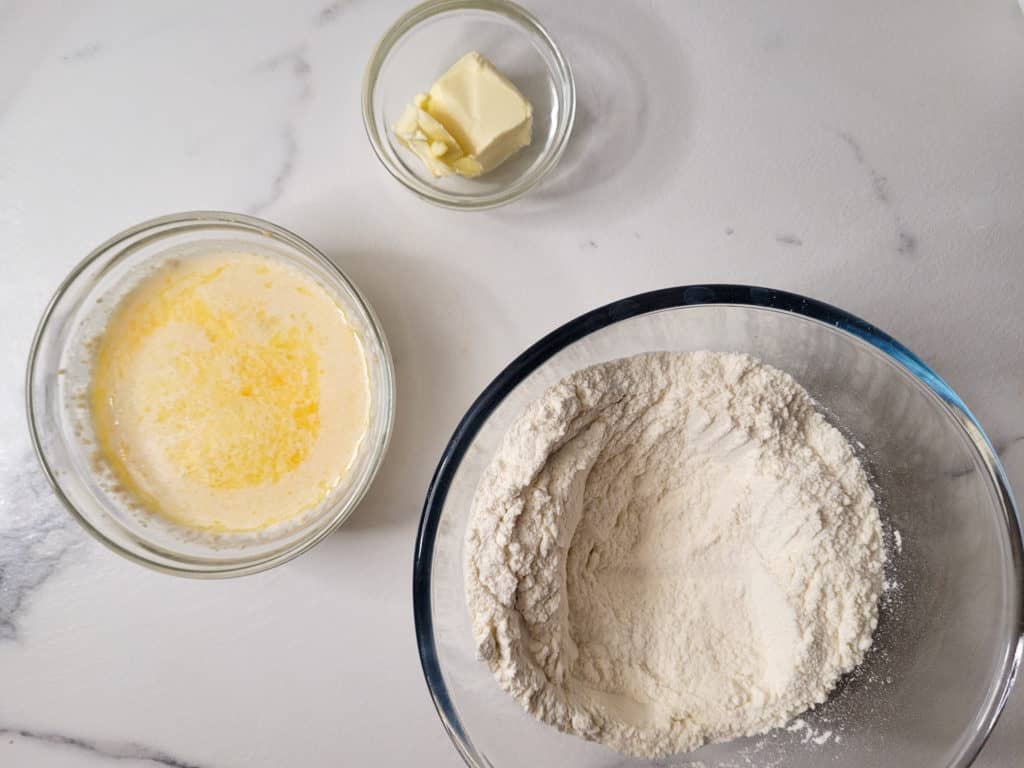
While the yeast is bubbling in the milk, add sugar, salt, egg, shortening, and flour, then whisk together.
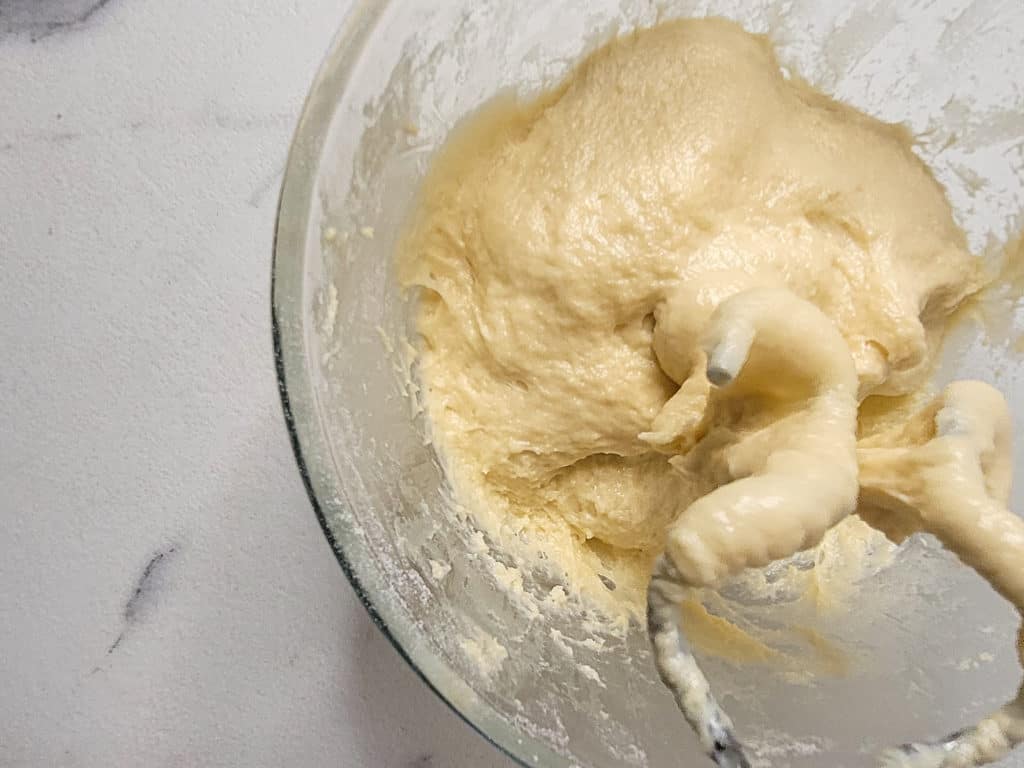
When the yeast is ready, pour it into the bowl of flour and use an electric mixer with dough hooks to knead the dough. This step can take about five minutes.
Tip I suggest doing the windowpane test to check the gluten formation. Take a piece of dough and stretch it out between your hands. If the dough doesn't rip and you can see through the thinnest part of the dough, then it's ready for the proofing stage.
Set the dough aside and let it rise for one hour or until it has doubled in size.
Tip If you don't see your dough size increasing, you can make a humid environment to help the yeast work harder. Put a mug of water in a microwave for one minute. Then place the bowl filled with dough next to the hot water in the microwave. Do not microwave it! The hot water will continue steaming the microwave, creating a humid environment that encourages yeast to be more active. After half an hour, check on your dough, and you should see a change in size!
Make the Filling
While the dough rises, make the filling by mixing butter, shortening, and flour. Whisk them together until you create a thick paste and set the bowl aside. Before shaping the dough, this is also a good time to preheat your oven to 180°C (350°F).

Shaping Otap
When the dough size has expanded, place it on a flat surface sprinkled with flour. Roll it out to a rectangle the same way you would for cinnamon rolls. Take the bowl of filling and spread it across the dough.
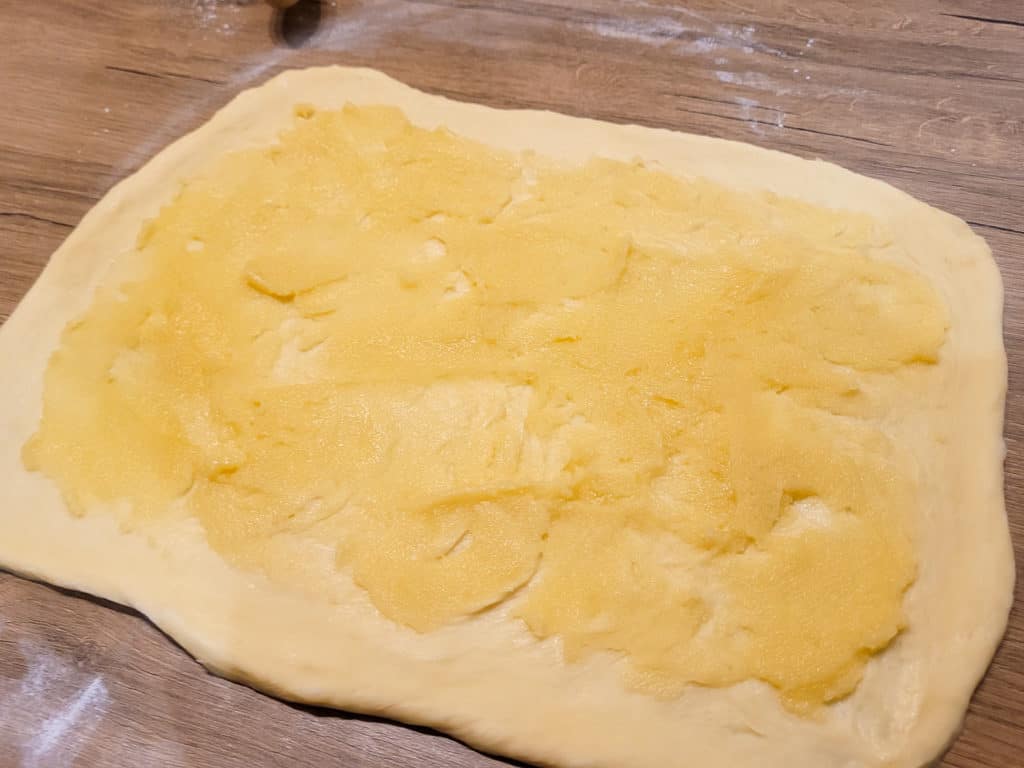
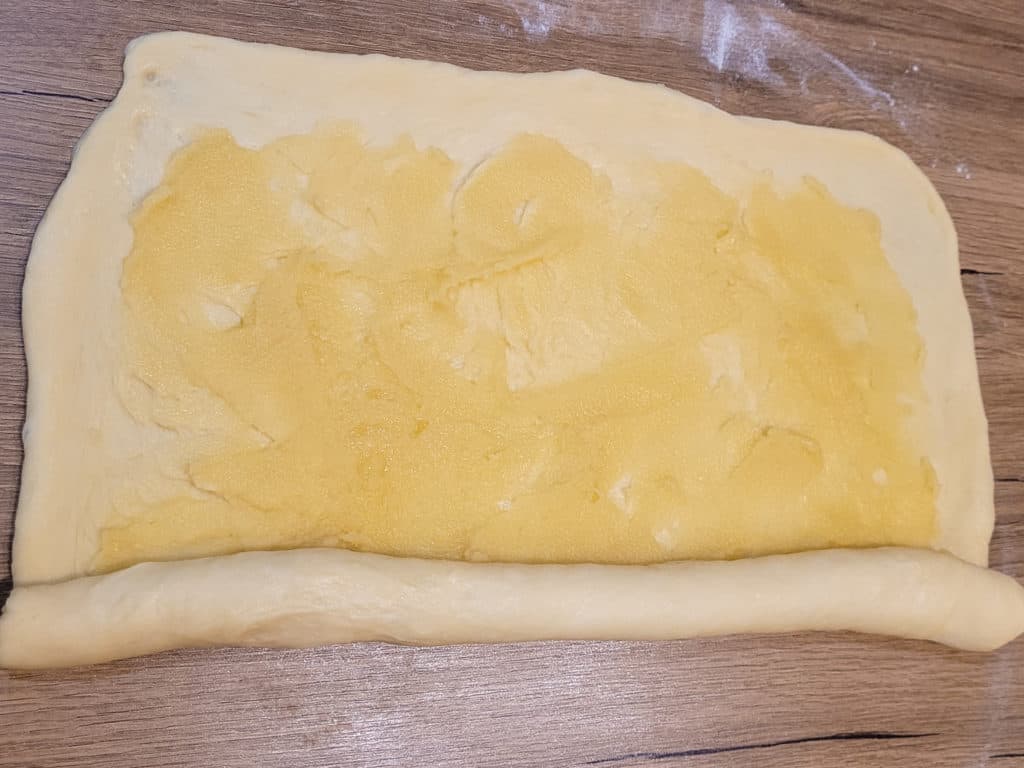
Roll it up from the long side and pinch the edges to close the log. Slice the log into pieces about a half-inch thick. If you want a smaller and thinner otap, slice thinner pieces.
Use a rolling pin to flatten the sliced pieces. You should see the circular layers you made from rolling the dough.
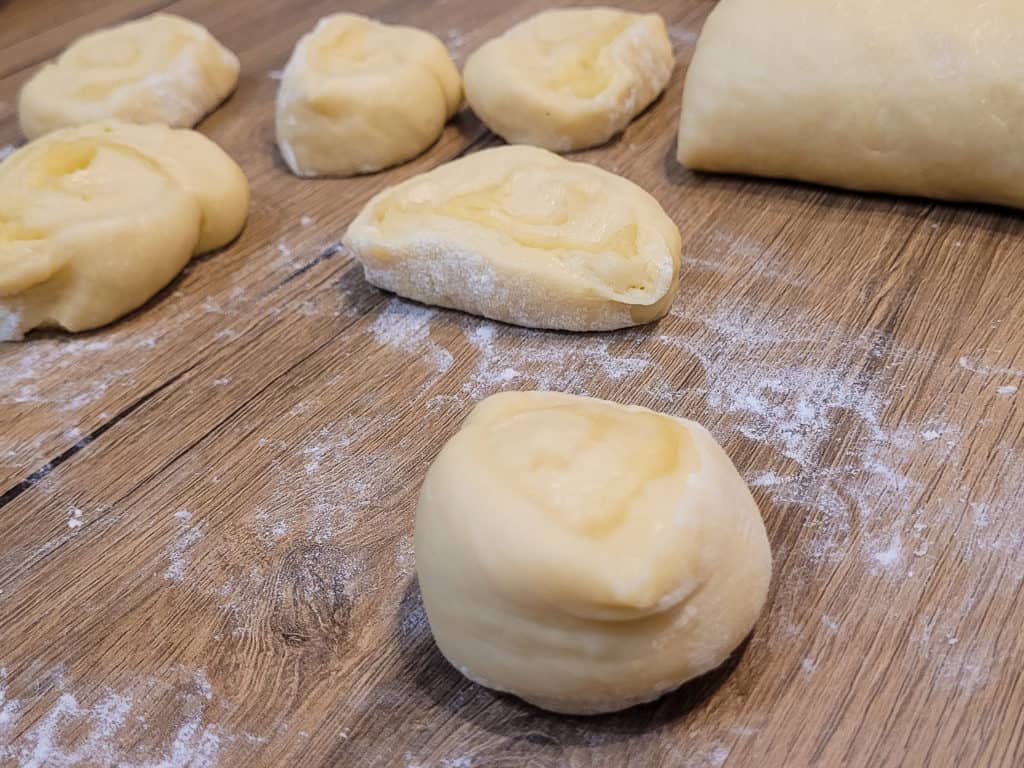
In another bowl, pour some sugar. Tip I encourage you to add some other seasonings to this homemade otap recipe as it pleases you! Feel free to add cinnamon, nutmeg, etc., to the bowl of sugar before you place the pieces in it. Roll the flattened pieces into the sugar until both the front and back are covered with sugar.

Place the otap pieces on a lined baking sheet and bake them in the preheated oven for about fifteen minutes. You can tell the pieces have completed baking when they are light golden brown. Do not overbake them because you will end up with stiff and bitter pucks of dough.
Pull the baking sheet out of the oven and cool completely.
How to Enjoy Otap
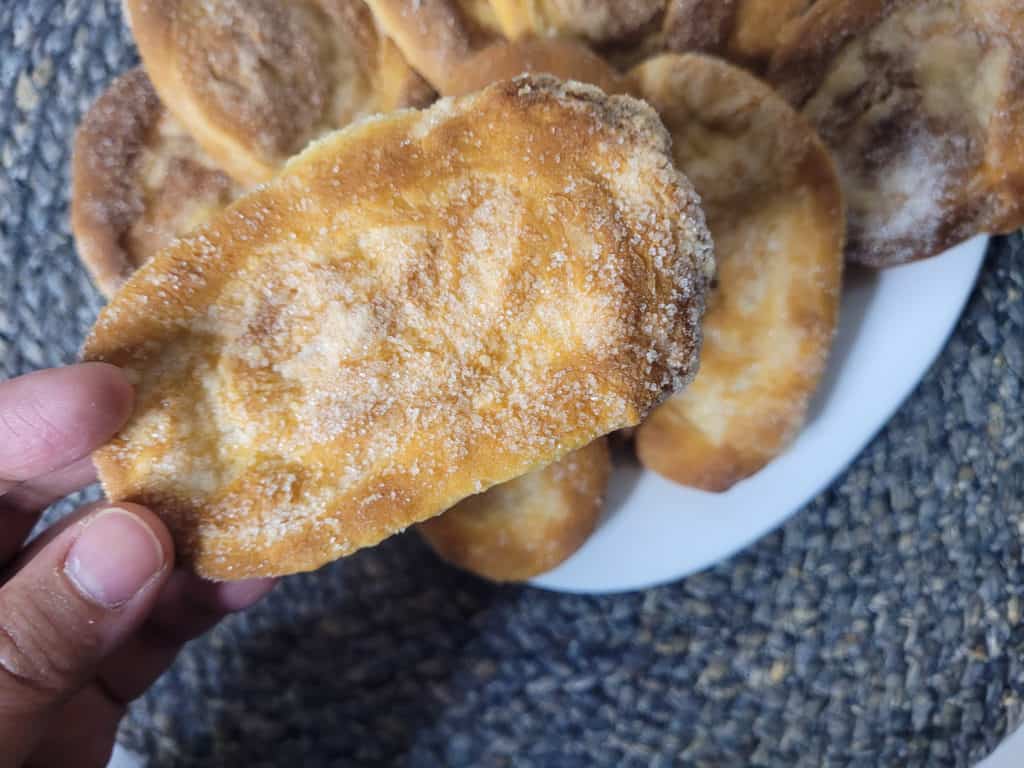
If you haven't caught on by now, Filipinos love eating sweet pastries with a cup of coffee. Homemade otap is not an exception! Coffee with sweet, slightly flaky otap is a great way to start the morning. If it's your first time trying out this recipe, I would like to let you know that there is a specific way to eat otap. Make sure you have one hand cupped under your chin to catch the sugary crumbs that break off as you bite into one. It can be a messy treat, but it's part of the experience!
Have You Tried This Recipe?
Simply rate the recipe by clicking on the ⭐️s on the recipe card. Have something to say? Please leave me a comment down below telling me what you think of this recipe.
Bonus: Let me and other readers know what you did to make this recipe your own - 💫 let's inspire each other!
Also, follow me on Instagram [@seesfoodwilltravel] and send me a DM with a picture of what you made. I would love to share and celebrate YOUR creation with our budding community 💞
Check out Sees Food, Will Travel on Pinterest and Facebook for more delicious updates.
Otap
Disclosure
The equipment and ingredients sections contain affiliate links to products I love to use as well as items that I personally believe make this recipe the best version of itself.
Ingredients
Dough
- 125 grams milk
- 1⅛ teaspoon active dry yeast
- 50 grams granulated sugar set aside 2 tsp
- ¼ teaspoon salt
- 1 egg yolk
- 25 grams vegetable shortening
- 1 tablespoon butter, melted
- 180 grams all-purpose flour
Filling
- 30 grams butter, softened
- 25 grams vegetable shortening
- 45 grams flour
Instructions
Make Dough
- In a bowl, add the yeast and milk, then mix in 1 teaspoon of the sugar. Set aside for 10 minutes until it is bubbly and foamy.
- In a separate bowl, mix the salt, remaining sugar, egg yolk, shortening, butter and flour. Stir to incorporate the ingredients.
- Add the yeast mixture to the bowl of flour. Using an electric mixer with dough hooks, knead for no more than 10 minutes.
- Check for gluten formation and when it passes the test, allow to rise in a bowl for up to 1 hour or until it doubles in size.
Make Filling
- In a bowl, whisk softened butter, shortening, and flour until you get a thick paste.
Make the Pieces
- Preheat oven to 180°C (350°F)
- Place the dough on a floured surface and roll it out to a rectangle.
- Spread the filling all over the flattened dough and from a short side, roll it up to a log.
- Slice the dough into 15 equal pieces no more than half an inch thick.
- Flatten each piece to an oval shape.
- Space out the pieces evenly on a lined baking sheet and bake for about 15 minutes.
- Allow to cool completely.




Leave a Reply