Disclosure: Some of the links in this post are affiliate links. This means if you click on the link and purchase an item, Sees Food, Will Travel will earn a commission at no extra cost to you. See terms and conditions for details.
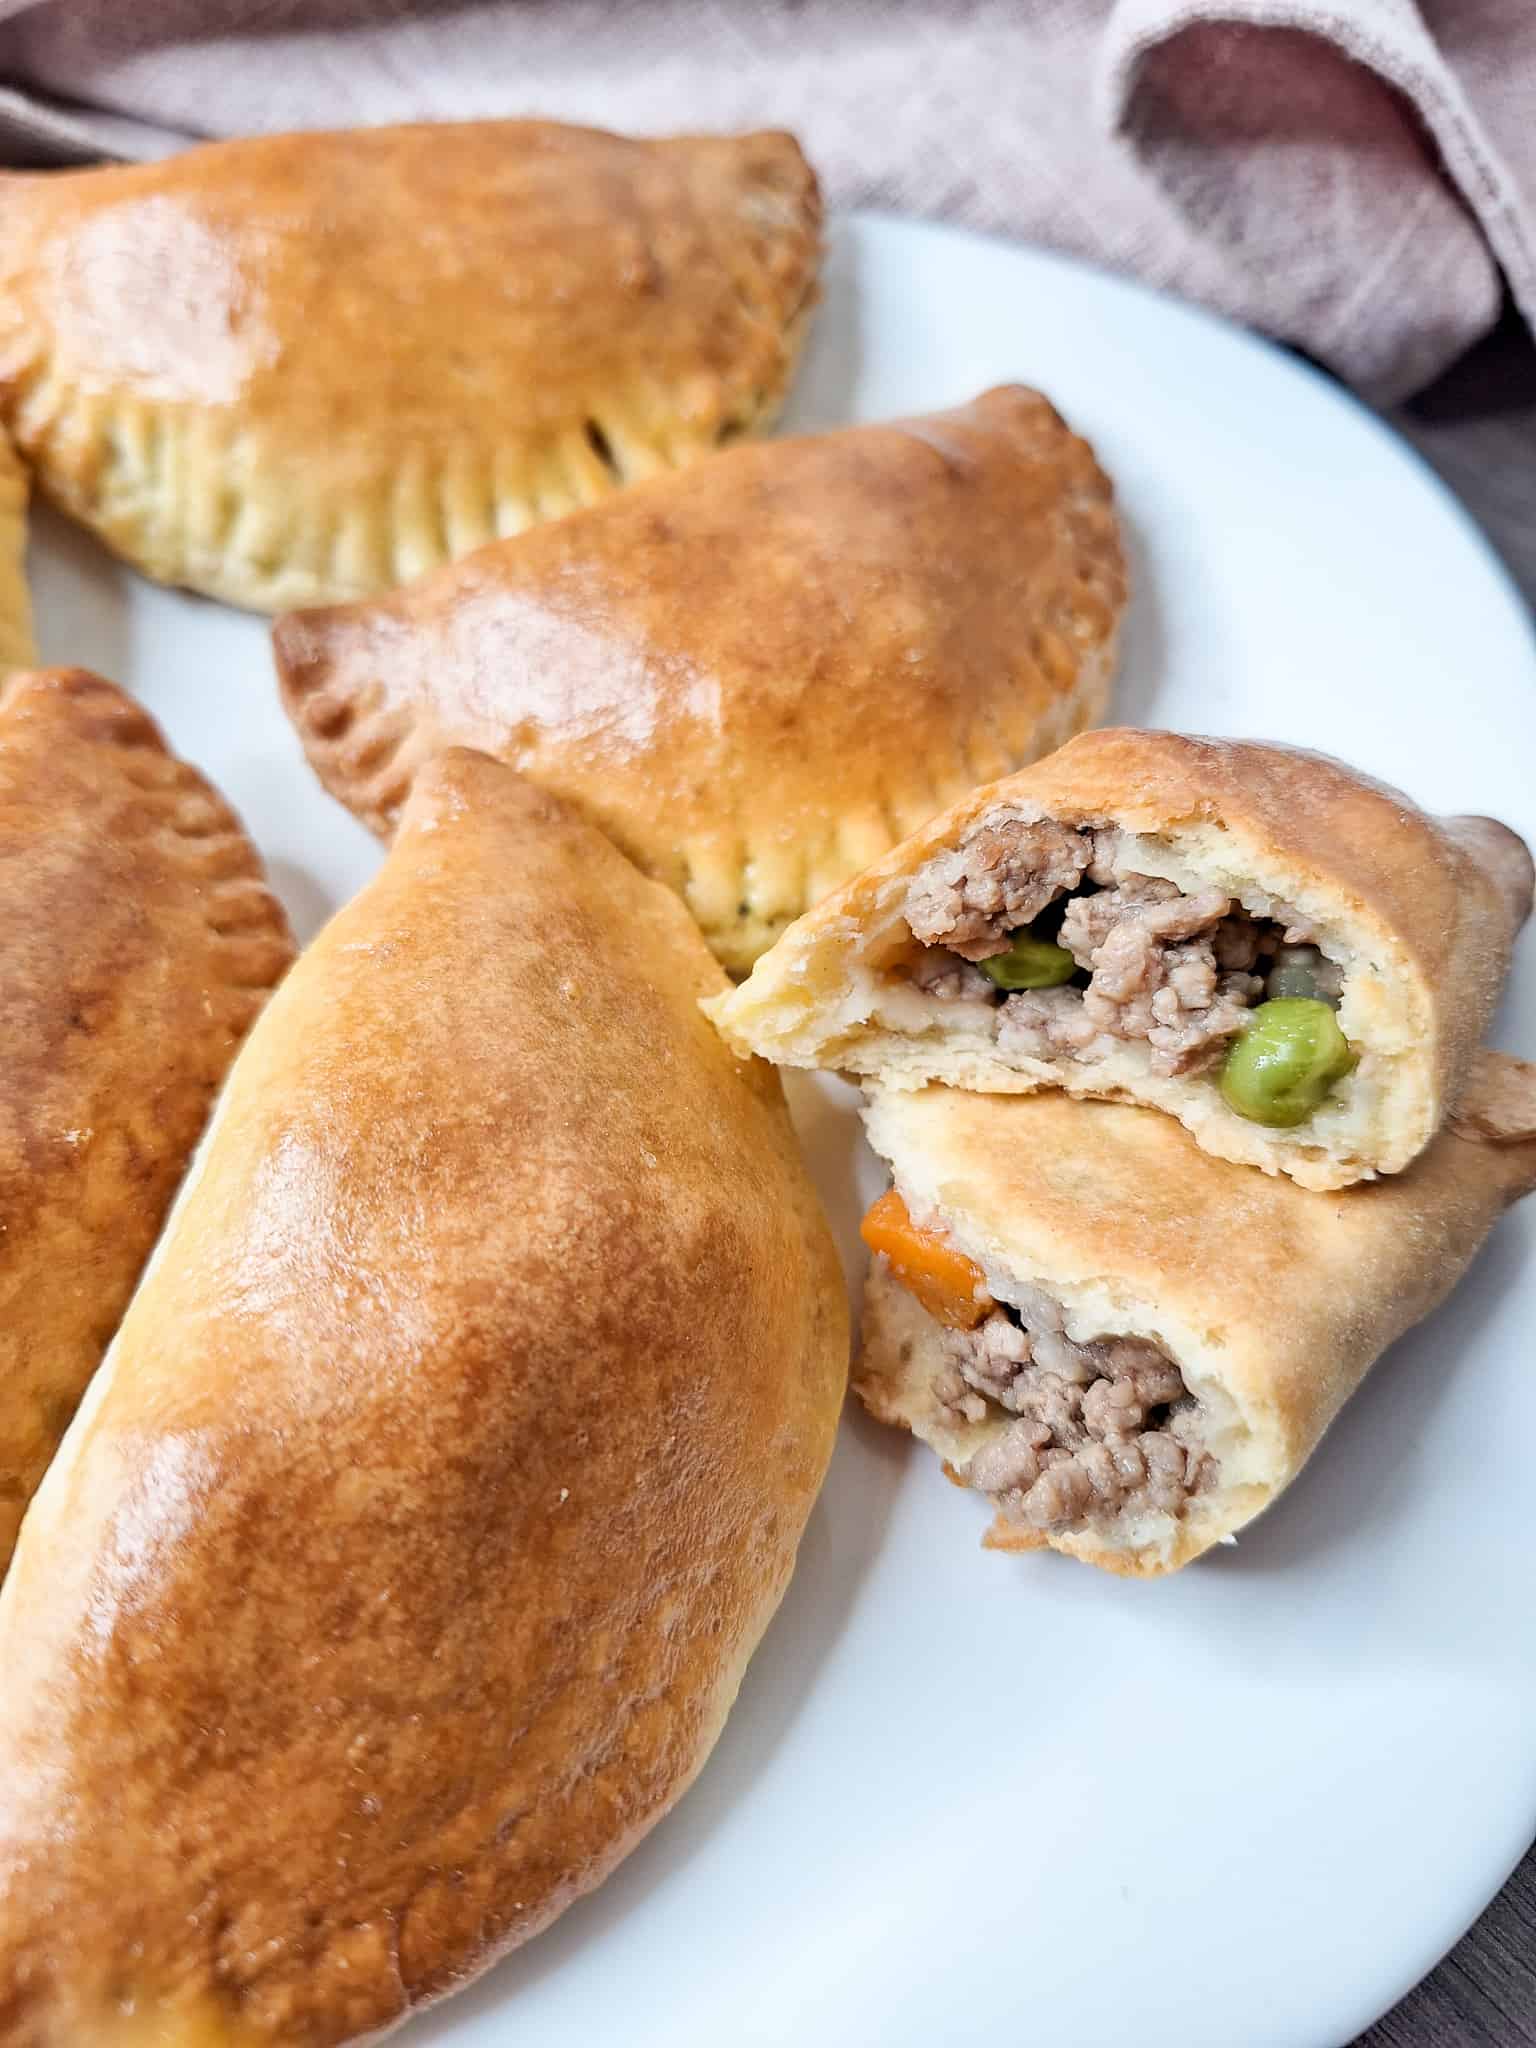
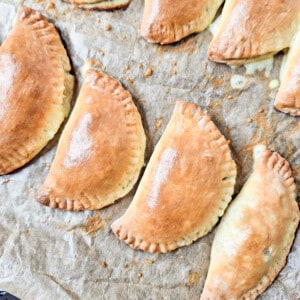
Who turns down an empanada? These buttery turnover pastries filled with meat and vegetables make a great snack or appetizer! This Filipino-style meat empanada recipe with pork and beef makes a big batch of baked goods that will last you for days. This post also helps you break down how to make savory Filipino empanadas so that it feels easy and straightforward.
Jump to:
What is a Filipino Empanada?
The typical Filipino-style empanadas have savory fillings made with ground meat mixed with vegetables and sometimes raisins. The dough is slightly sweeter than other non-Filipino versions, and you could either bake or fry them depending on the empanada dough recipe.
Empanadas run the gamut of fillings, dough, and shapes throughout the world. In countries where the Spanish colonization happened, locals made their own empanadas using easily found ingredients. The Philippines is no exception, and this dish has concreted itself in the national cuisine. There are even regional differences of empanadas across the islands.
Ingredients
The items listed below are for both the dough and filling. You can actually eat the filling on its own! It's called giniling and goes so well with white sticky rice. You can find the recipe for giniling here.
- All-Purpose Flour
- Granulated White Sugar
- Salt
- Butter
- Eggs
- Baking Powder
- Water
- Ground Meat
- Chicken Bouillon Powder
- Carrot
- Garlic
- Potato
- Peas
- Neutral Oil
Substitutes
- Ground Meat: I write "meat" because you can use any type of ground meat you have available in your kitchen. For this recipe, I used a combination of 50/50 pork and beef ratio. It's juicy and flavorful with the chicken powder.
- Chicken Bouillon Powder: You can use any type of bouillon powder, but I found chicken reminiscent of giniling since that was the flavor I was going for in this recipe.
Equipment
I argue that you don't really need any special equipments to make empanadas so the special items below are just a recommendation. But I will give you alternative tools that are in your kitchen, ready for use.
- Round Wide Diameter Cookie Cutter: You can use these metal cutters to make shapes in the dough easily. But a bowl with the same size works just as well.
- Empanada Press: If you want to go even faster, you can use an empanada press. These have standardized sizes, so you can guarantee they will all look the same. The recipe card below shows a rustic tool: the fork! It's more time consuming, but I love it when empanadas are not all the same sizes because it shows they're homemade!
Recipe Tips
- Empanada Dough Tips: Here are some tips for making delicious empanada dough:
- Add cold water to the dough. You might want to put ice in the water to raise its temperature even more. That way, you can maintain a bit of flakiness to the dough.
- Add water a little at a time so that you don't over-saturate your dough. Overly hydrated dough can end up resulting in a tough pastry. You may not need to use all the measured water mentioned in the recipe card below.
- Let the Filling Sit: Allowing the filling to rest in the fridge will help to thicken its sauce further. This will make it easier to handle when you assemble the empanadas.
How to Make Baked Filipino-Style Meat Empanadas
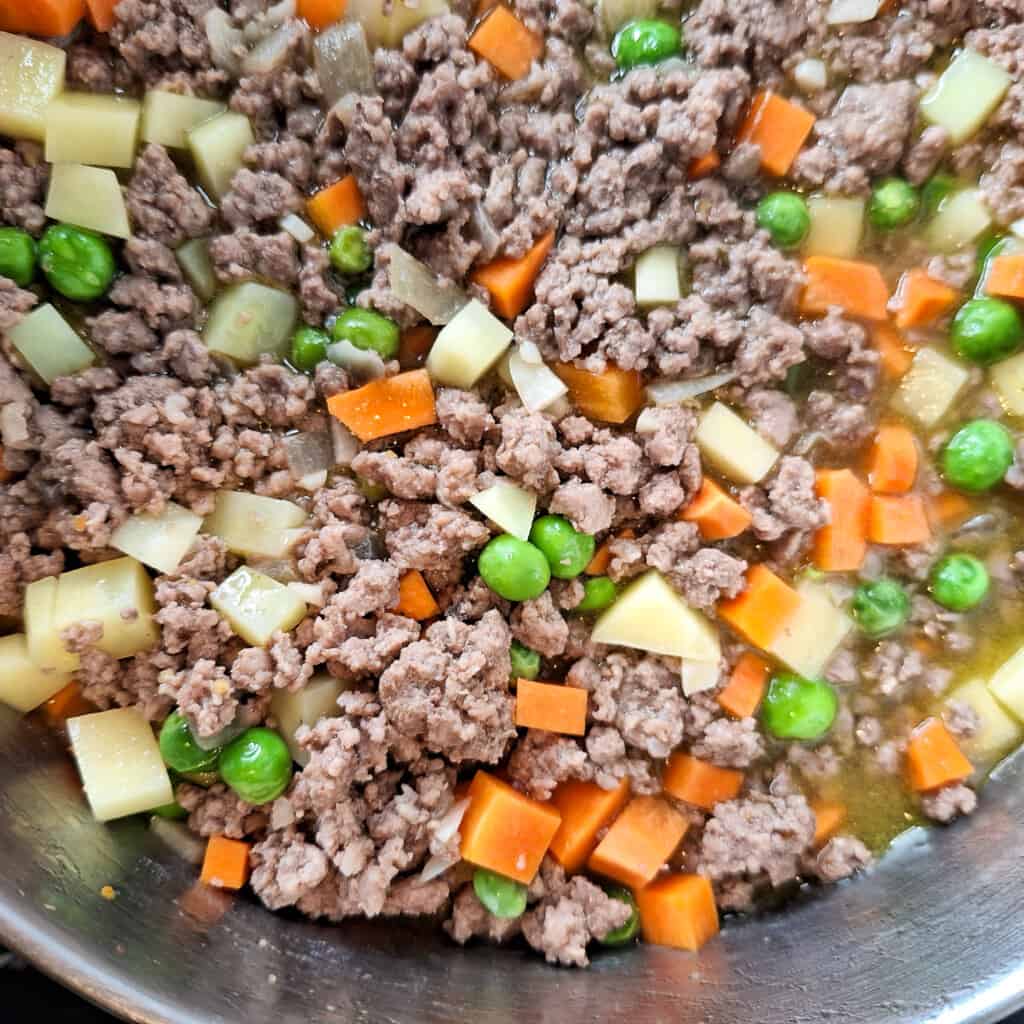
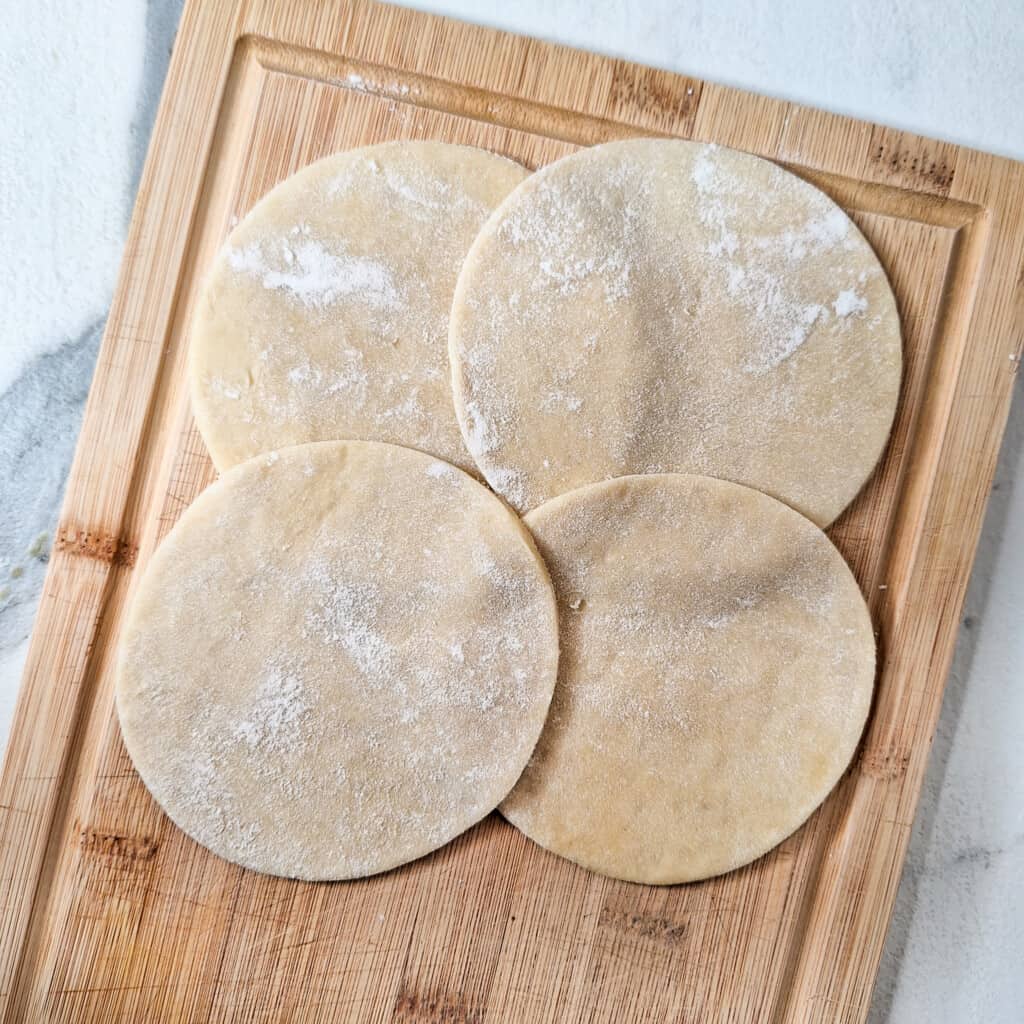
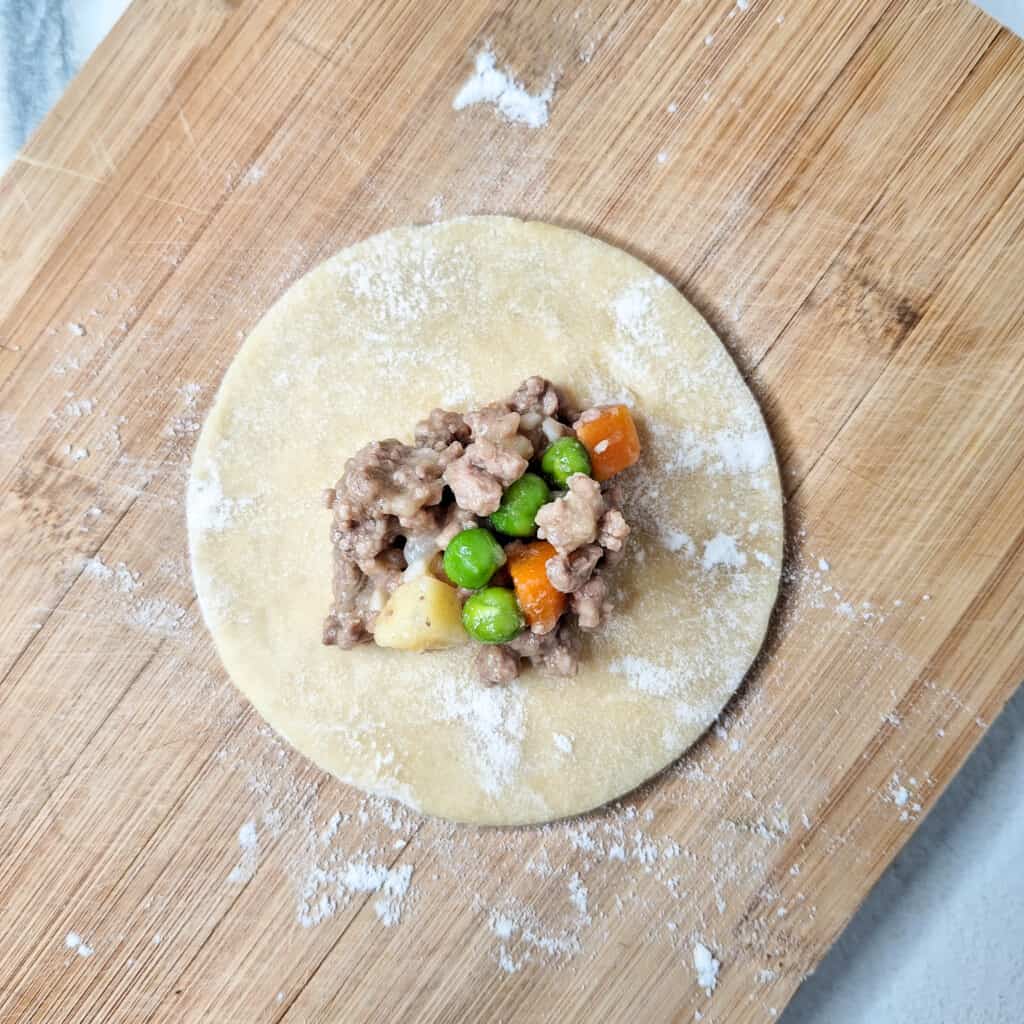
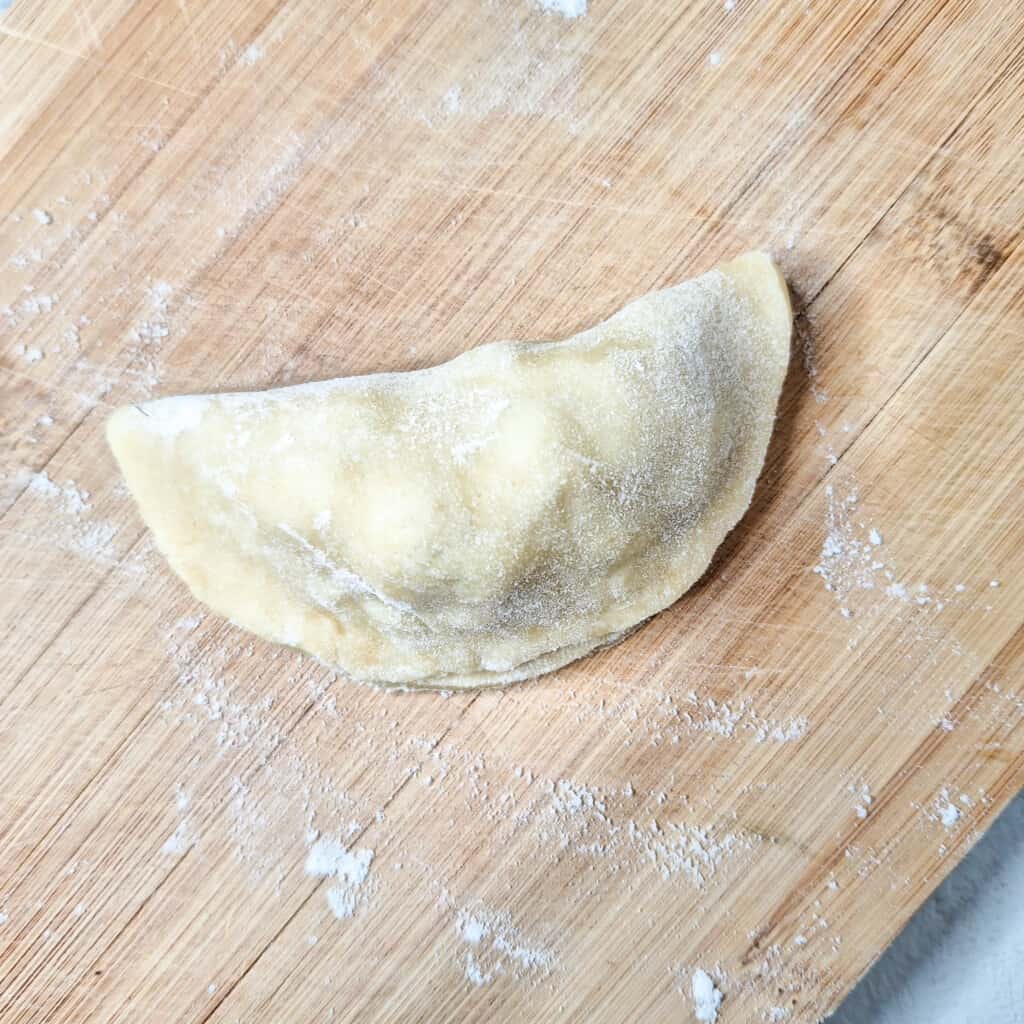
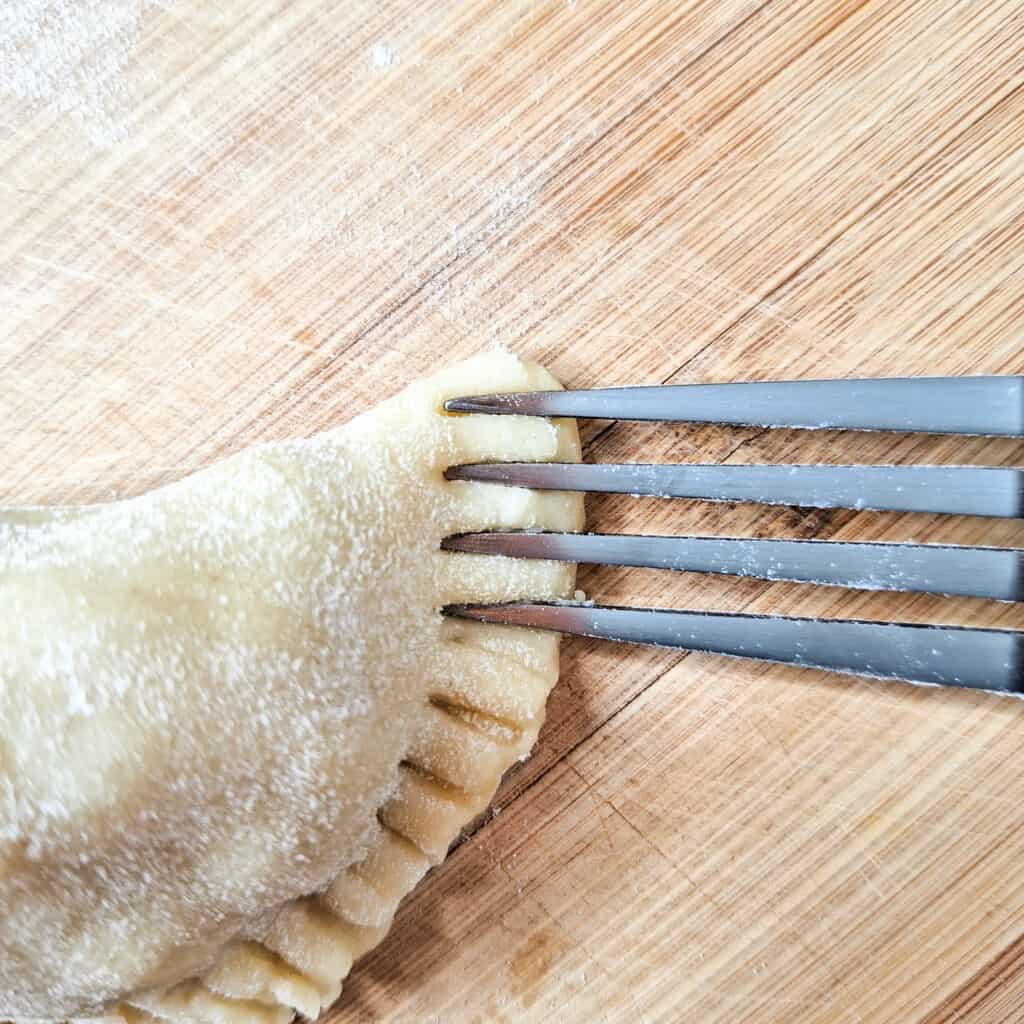
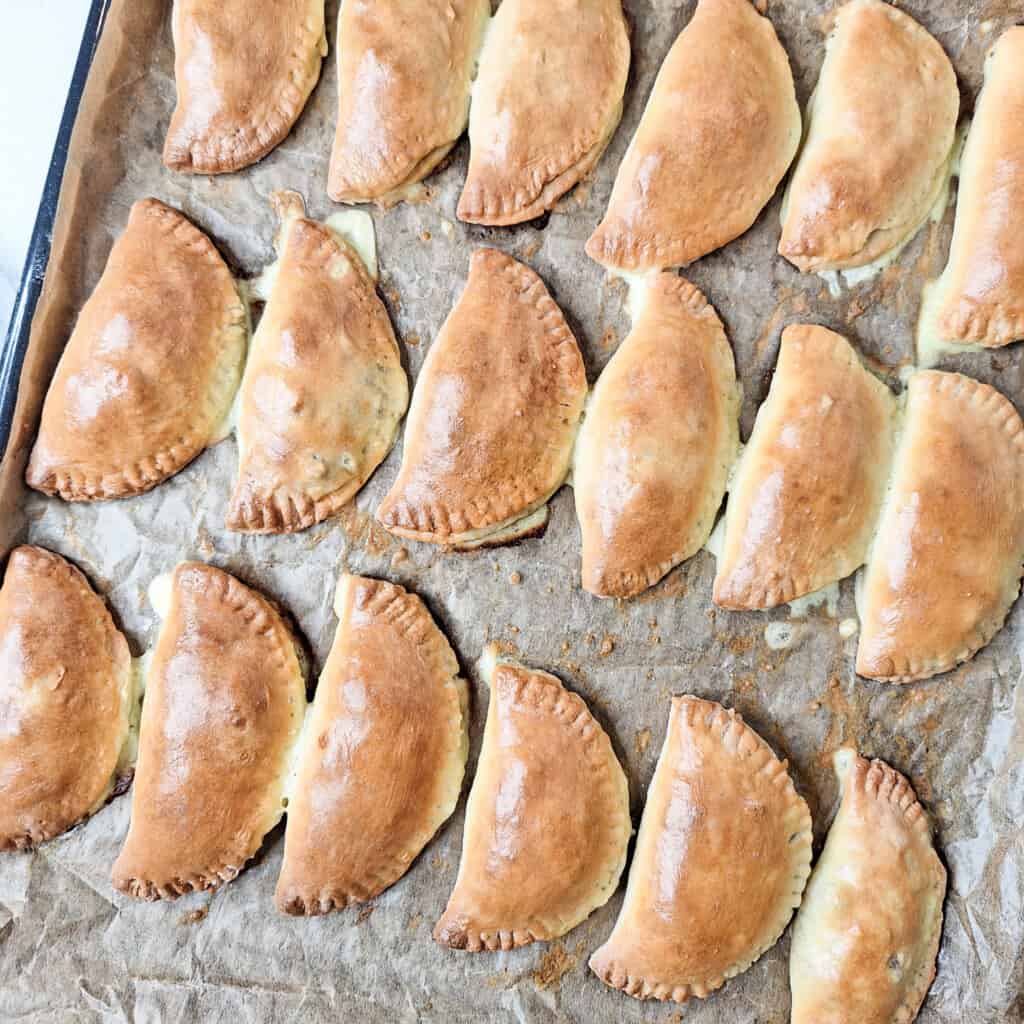
You can think of this recipe in four separate steps:
- Make the filling.
- Make the dough.
- Assemble the empanadas.
- Bake the empanadas.
It will feel less overwhelming to make these empanadas if you split the steps between two days. The first day, you will make the dough and the filling. Then, on the second day, you would assemble and bake them in the oven.
How to Serve Filipino Empanadas
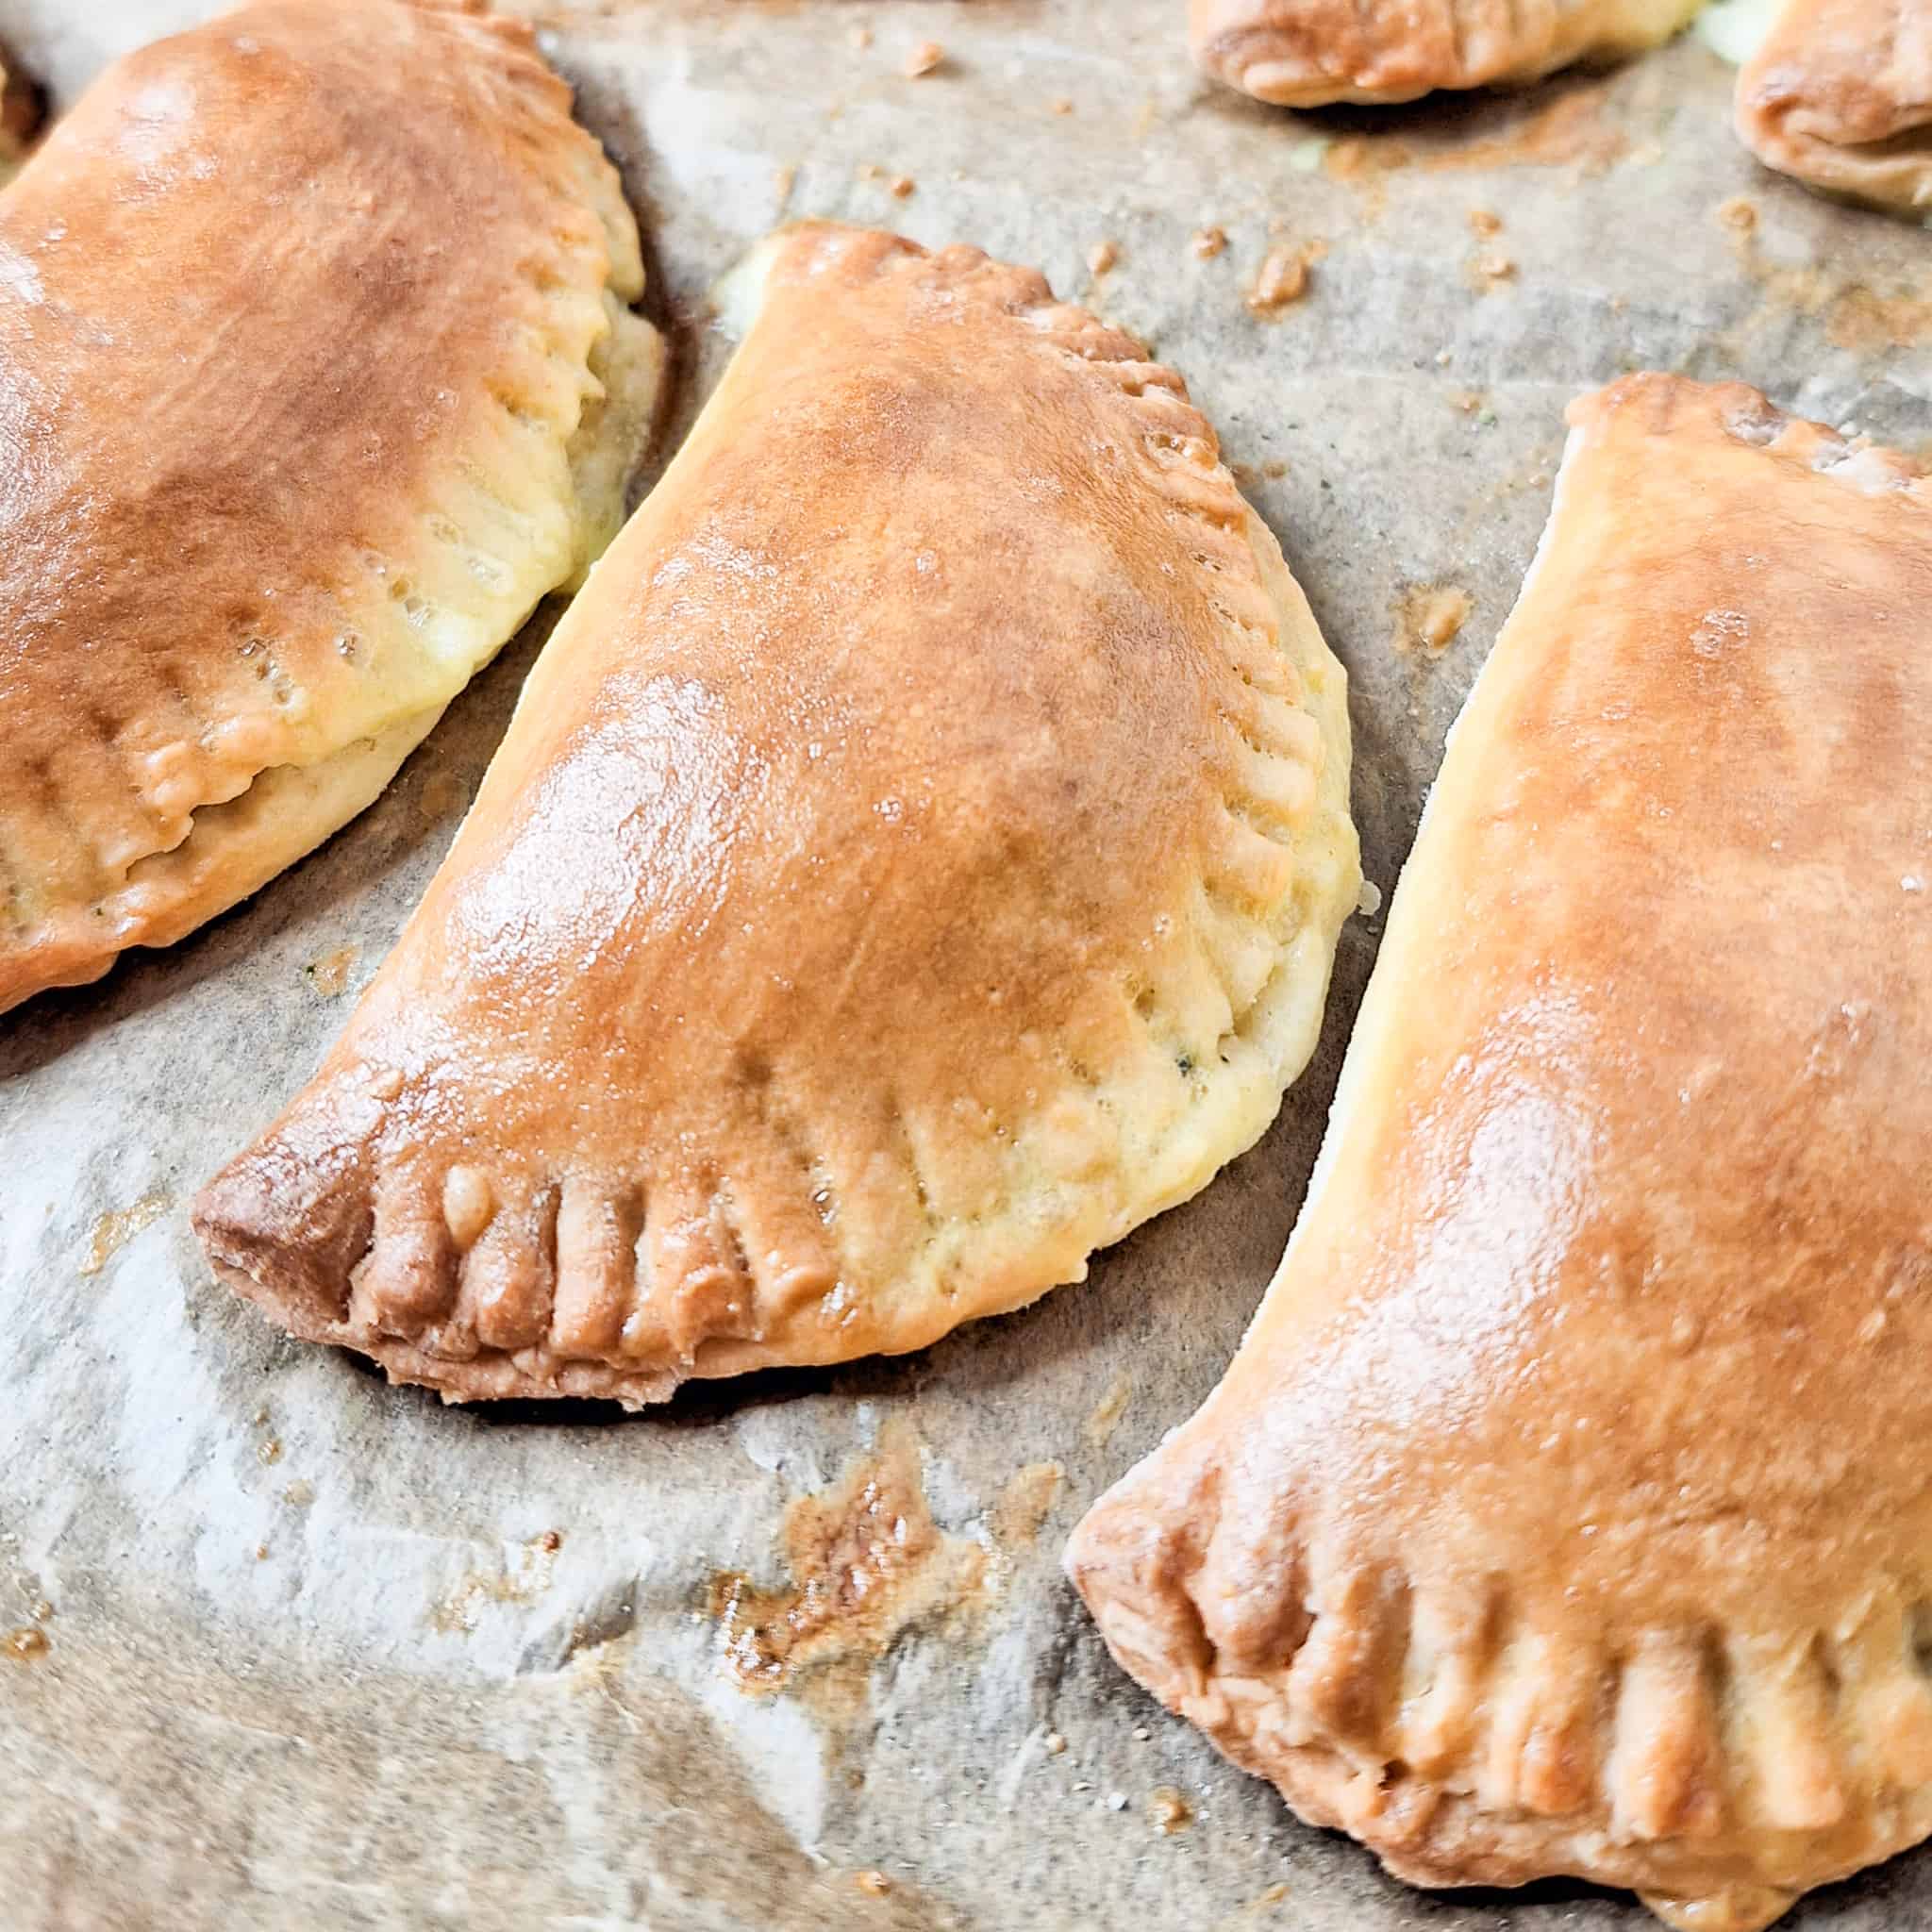
After baking the savory empanadas, allow them to cool for at least ten minutes before serving. You can serve these at room temperature on the same day you cook them. For example, you can bake a batch in the morning and let them sit in the kitchen for a party at night.
Variations
You can add SO many things to the filling! Here are some ideas:
- Cheese: Sprinkle some shredded cheese on top of the meat filling before closing the empanadas.
- Raisins: I'm not a fan of raisins, but many argue that raisins are an integral part of giniling. So if you are interested in trying this version, you should add about a half cup of raisins after the vegetables while you are cooking the giniling.
- Spicy: Make spicy empanadas by adding sliced and chopped bits of about three Filipino chili peppers. Alternatively, you can use crushed chili flakes. Start with one teaspoon and add more crushed pepper to taste. Make these additions while you are cooking the empanada filling.
Frequently Asked Questions
They are also called empanada in Tagalog, the national language of the Philippines. There are many borrowed Spanish words in the Filipino language.
You can store baked empanadas in an air-tight container in the fridge for about a week.
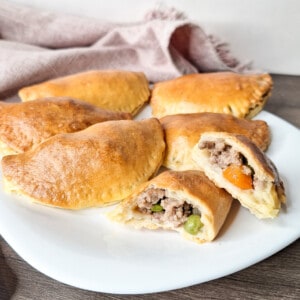
Baked Filipino Meat Empanadas
Disclosure
The equipment and ingredients sections contain affiliate links to products I love to use as well as items that I personally believe make this recipe the best version of itself.
Ingredients
Empanada Dough
- 375 grams all-purpose flour
- 100 grams granulated white sugar see note below
- 2 eggs
- 170 grams butter sliced in small pieces
- 1 teaspoon salt
- ½ teaspoon baking powder
- 177 grams water
Meat Filling
- 250 grams ground beef
- 250 grams ground pork
- 1 small onion diced
- 1 medium carrot diced
- 1 medium potato diced
- 5 cloves garlic, minced
- 70 grams frozen peas
- 1 teaspoon salt
- 10 grams cubed chicken bouillon or powder
- 235 grams water more as needed
- 2 teaspoon cornstarch mix in 2 teaspoon water
- 2 tablespoon neutral oil
- salt and pepper to taste
Other
- 1 egg
- 1 tablespoon water or 1 more tablespoon for thinner egg wash
Instructions
Make Filling
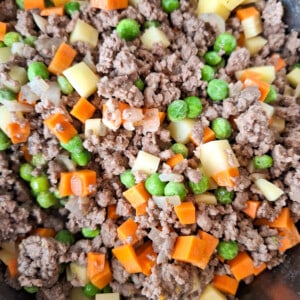
- Cook the garlic and onions in a deep pan with the neutral oil on medium heat until soft and glassy. Add the ground pork and cook to brown it. Add the chicken bouillon. Add the diced potato, carrot, and frozen peas. Let cook for 10-15 minutes.
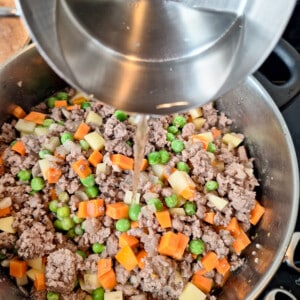
- Add the water and continue to cook on low heat for 10 minutes until vegetables are soft. Then add the cornstarch slurry (cornstarch plus 2 teaspoon water) to thicken the sauce. Remove from the heat and let cool in a large bowl. Cover and place in fridge to cool overnight.
Make Dough
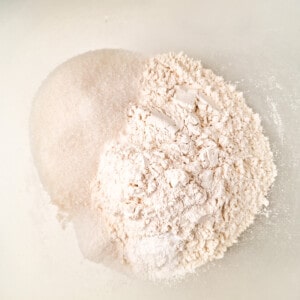
- Add flour, sugar, salt, and baking powder to a large bowl. Whisk the ingredients to mix together.
- Add sliced pieces of butter and gently toss the pieces in the flour. Then rub them together with the flour until you get a dry shaggy looking dough.
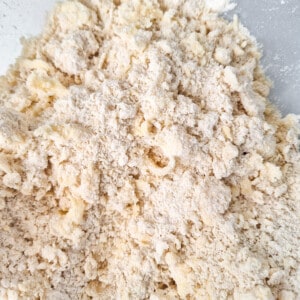
- Add eggs and mix in a third of the measured water. Use a spatula to mix everything together. Add more water 1 tablespoon at a time until the dough just comes together and no longer sticks to the sides of the bowl. Wrap in cling wrap and place in the fridge to rest overnight.

Assemble Empanadas
- Split the dough in half and work with one half at a time to make the empanada wrappers. Dust some flour on a flat surface. Then roll out the dough to about ⅛ inch (3mm) thick. Cut out circles between 4.5 - 6 inches in diameter (12-15 cm). Repeat with the other half of the dough.

- Make one empanada at a time by placing a piece of circle-shaped dough on a flat surface. Place a spoonful of the cooled filling on one circle.
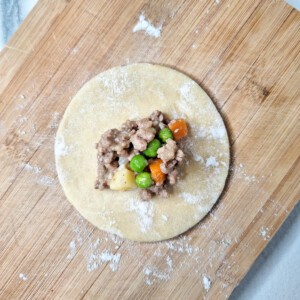
- Then fold one side of the circle over the other side.

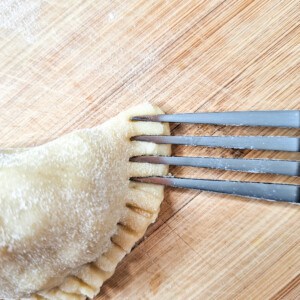
- Close the empanada by pressing a fork down along the edge of the empanada to crimp them closed. Once you made all the empanadas, place them in the fridge to rest for at least twenty minutes.
Bake Empanadas
- Preheat the oven to 180°C (350°F). Make an egg wash by whisking the egg and 1 tablespoon of water in a small bowl. Set it aside.

- Bake the empanadas for twenty minutes until light brown. Then pull out the empanadas and brush egg wash on top of each one.Place back in the oven to continue baking for another 5 minutes. Note: If you want dark golden empanadas, repeat this step for a second time.
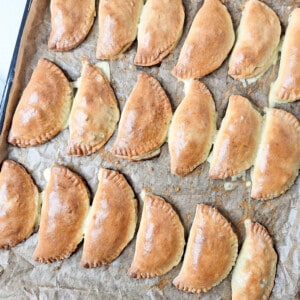
- Allow to cool for at least 10-15 mins before serving. Filling may be hot!
Nutrition
Have You Tried This Recipe?
Simply rate the recipe by clicking on the ⭐️s on the recipe card. Have something to say? Please leave me a comment down below telling me what you think of this recipe.
Bonus: Let me and other readers know what you did to make this recipe your own - 💫 let's inspire each other!
Also, follow me on Instagram [@seesfoodwilltravel] and send me a DM with a picture of what you made. I would love to share and celebrate YOUR creation with our budding community 💞
Check out Sees Food, Will Travel on Pinterest and Facebook for more delicious updates.




Leave a Reply