
When I learned about onigirazu (sushi sandwich), I quickly looked for ingredients I could scramble together to make it. This is how I came about my version of a tuna onigirazu recipe at home! Made with tuna (or sardine fillets), it quickly became an easy lunch go-to!
Update Disclosure: This post has been updated for one or more of the following reasons: easier reading, updated photos, clearer instructions, and just plain ol' improvements to the recipe (as noted).
Jump to:
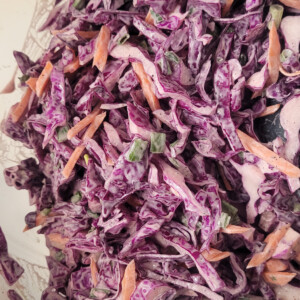
In addition to fish, this onigirazu consists of a simple slaw made with a few ingredients you can throw on top or under the fish. As much as I wanted to make the pretty layers of tuna onigirazu, I tend to be lazy when it comes to lunch meals. So I focused more on how quickly I could make something while enjoying the benefits of all the vegetables it can feature.
What is Onigirazu?
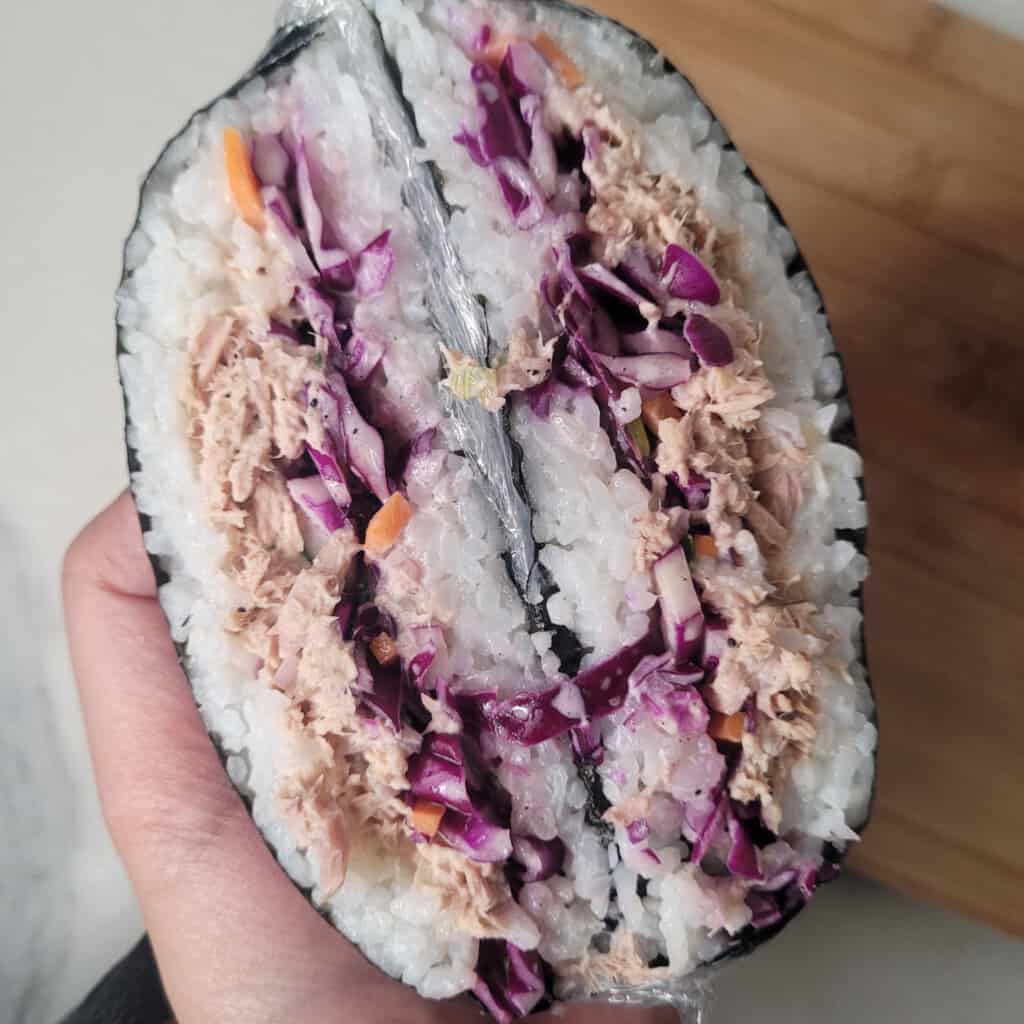
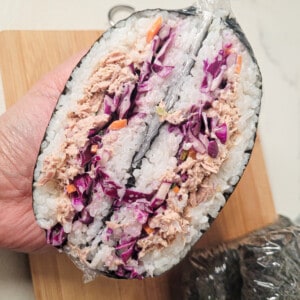
Onigirazu is another type of seaweed-wrapped food. Similar to musubi or sushi rolls, it is a style of food with rice wrapped with a nori sheet that is made to be eaten with your hands. Instead of a round shape like a sushi roll, onigirazu is flattened and then cut in half to reveal its layered contents.
Ingredients For Tuna Onigirazu
Onigirazu comes in the form of many variations, so take this ingredients list as a loose guideline. It was fun looking through my pantry and refrigerator to see what I could add to the rice for this sushi sandwich. I encourage you to do the same to be more efficient with your ingredients.
- Cooked White Rice: You will want to cook the rice ahead of time before making onigirazu. You will also add some vinegar and sugar to turn it into sushi rice.
- Canned Tuna (or Sardines): Canned tuna in water or sardine filets in olive oil work great for this onigirazu recipe.
- Red Cabbage: Shred the red cabbage into small pieces so they can lay flat on the fish.
- Carrots: Julienne the carrots, but don't make them too thin, so you get crunchy bites.
- Green Onions: Adds a welcome flavor and color to the coleslaw.
- Kewpie Mayo: Kewpie or Japanese-style mayo tastes different from other mayonnaise. It's tangier and has a heavier, richer taste because it only uses egg yolks. It's a key ingredient in this recipe!
- Lemon Juice: Brightens up the salad within the onigirazu.
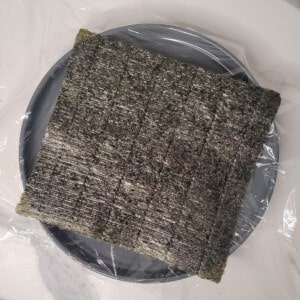
- Nori Sheets: We need to wrap the onigirazu with nori sheets, or else it won't be called onigirazu!
- Salt & Pepper: Add as much or as little as you'd like.
How to Make Tuna Onigirazu


Once you prep your ingredients, you will need to set up your workstation. In a manner of steps, you can build your tuna onigirazu effortlessly. Make the rice ahead of time and let it cool for about thirty minutes.
Here are the brief - and I mean brief - steps:
- Prepare your rice.
- Make the tuna filling.
- Make the coleslaw.
Build Your Onigirazu
- Line a surface, such as a cutting board, with some cling wrap.
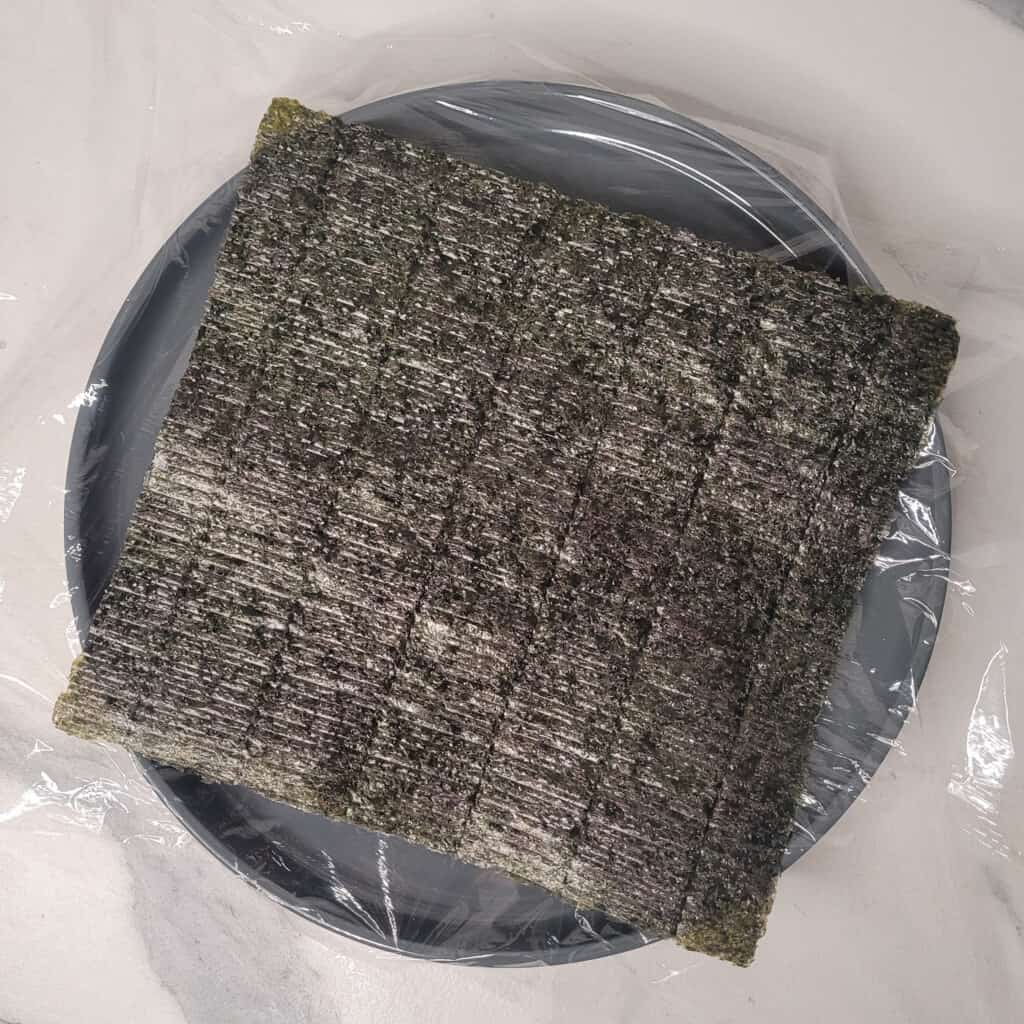
- Place a piece of the nori sheet in the center.
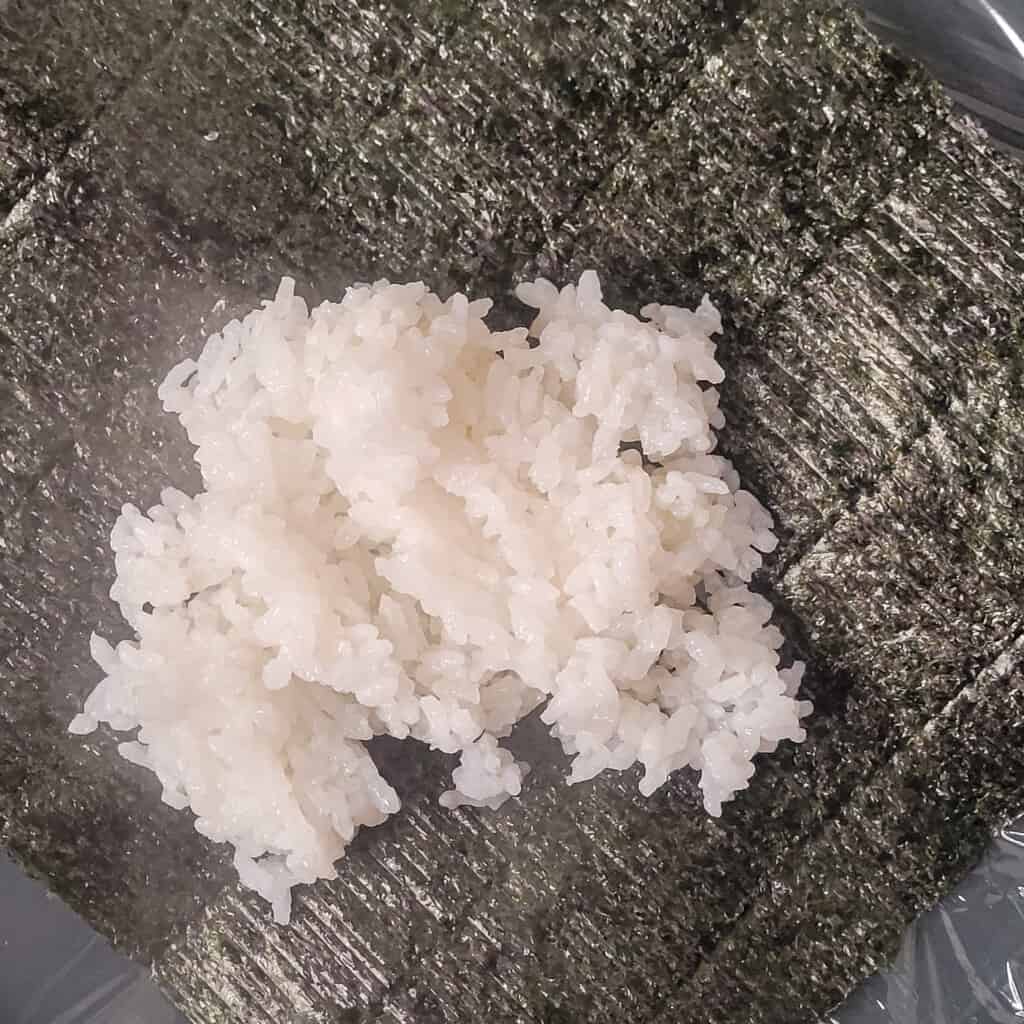
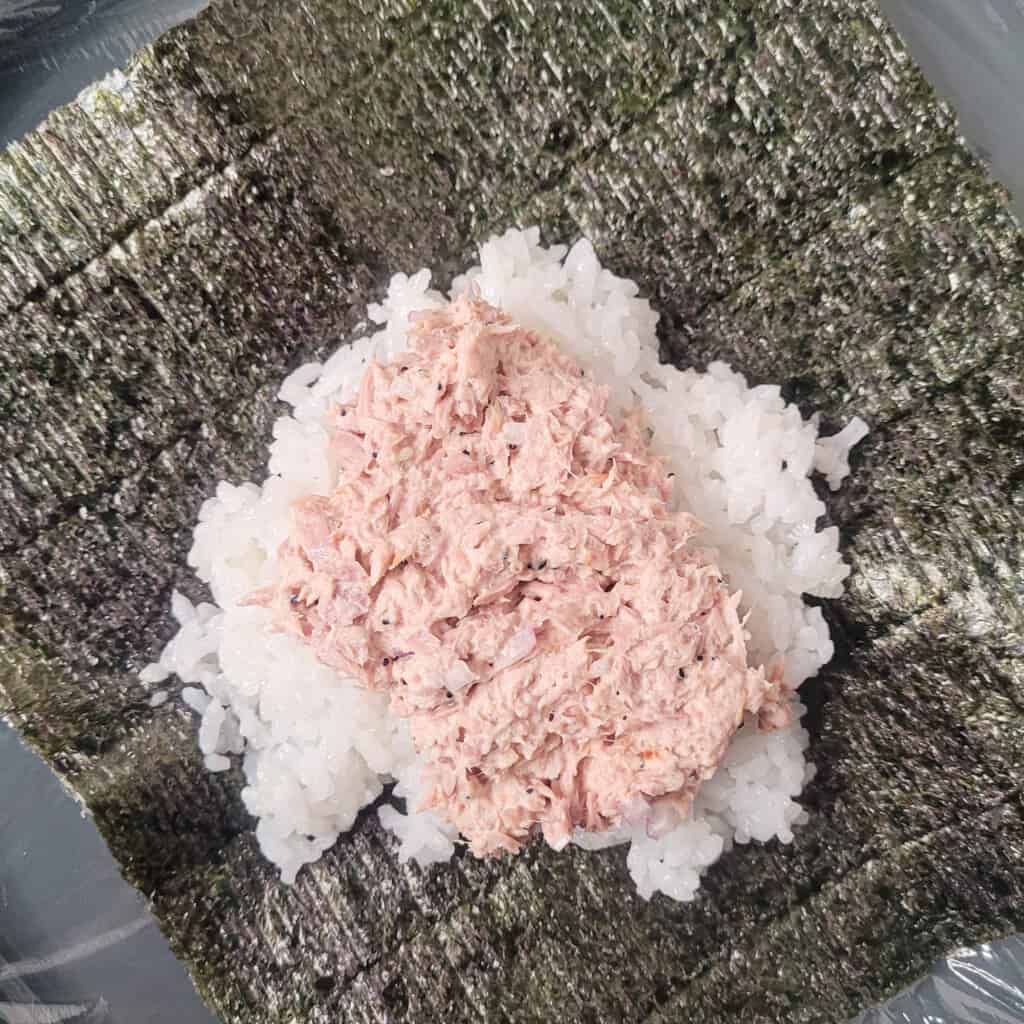
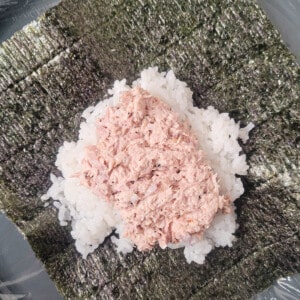
- Add some rice, flattening it in a circle in the middle.
- Add tuna on top of the rice.
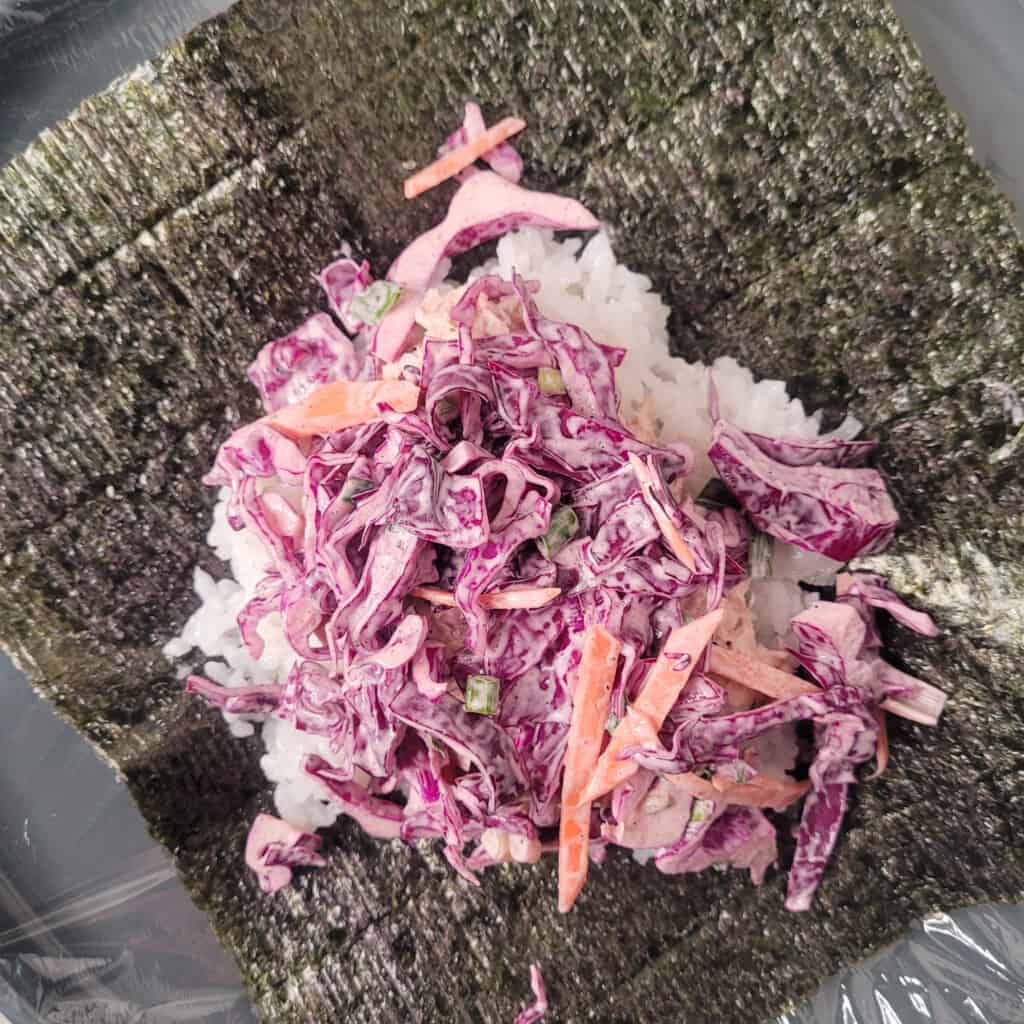
- Add some of the coleslaw.
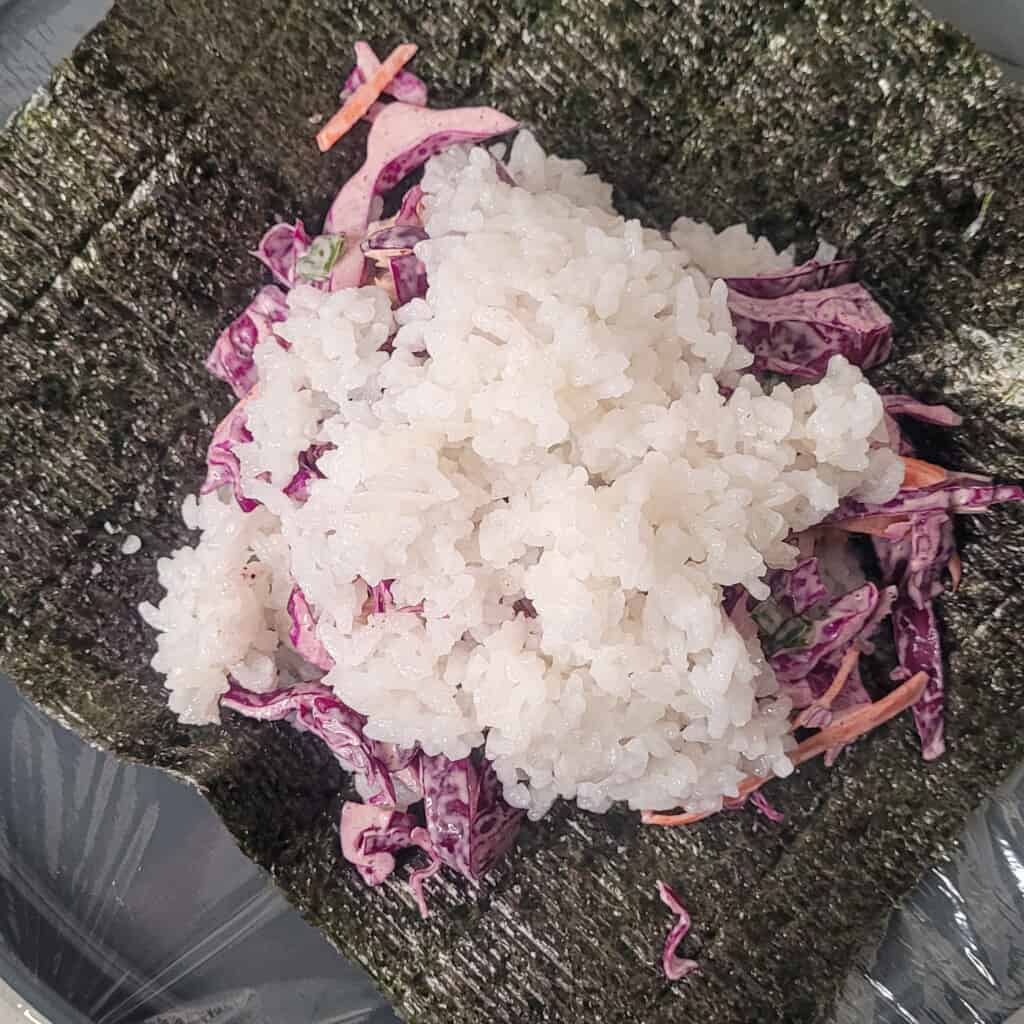
- Then finally, add rice to make a sandwich.
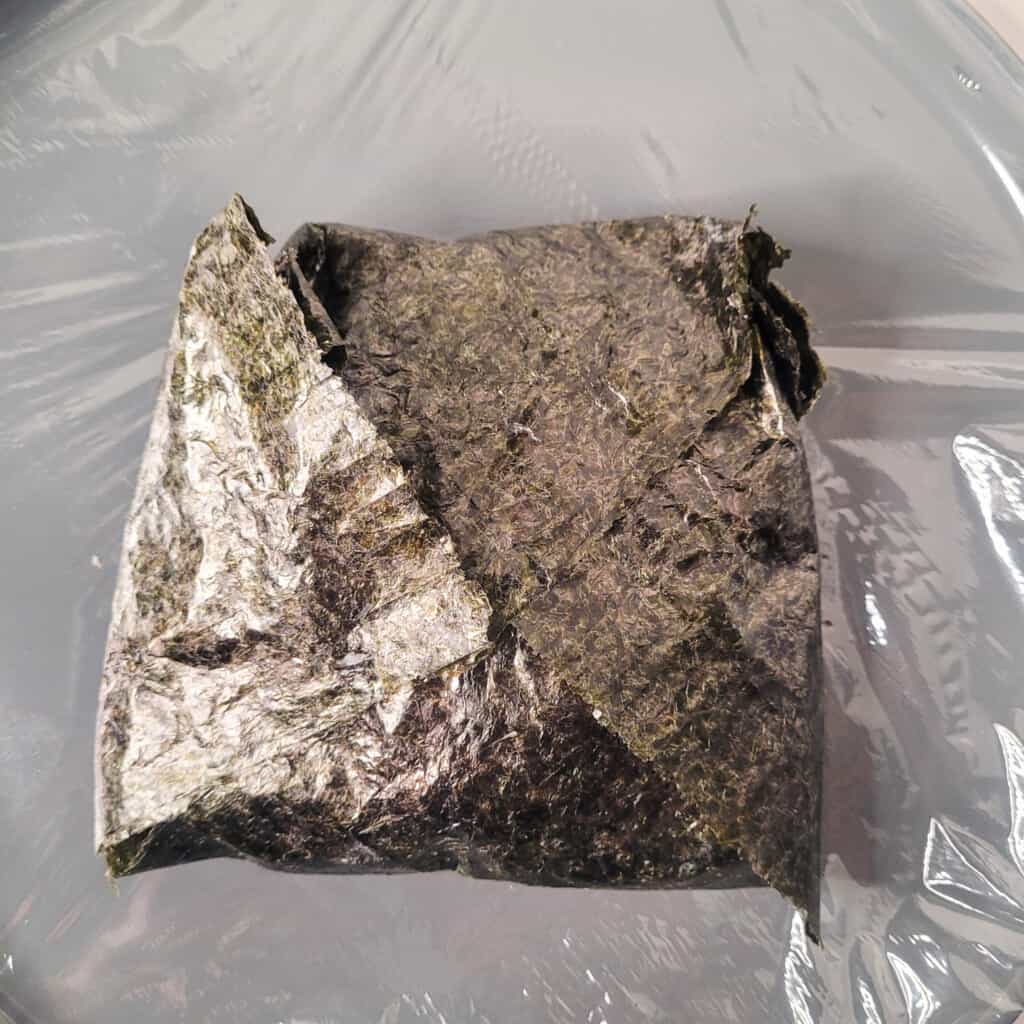
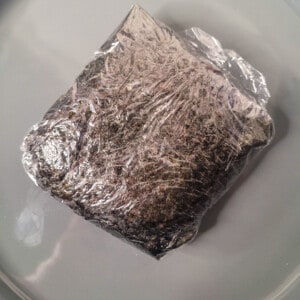
- Wrap the edges of the seaweed around the rice.
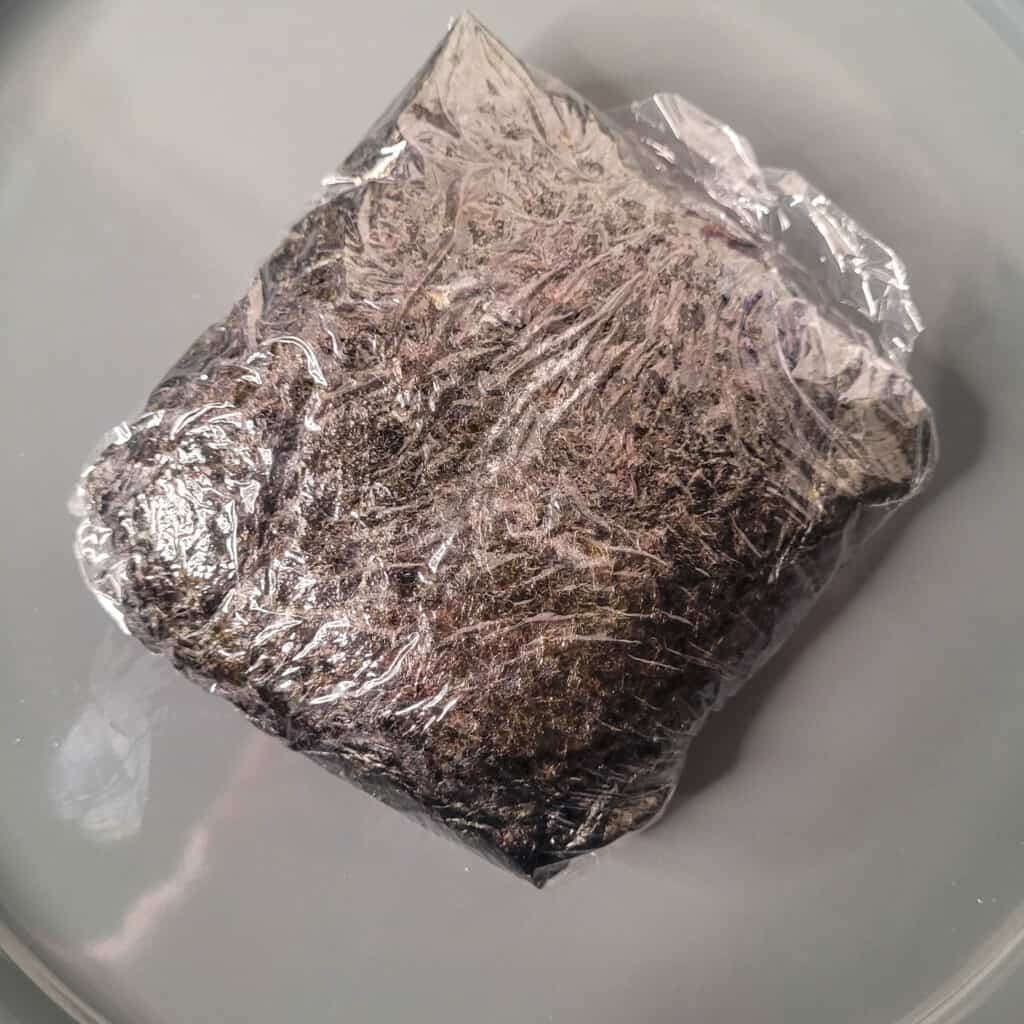
- Cover it with the cling wrap tightly and slice the onigirazu in half before eating.
How to Serve
I like to eat onigirazu immediately when the rice is still a bit warm, and the nori is still a bit crispy. You can pre-make onigirazu for a picnic or as a snack when you are on the go. Do not slice them in half when you make them ahead so the rice doesn't dry out.
Frequently Asked Questions
Yes, you can leave wrapped onigirazu in the fridge for a few days. Take them out of the fridge to bring them to room temperature before eating them.
Yes, you can! Swap out the tuna to anything you want. So long as you can sandwich the ingredients between the two sides of rice, you are good to go!
Tuna Onigirazu (Tuna Rice Sandwich) Recipe
Disclosure
The equipment and ingredients sections contain affiliate links to products I love to use as well as items that I personally believe make this recipe the best version of itself.
Ingredients
Coleslaw
- 1 medium carrot, julienned
- 5 stalks green onions, chopped
- ½ head of purple cabbage, shredded
- 60 grams kewpie mayo
- juice of one lemon use half first; then more for tasting
- salt & pepper to taste
Tuna Mix
- 200 grams canned tuna in water
- 3 tablespoon kewpie mayo
- ¼ tablespoon salt
Sushi Rice
- 370 grams white rice, uncooked
- 240 grams water
- ¼ cup rice vinegar
- 4 teaspoon sugar or less to taste
For Wrapping
- 6-8 large sheets of nori
Instructions
Make Rice
- Clean the rice in a pot by washing it with water a few times. Add the measured water to the rice.
- Place the pot of rice on high heat until it boils then bring to low heat and cover. Cook the rice for 15 to 20 minutes until all water has evaporated. Turn off the heat and let it steam for 10 to 15 minutes.
- Mix the rice vinegar and sugar in a bowl. Then pour throughout the cooked rice. Use a wide spatula to fluff the rice while mixing in the vinegar and sugar. Set the rice aside.
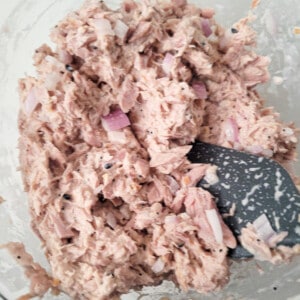
Make Tuna Filling
- Add the canned tuna to a bowl along with the mayo and salt. Mix everything together until combined. Set it aside.
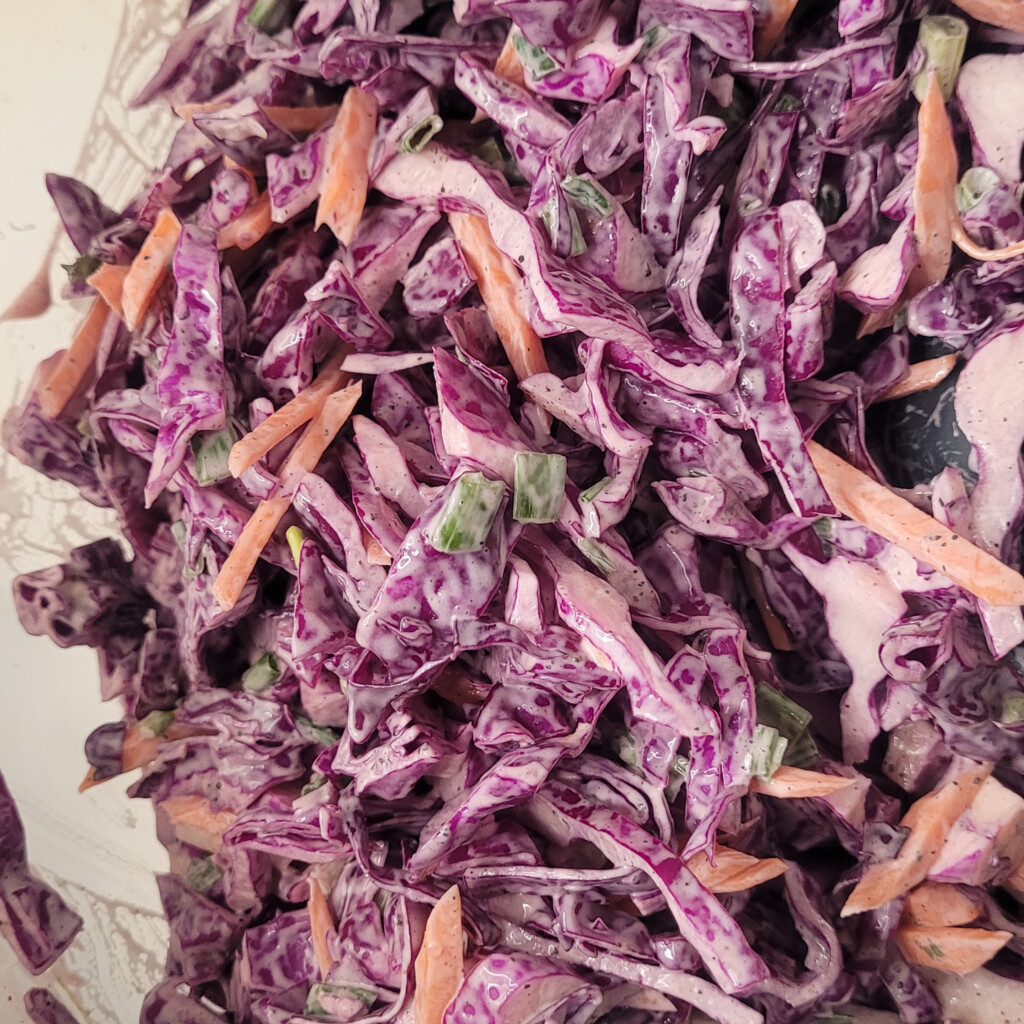
Make Coleslaw
- In a bowl, add the shredded cabbage, green onions, and carrots. Pour all of the mayo and half of the lemon juice.
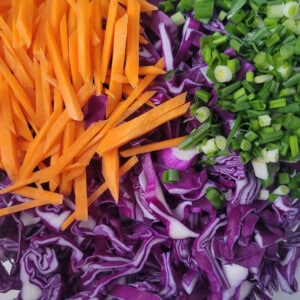
- Mix everything together. Add salt and pepper to taste. Set it aside.
Assemble the Onigirazu
- On a flat surface place some cling wrap, then place a sheet of nori on top.
- At the center of the sheet. Add some of the rice in a circular fashion, then some tuna on top.
- Add some of the coleslaw on top, and then finally, add more rice.

- Wrap the edges of the nori around the filling then wrap the cling wrap around it. Repeat the steps until you run out of ingredients.
Nutrition
Have You Tried This Recipe?
Simply rate the recipe by clicking on the ⭐️s on the recipe card. Have something to say? Please leave me a comment down below telling me what you think of this recipe.
Bonus: Let me and other readers know what you did to make this recipe your own - 💫 let's inspire each other!
Also, follow me on Instagram [@seesfoodwilltravel] and send me a DM with a picture of what you made. I would love to share and celebrate YOUR creation with our budding community 💞
Check out Sees Food, Will Travel on Pinterest and Facebook for more delicious updates.


Leave a Reply